Collecting External Data with Engage
If your template was created after June 2024, please contact us at support@documill.com to enable this feature.
This implementation requires an Engage license since the template will be built on an HTML template and published/shared with a link to external users.
Start creating content and input elements
Let’s build the document containing the information that needs to be filled out.
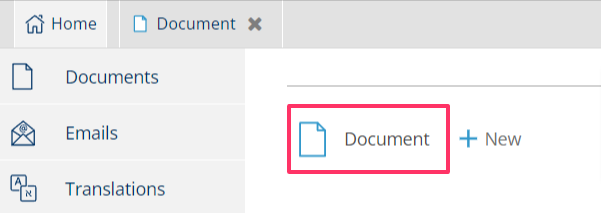
From Home, open Document to start creating content.
A number of different input elements are available to collect data in different formats: free text, date, checkbox etc…
From the left sidebar, navigate to ‘Components’ tab to see the ready-made input elements to drag and drop to the main body content.
In this sample, we are collecting a name and a phone number in a Section with 2 columns and paragraphs.
In the first column, list the data you wish to collect (here, “name” and “phone number”).
Start inputting Form elements from the left sidebar to the second column
Text: is mostly used because later its type can be changed to fit with the value that you want the users to enter.
RTF: is Rich Text Field where users can enter text in different lines and formats.
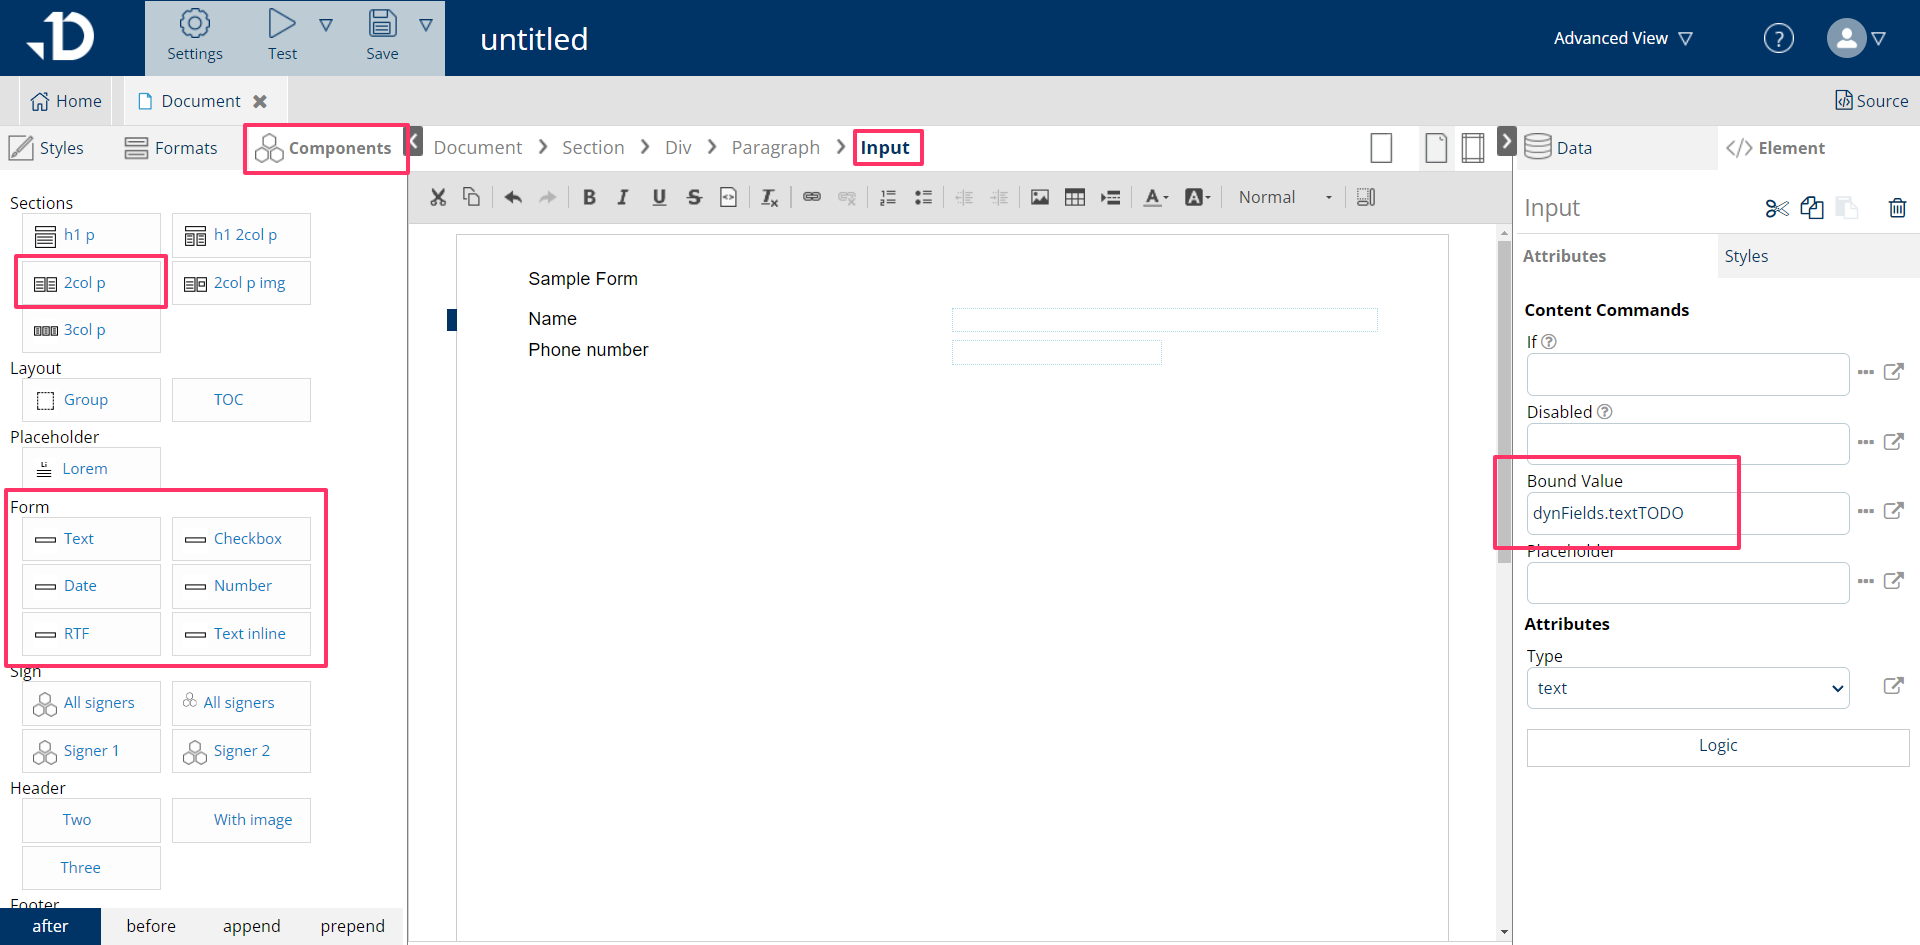
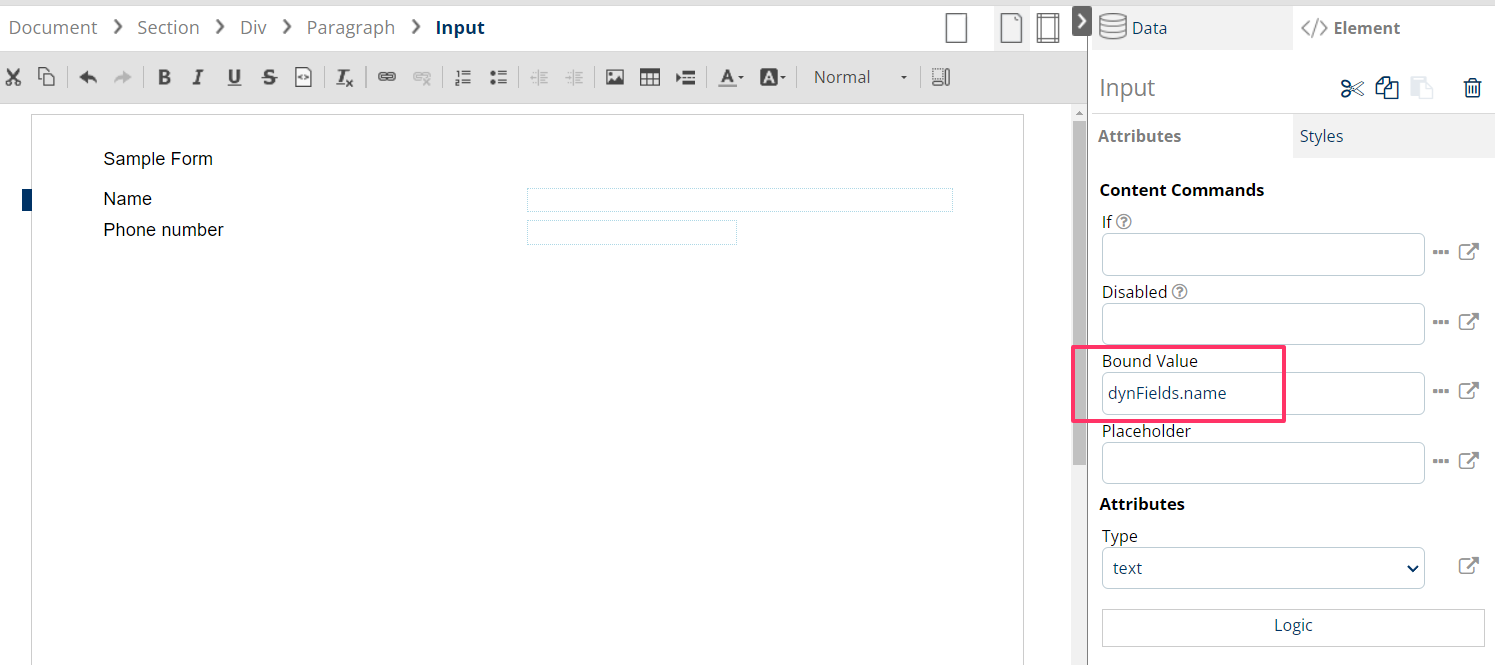
After adding the input elements, give it a distinct Bound Value. This will become the variable name of the content that is filled in by the users and can be used anywhere later in the Document or the template flow.
The Bound Value should be unique, and it should always start with the prefix ‘dynFields.XYZ’.
Configure in Main Flow
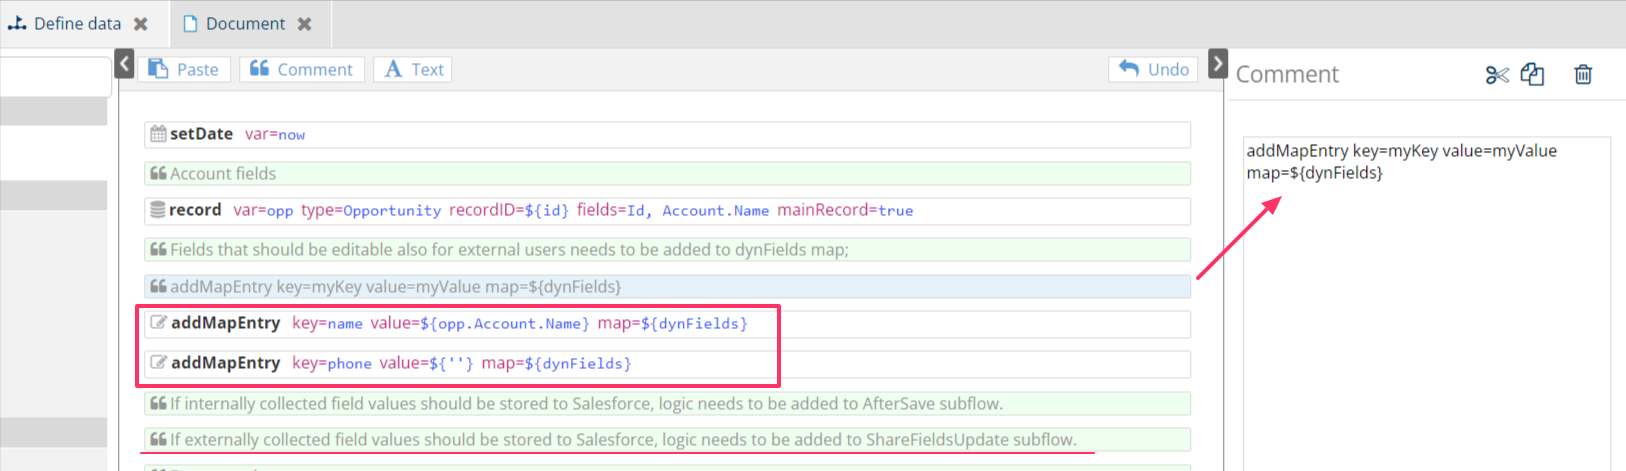
Navigate to open Main Flow from Home > Custom Data > click Edit Step under Define data step
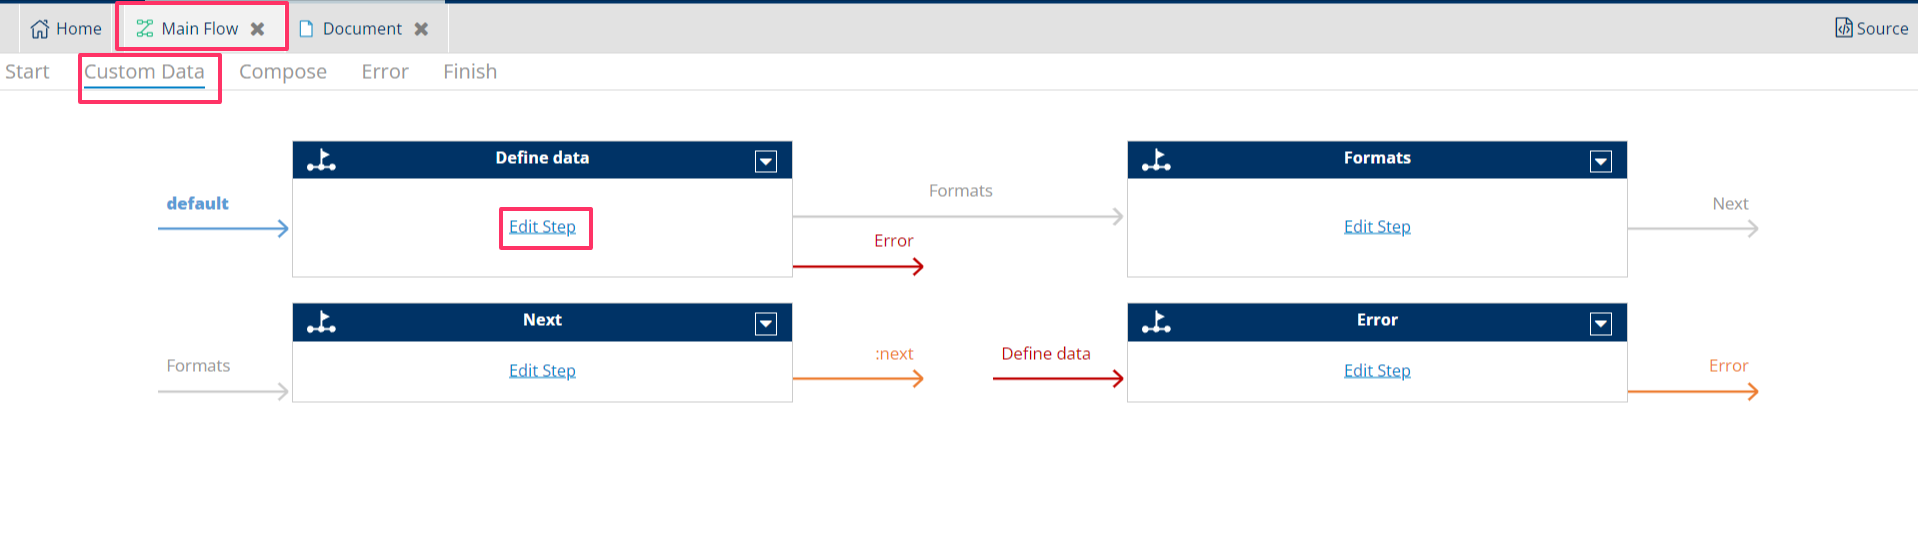
In this step, add addMapEntry commands to record the keys and its value to the Flow. Since the Bound Value we defined earlier is 'dynFields.name' and 'dynFields.phone', we need to add two addMapEntry commands.
key: is the later extraction from Bound Value
value: can be left empty or entered with dynamic Salesforce field to populate inside the input box
map: is always ${dynFields}
Further instructions are available in the comments:
If the form is shared internally and collected field values should be stored to Salesforce, logic needs to be added to AfterSave subflow.
If the form is shared externally and collected field values should be stored to Salesforce, logic needs to be added to ShareFieldsUpdate subflow.
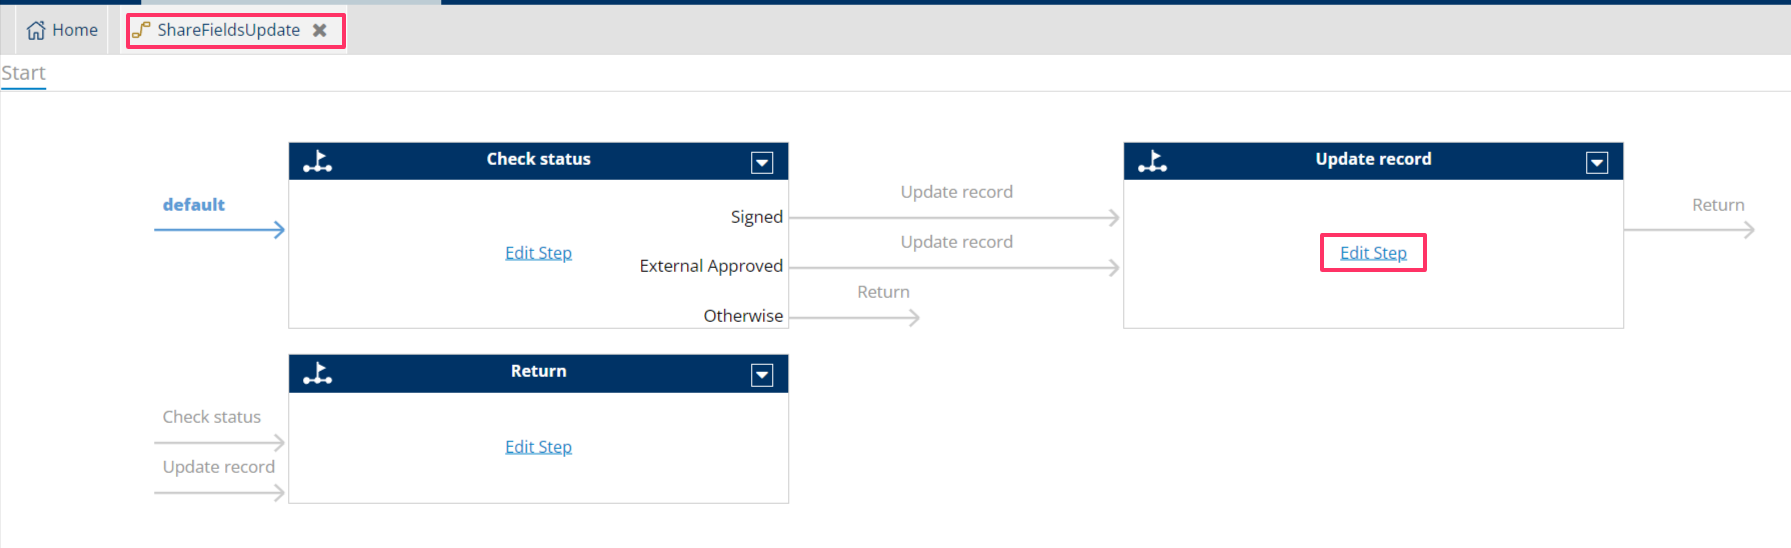
Configure the ShareFieldsUpdate subflow
Navigate to ShareFieldsUpdate from Home and select Edit Step on Update record step
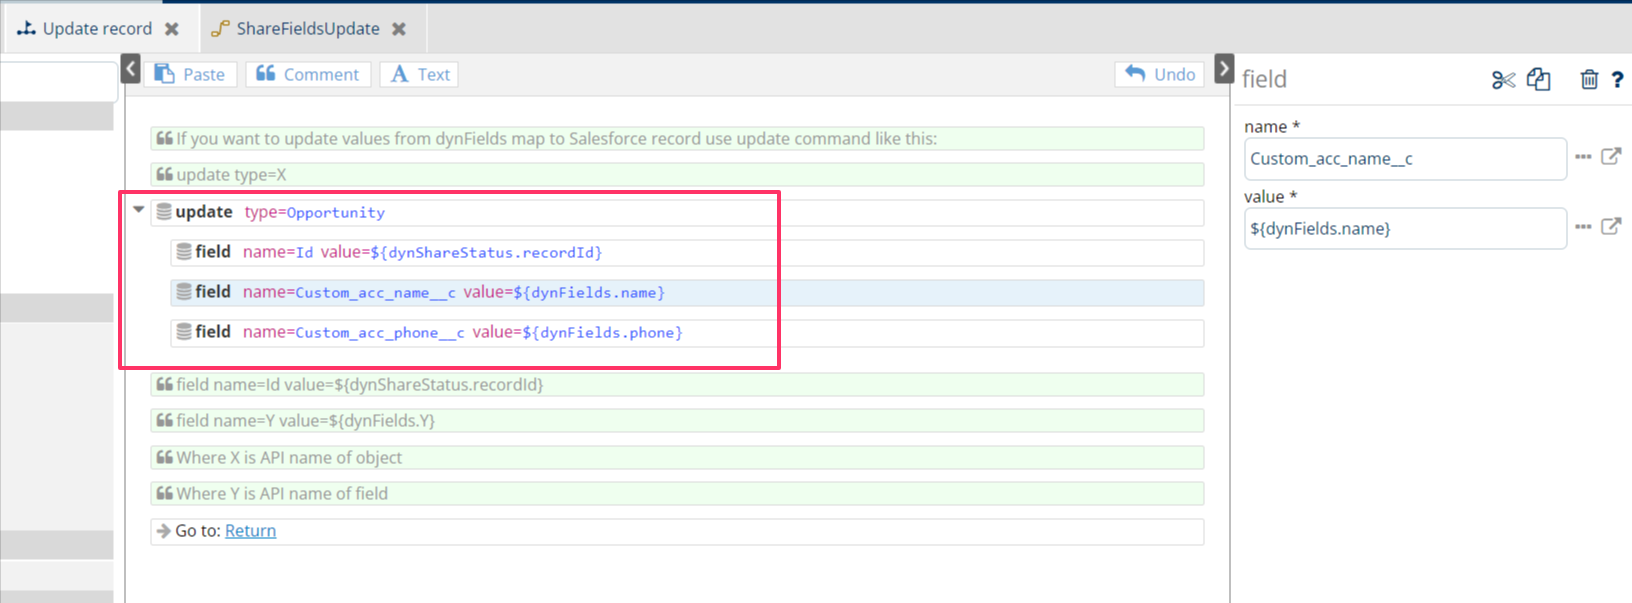
To save collected data back to Salesforce, the updatecommand is used.
update: the type entered is the API name of the main object. For example, Opportunity or Account or Custom_object__c
Id field is compulsory in
updatecommand. Value should always be ${dynShareStatus.recordId} if it refers to the main object of this template.Adding more
fieldcommand to update the necessary fields. For example, the input entered in name box will update to ‘Custom_acc_name__c’ custom field under Opportunity.
Configure in Settings and Test
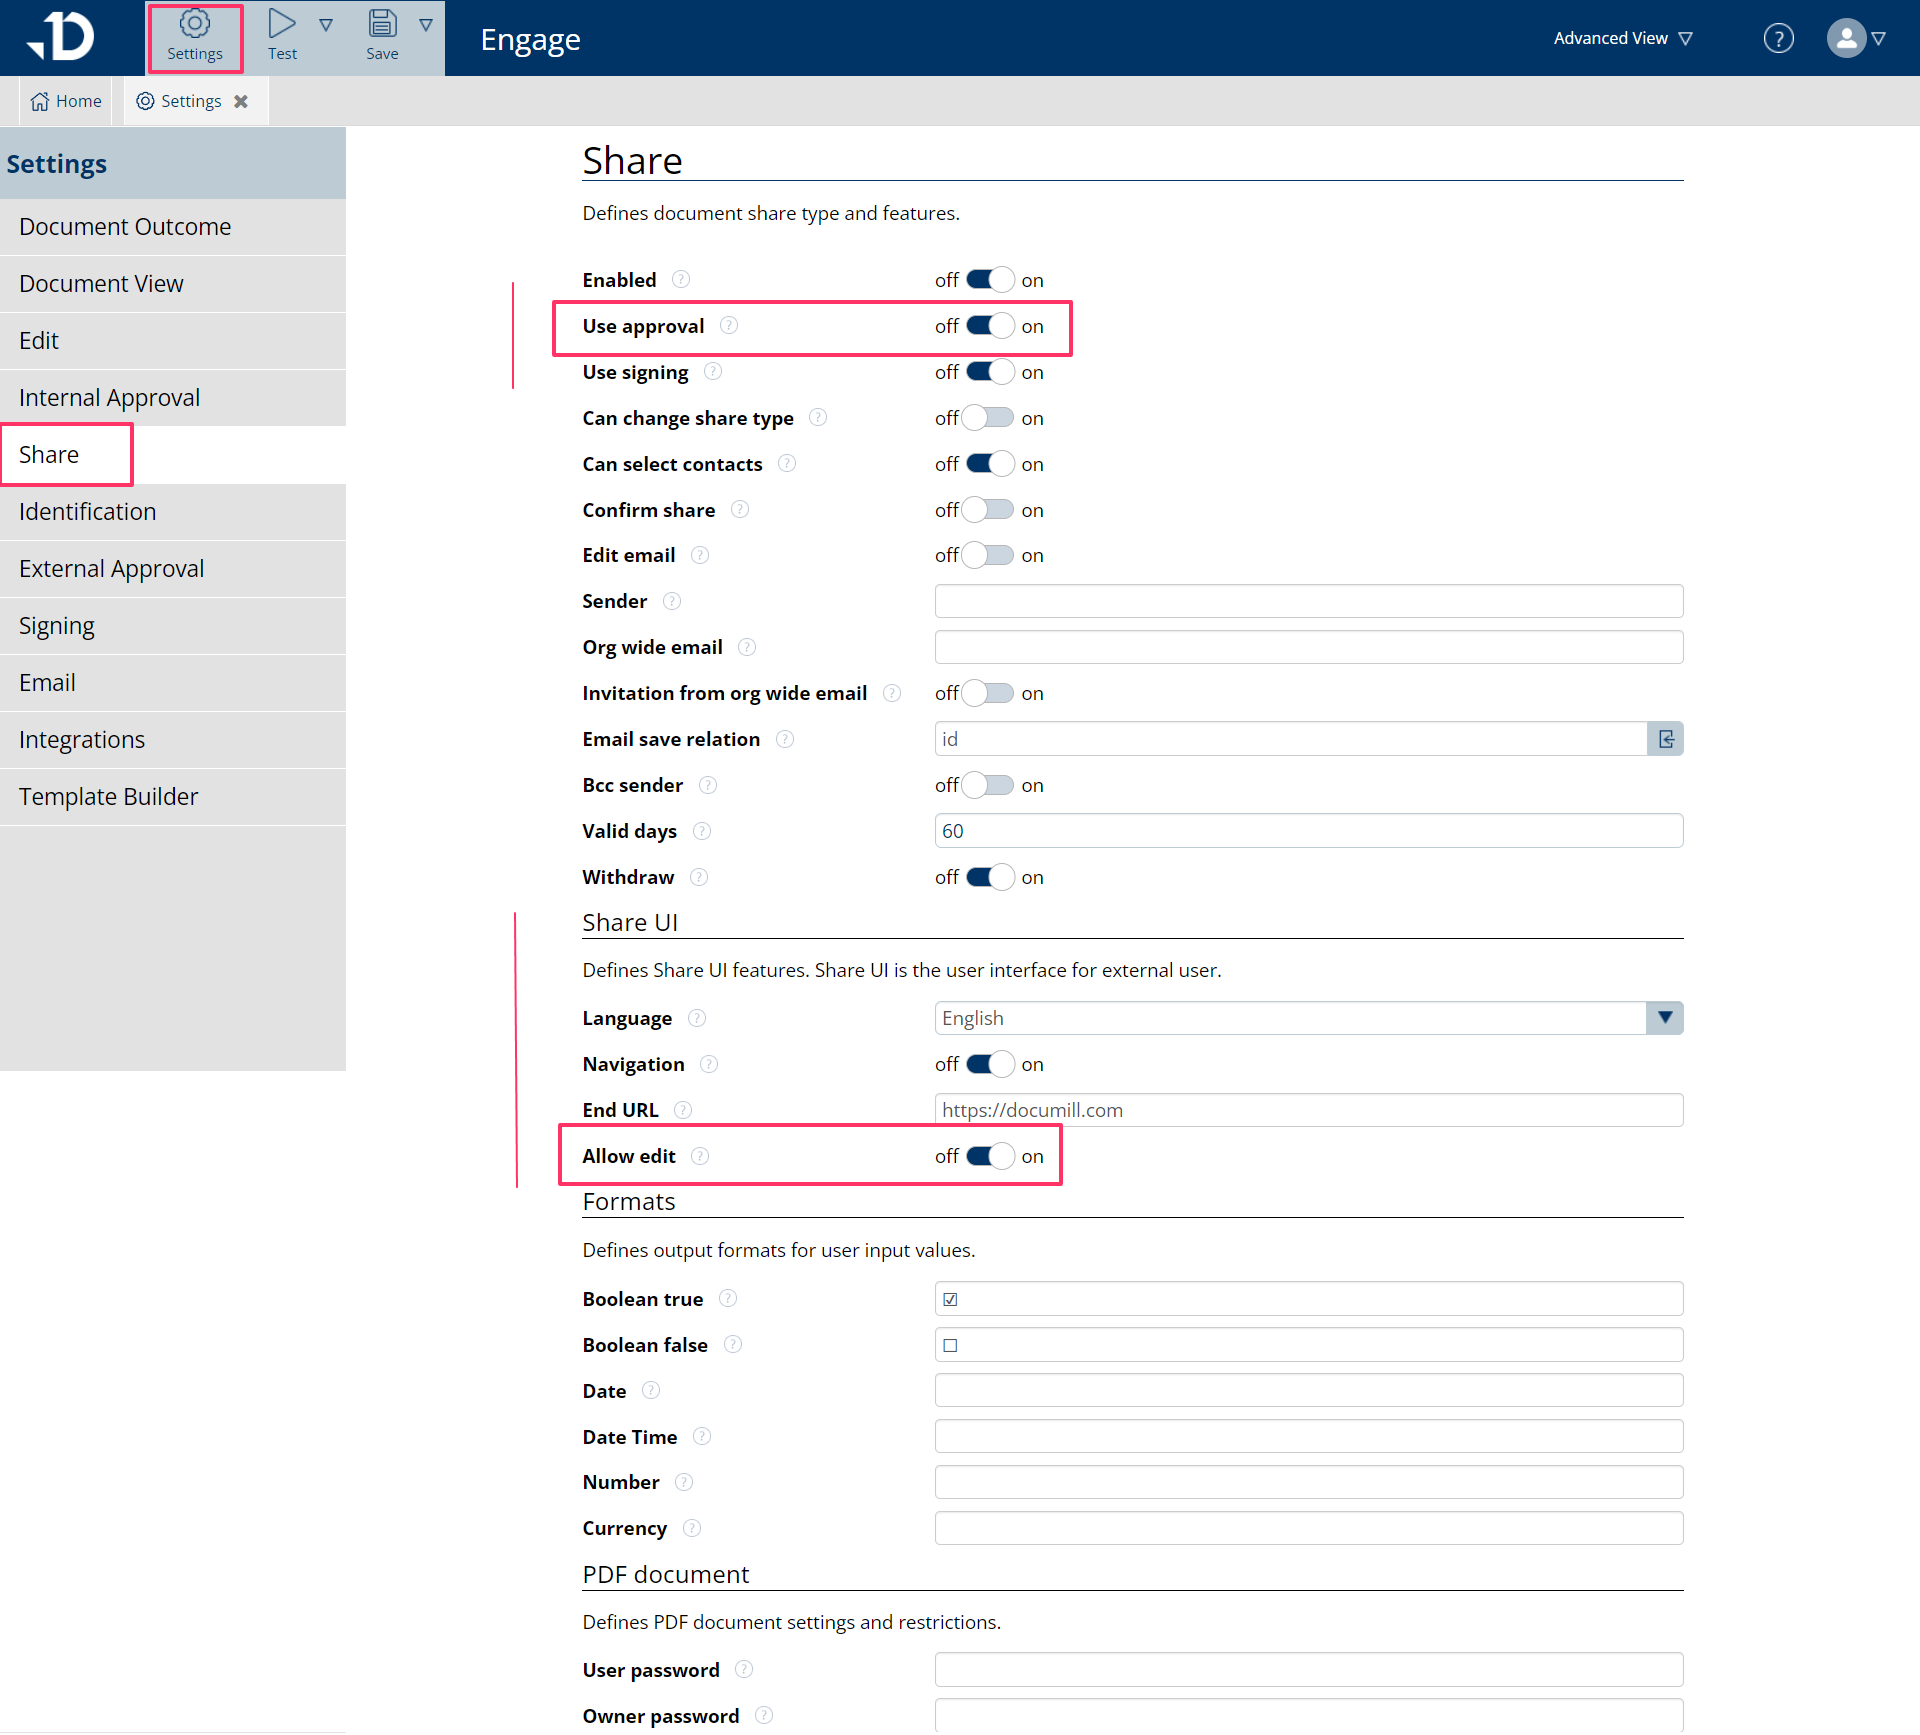
Navigate to Settings button in the top left corner and choose Share tab.
Make sure that:
Use approval is on
Share UI > Allow edit is on
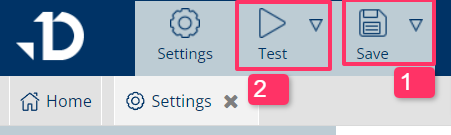
Make sure to first Save the template, then Test.
A normal test flow will be the user clicking on the button to generate the shareable document.
> click on Share button and select a contact to share to
> the contact receives the link to the document, and when they click on it, they will be able to input text to predefined text boxes. When done, they can click on the Approve button to submit.
> the input information will instantly update to Salesforce based on what we have defined in the ShareFieldsUpdate subflow.
> finish testing, check if the information gets recorded in Salesforce.