Overview
Dynamo Online is the browser based solution for document automation. With Dynamo Online, you don't need Microsoft Office applications to create the template. All the work can be done on a web browser such as Chrome. As the result, the document that generated by Dynamo Online can be previewed and edited on the web browser. The final document will be converted into PDF for saving, printing or sending to your customers.
The Template Builder is the tool to create online templates. The template created in Template Builder has the file extension as *.dap
The Online Template file
A template file includes multiple parts to be compiled in the process. Different template parts are:
Document templates: Define the content and layouts of the document to be created. Two types of document template parts:
-
Body Content: the main content of the document
-
Margin Content: the content assigned in the margin layout, such as headers, footers or the side content (on the left and the right margins)
-
Email Content or Email Template: the content of email body when sending out the final documents.
The Settings or the Main flow logic (in Advanced Template): Define the document-driven process such as when to collect end-users information, which external files to be merged in the PDF as attachments, where to save the final documents, or how the internal approval process to be.
Template Builder Overview
Launching Space
New Template
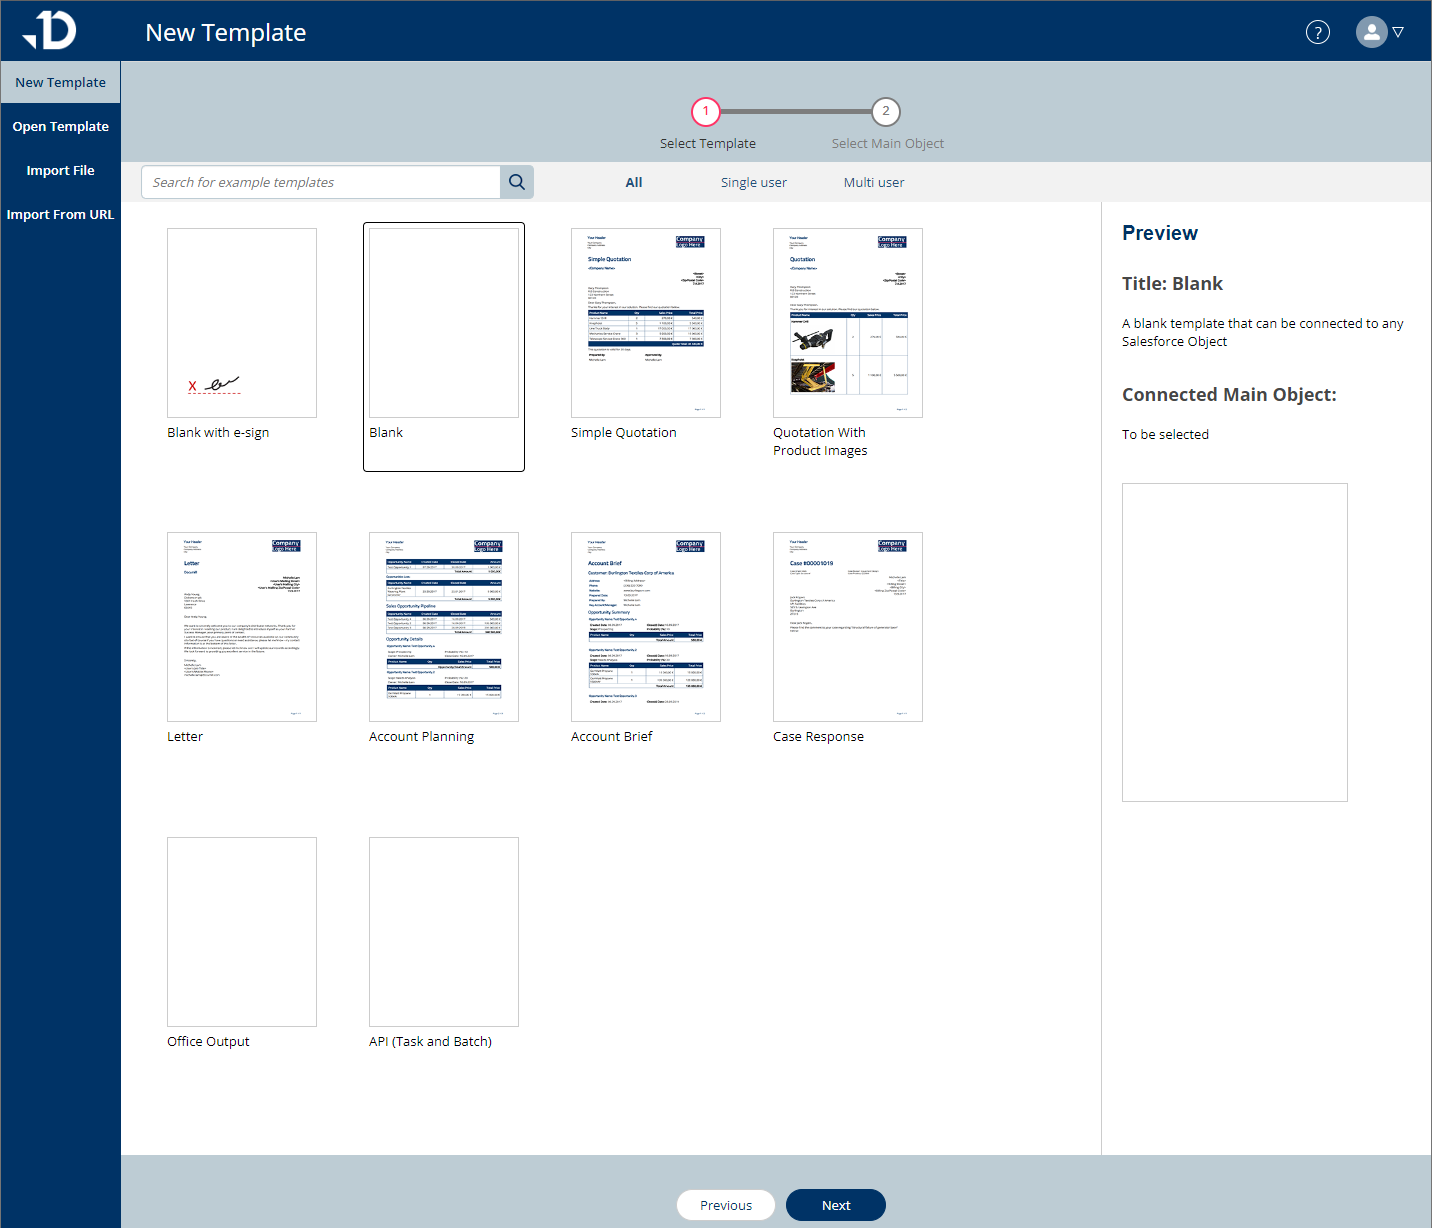
You can create a new blank template, using any object in your Salesforce as Main Data source, or modify one of our ready-made templates. Each ready-made template uses a specific Salesforce standard object as the Main Data source.
-
Select a Blank template or a ready-made template to be created.
-
Search or filter the list of ready-made templates to look for one that fits your needs. We are working on providing more ready-made templates.
-
Preview the template details to know more about the ready-made templates.
-
After selecting the right template, click Next to continue the process.
Open Template
To open template files stored in your Salesforce.
-
List of template files
-
Select to filter the template list

Import Template
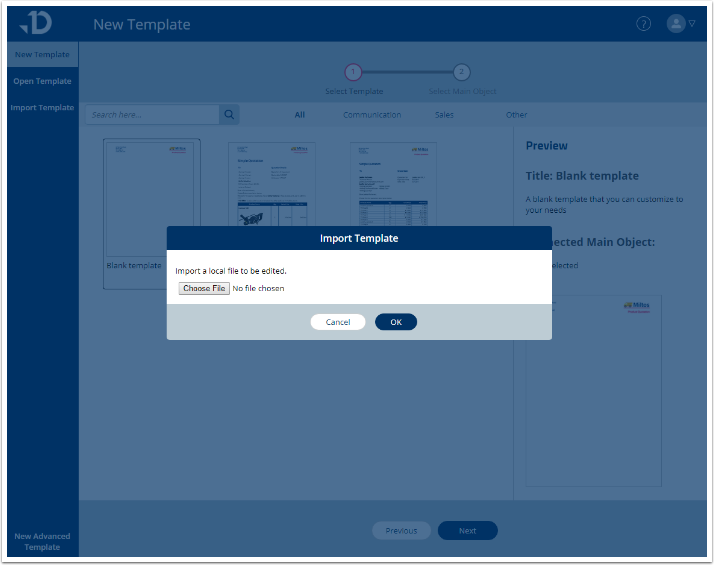
To move a template file from one organization to another, for example from Sandbox to Production, you can export the template file and save to your computer, then login to a new org and import it.
Select "Import Template" will open a window for you to browse to the template file stored in your computer.
Template Builder's Workspace
When a template is opened, you can create the content, edit the layout or configure all the logic inside the template's workspace
-
Home button: select to leave the template and go to Launching Space
-
Navigation Bar:
-
Select Document to work with the content
-
Select Settings to configure the template logic
-
Click Test to preview the template with Salesforce data
-
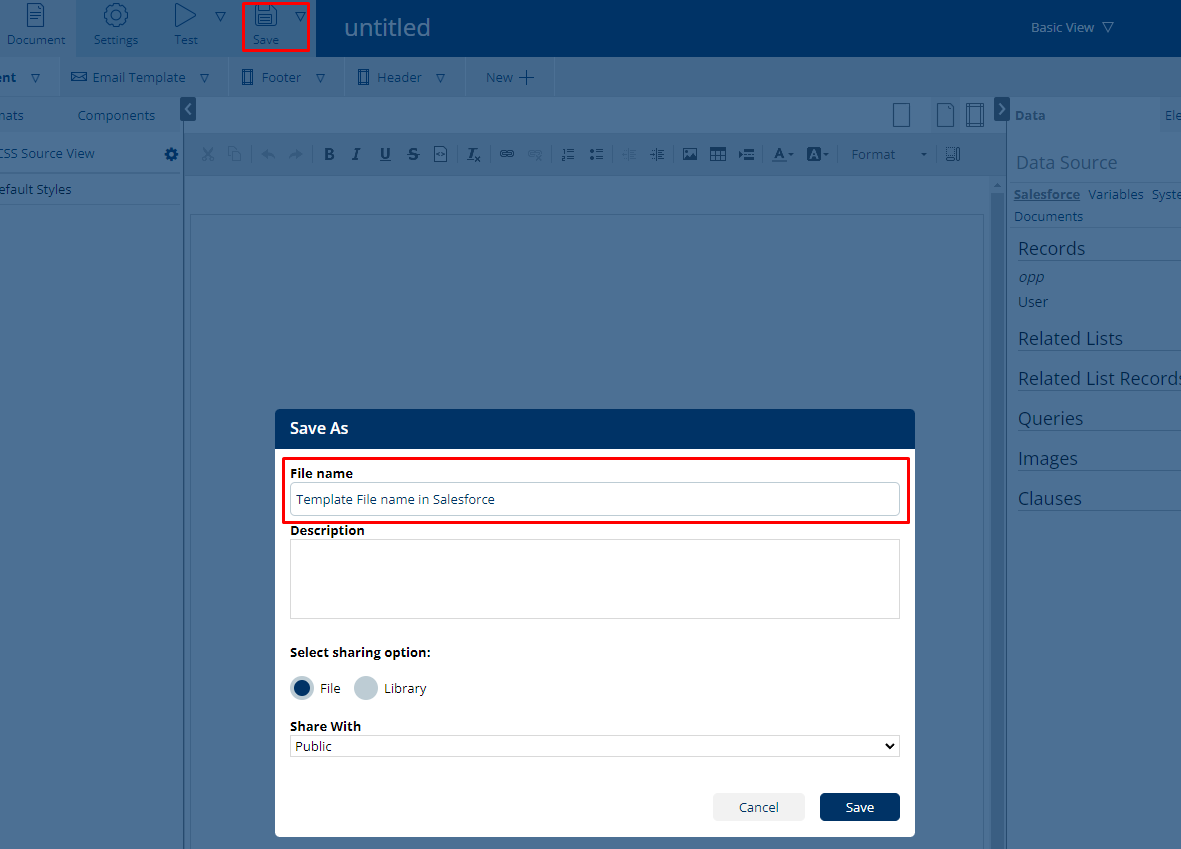
Click Save to save the change
-
-
Template file name: The file name saved in Salesforce
Document
-
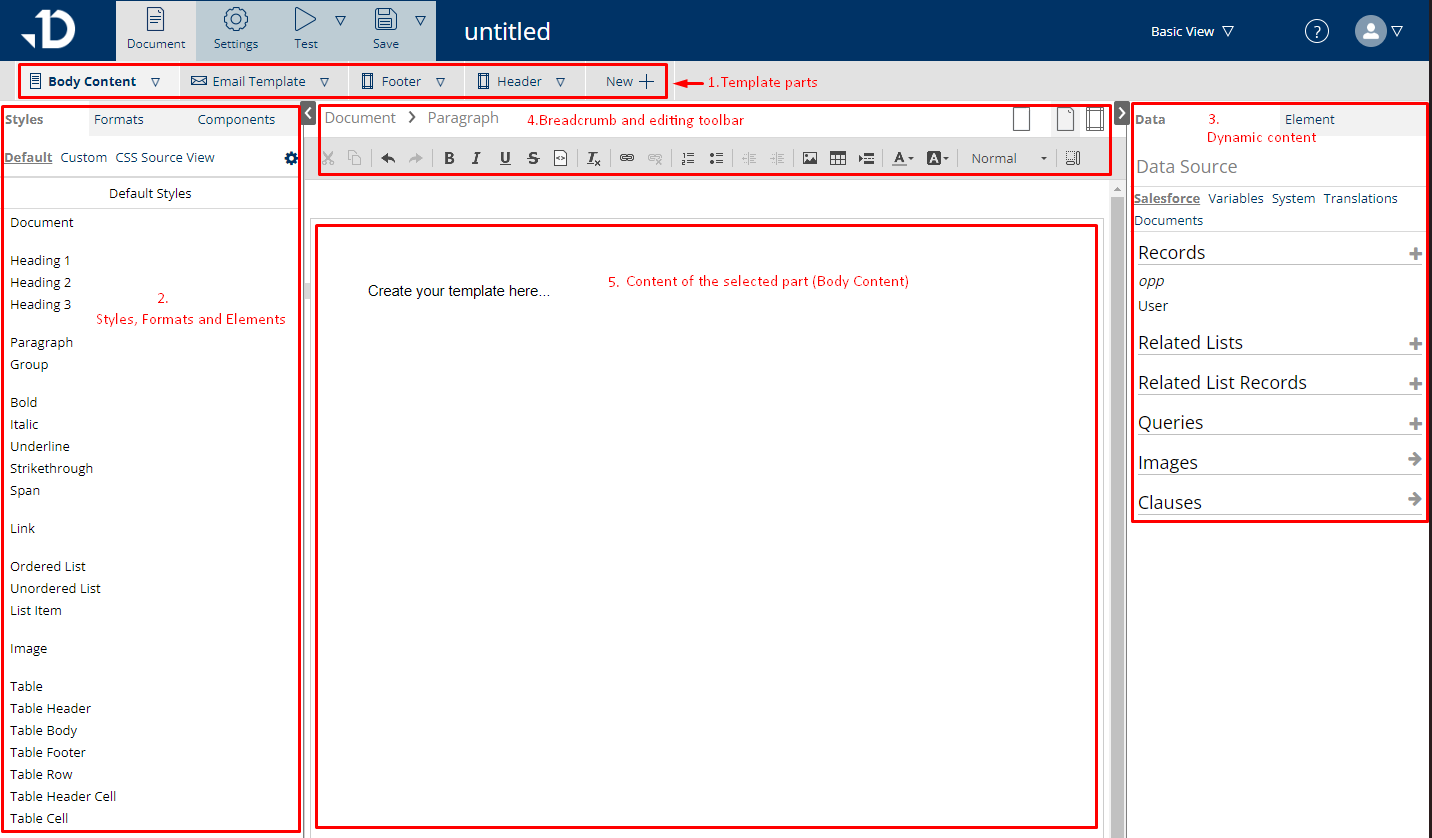
The template parts
-
Left-pane: to add Elements or edit Styles
-
Right-page: to add dynamic content
-
Editing toolbar and breadcrumbs
-
The content of selected part
Settings
-
Functionality Tabs

-
Setting Options for each Tab
-
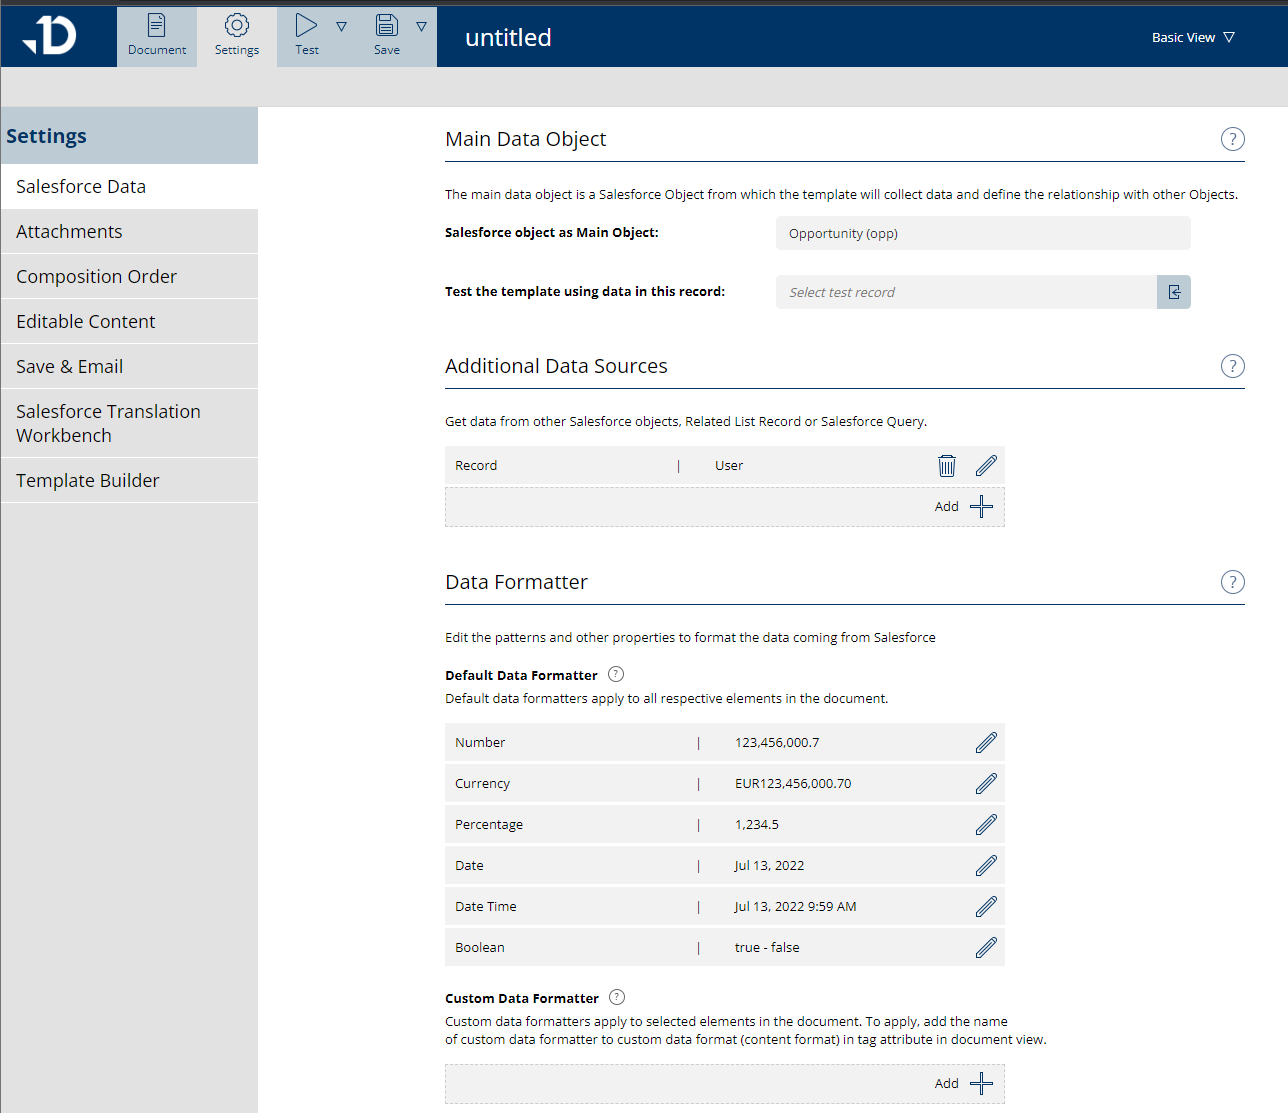
Salesforce Data, where you can define the main object, add additional data sources, create data formatters or modify the default formatters.
-
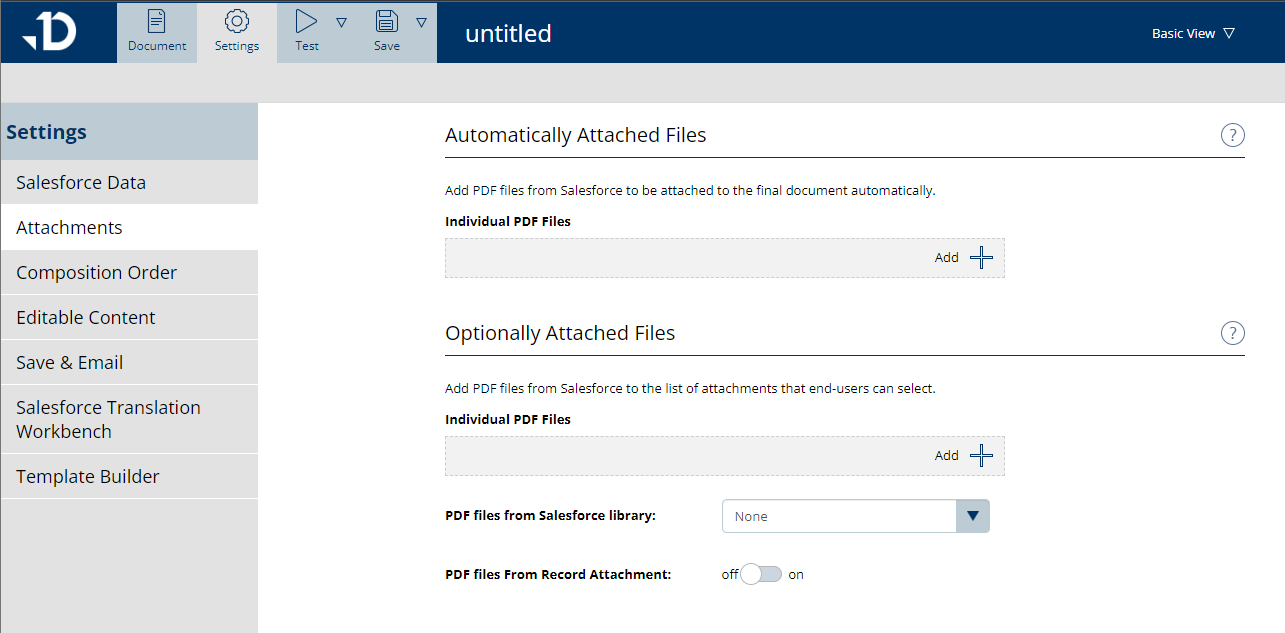
Attachments, where you can select files from Salesforce that will be automatically or manually attached at the end of the document.
-
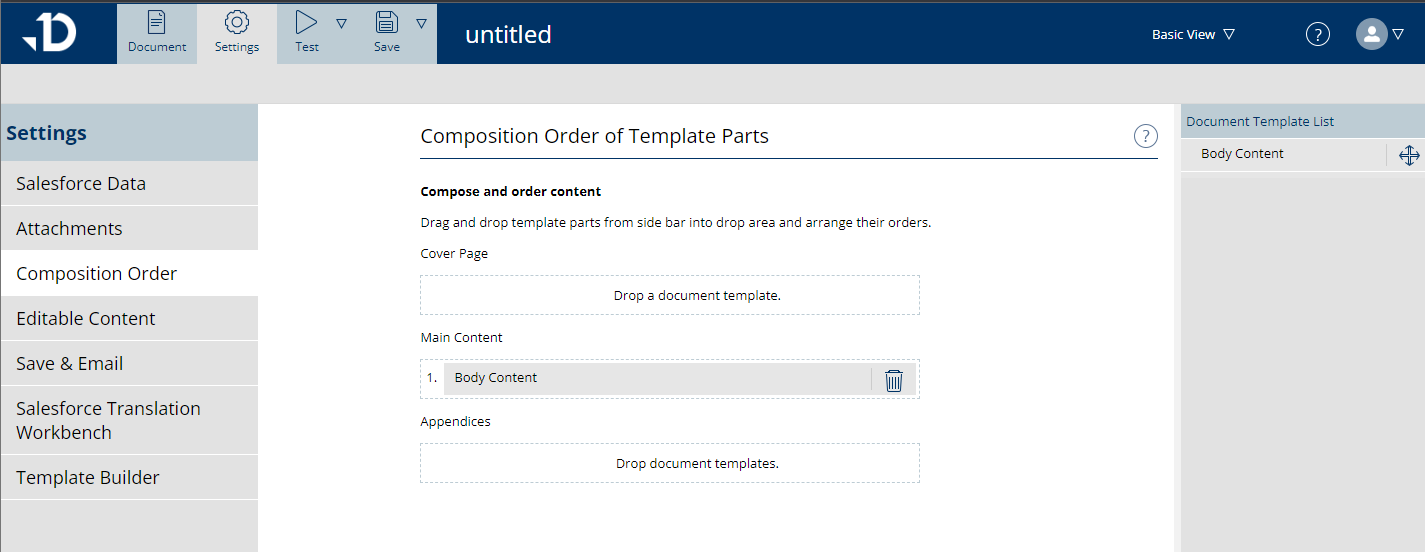
Composition Order, where you can define the order in which various template parts are ordered during document generation.
-
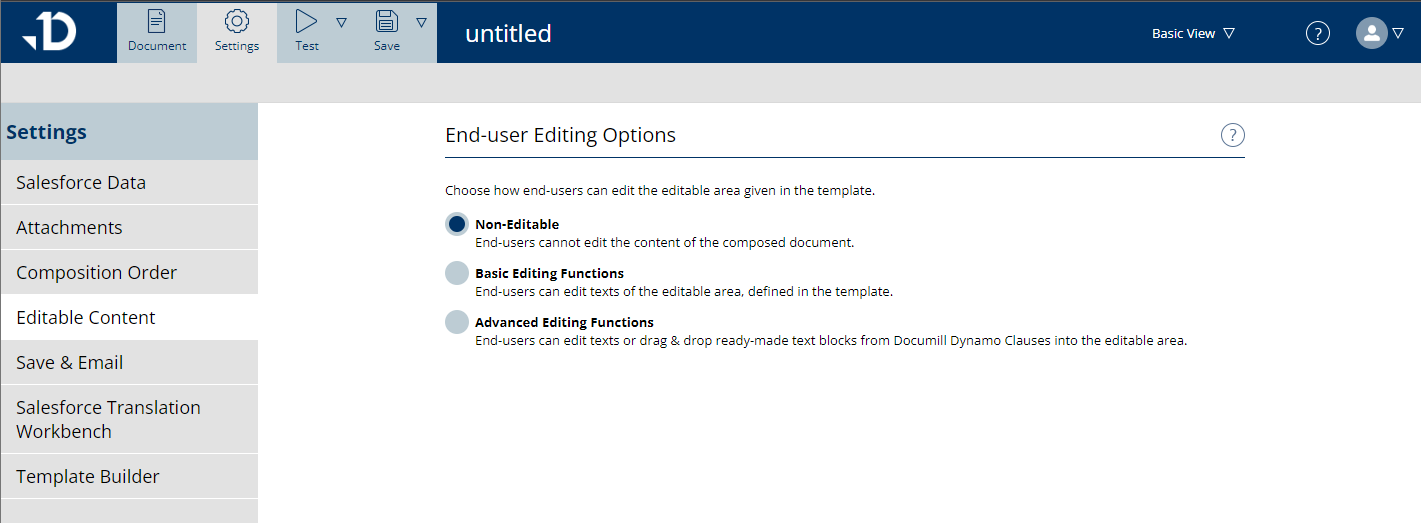
Editable Content, where you can define the editing capabilities of the end users.
-
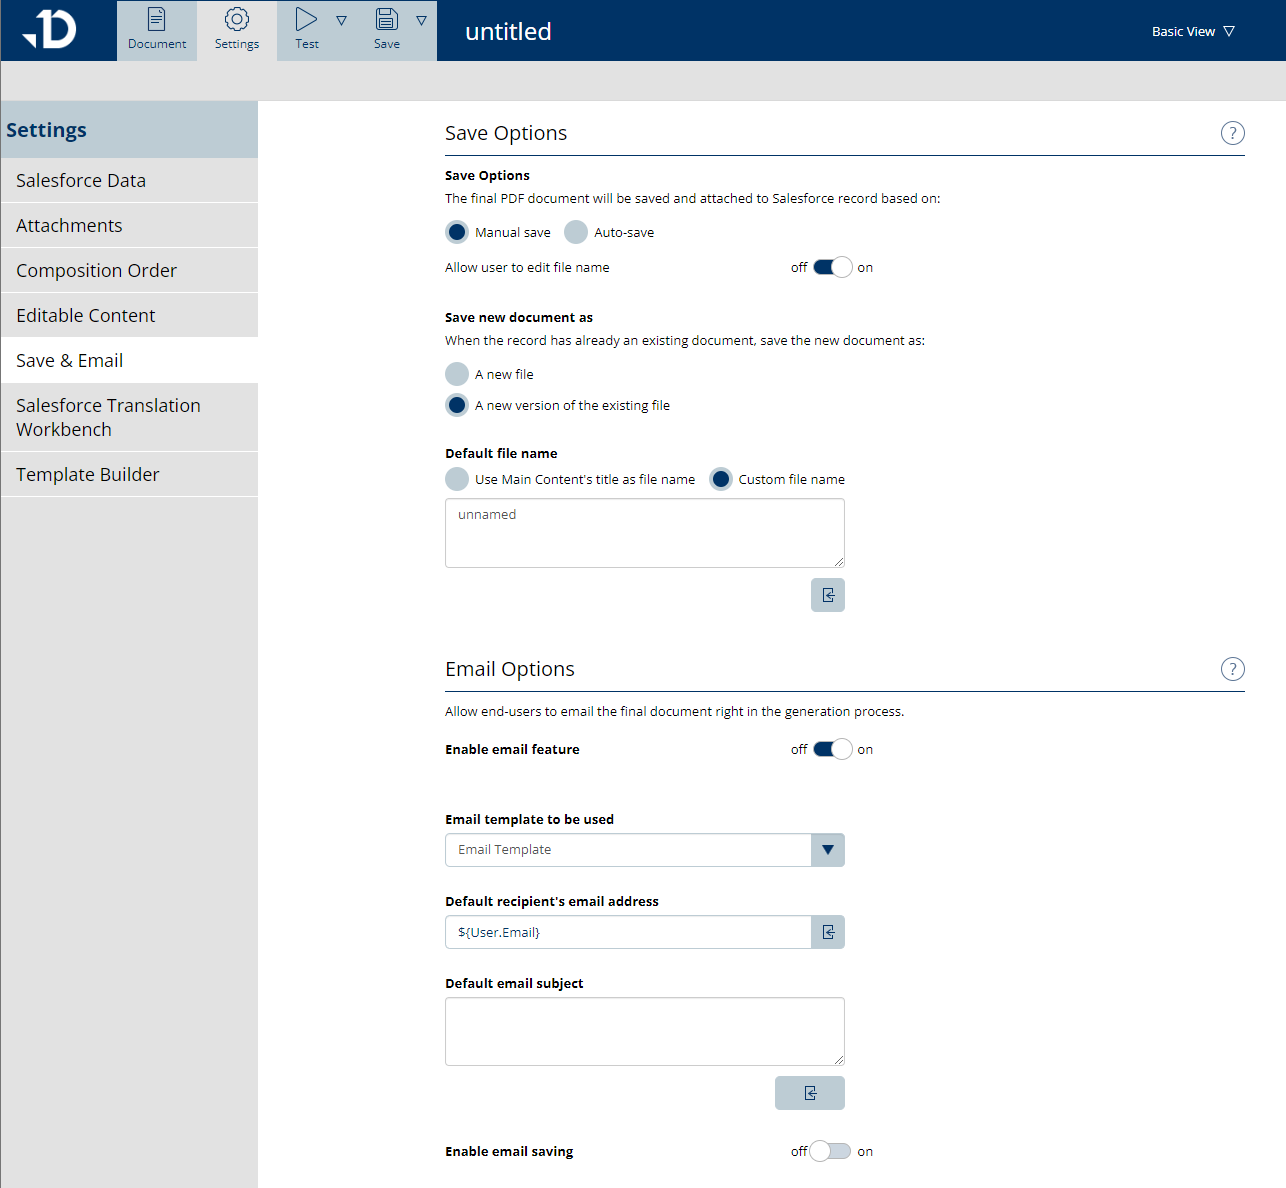
Save & Email, where you can define how the final PDF is saved, whether each run creates a new file or a version of the previous file, and also define a custom filename. Furthermore, you can enable the Email feature, and choose its email template, define recipient and subject.
-
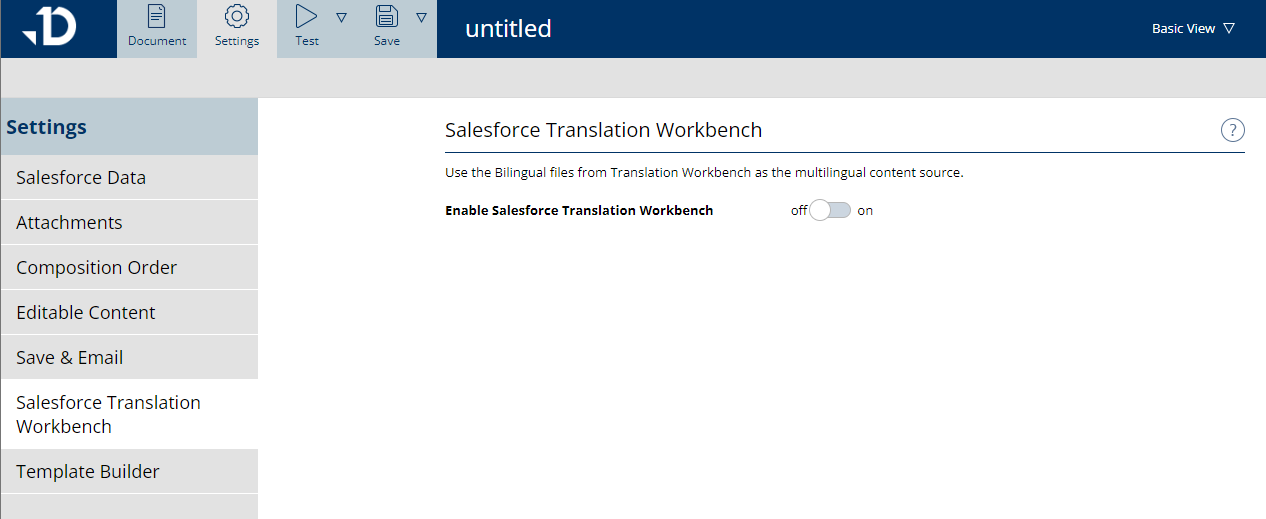
Salesforce Translation Workbench, where you can upload bilingual .zip files from Salesforce. For more details, check this article.
-
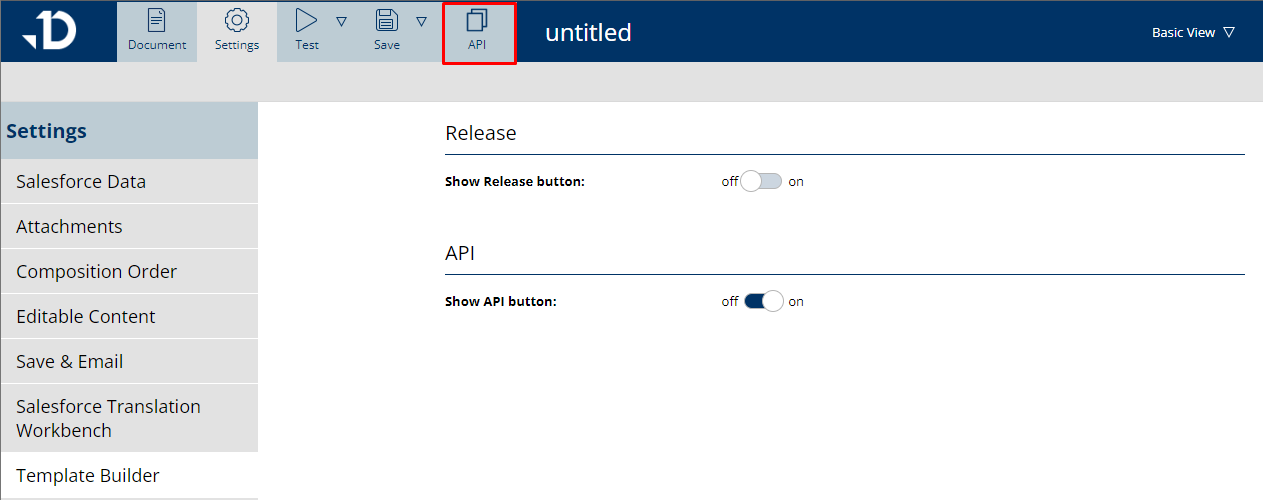
Template Builder, where you can enable the API testing page. For more details on the API, please check this article.
-
