Since the Dynamo for Office add-in is an extension for MS Office, it needs to be added individually in each end-user's Office application. To start the process, the user needs to be logged in to Office 365 when the Office application opens.
Inserting the add-in to any Office application (Word, Excel or PowerPoint) will enable it also for other Office applications.
Prerequisite
Every user needs to have API enabled in their Salesforce user profile.
Installation Steps
-
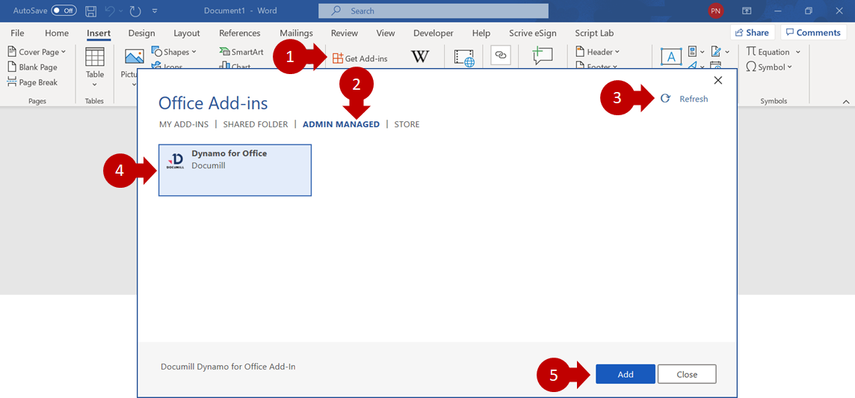
Close MS Office (all windows) and open it again. Choose 'Insert' tab and click 'Get Add-ins'
-
Choose 'Admin Managed' tab if your Office 365 admin has deployed Dynamo for Office through Office 365 admin center.
-
If 'Dynamo for Office' is not instantly visible, click 'Refresh' (on the right top corner)
-
Choose 'Dynamo for Office'*
-
Click 'Add' at the bottom of the screen
*If Dynamo for Office is not available from "Admin Managed" category, it can be installed also from "Store". Search for "Documil Dynamo" and click "Add"
Starting to use
After installation, Dynamo for Office launch button will appear in the ribbon Home tab.
-
Click "Open" button to open Dynamo for Word task pane
-
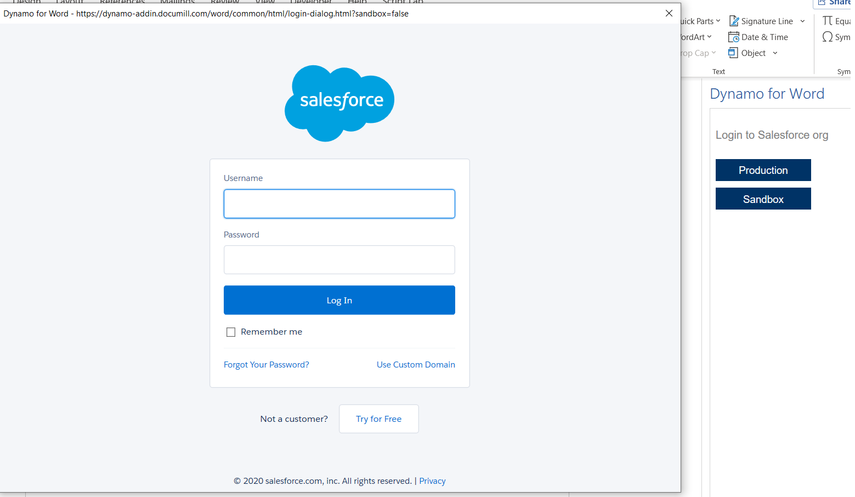
From the task pane, choose a Salesforce environment and login with Salesforce credentials
-
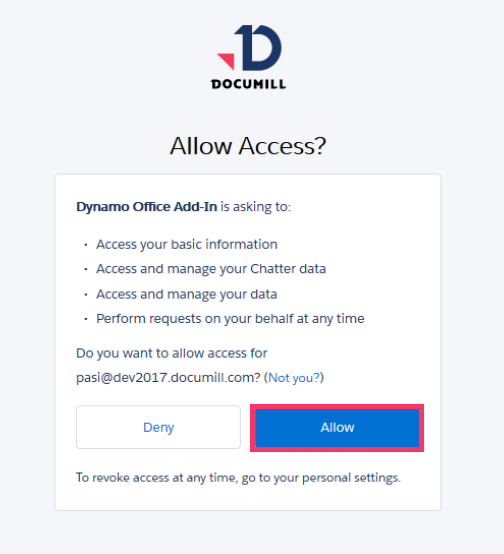
Approve “Dynamo Office Add-In” access and the application is ready for use.
Login Trouble Shooting
After login, if you get message:
Salesforce has refused the request. Verify that the logged-in user has appropriate permissions and API is enabled.
Ask your admin to enable API in your Salesforce profile.