If your template was created before June 2024, your settings may look different. For any questions contact us at support@documill.com.
Feature only available via an Automate edition.
Enabling Internal Approvals
To activate Internal Approvals, go to the template settings and select the Workflow tab. In the Engage section, turn on the Internal Approval option. If needed, you can also choose an additional external workflow. When an external workflow is selected, the Internal Approval process will take place first, followed by the external workflow.
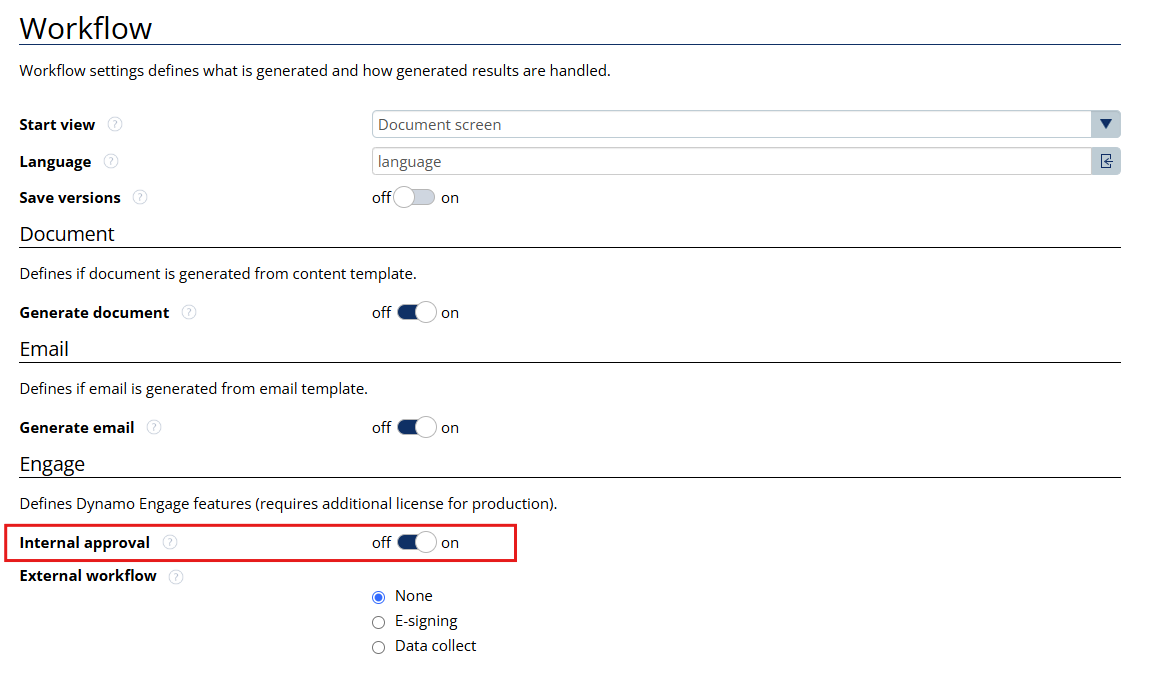
With Internal Approvals, both documents and emails can be submitted for approval. Depending on which option is enabled, the corresponding item will be sent for review. If both Document Generation and Email Generation are enabled, the internal approver(s) will have access to review both.
Once Internal Approvals are enabled, the related settings will appear on the left-hand side of the interface.
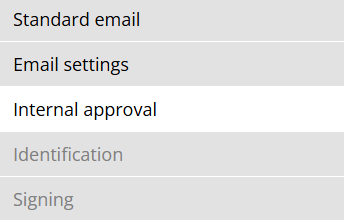
In the Internal approval section, the approvers, criteria and general settings can be set up.
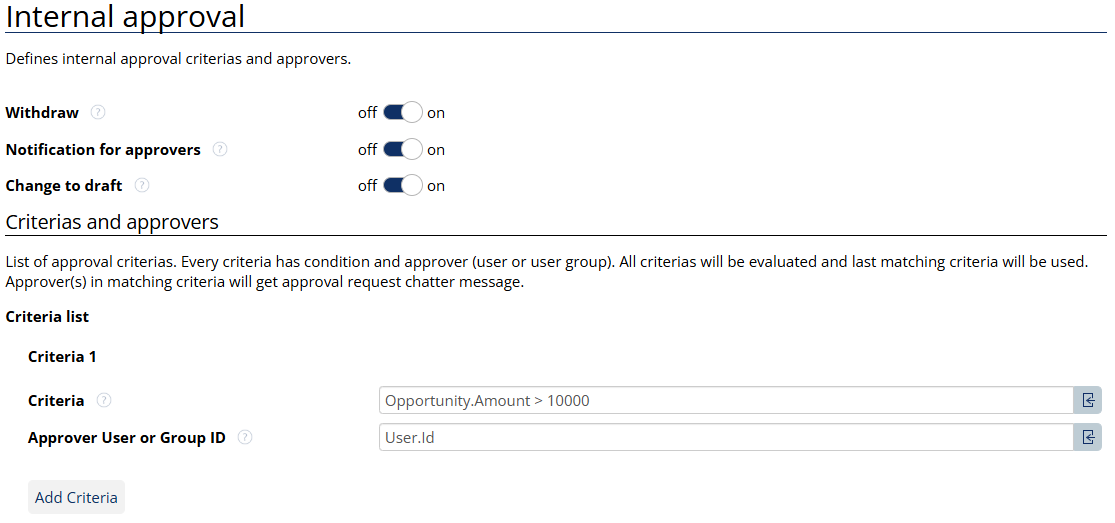
Withdraw
Allows the document owner to withdraw the document while it is waiting for approval.
Notification for approvers
An approval notification is sent to the approving group and approval requester after the document has been approved.
Change to draft
Allows the document owner to change an approver or rejected document back to a draft and restart the process.
Criterias and Approvers
You can add multiple approvers or approver groups as required. The User or Group ID field accepts either a valid Salesforce user ID, a group ID, or an expression that resolves to a valid ID.
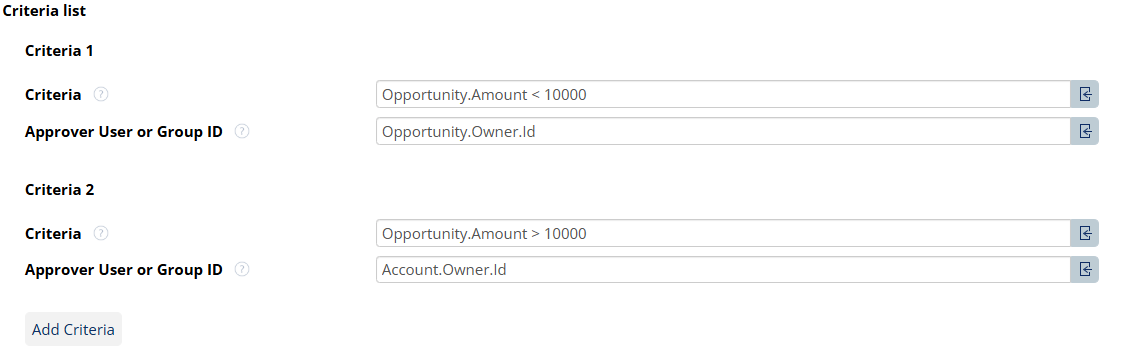
Each approver or approver group can have its own triggering criteria. You can add criteria by either typing it manually or building a condition through the user interface. All approvers whose criteria evaluate to True will be notified simultaneously. When a document is sent to multiple approvers, only one approver needs to approve or reject it, after which the document’s status will update for everyone involved.
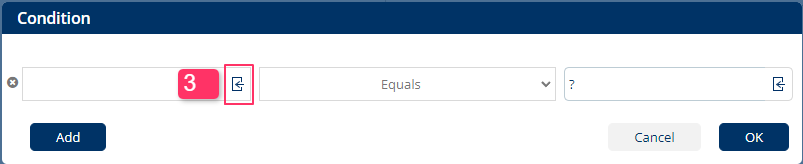
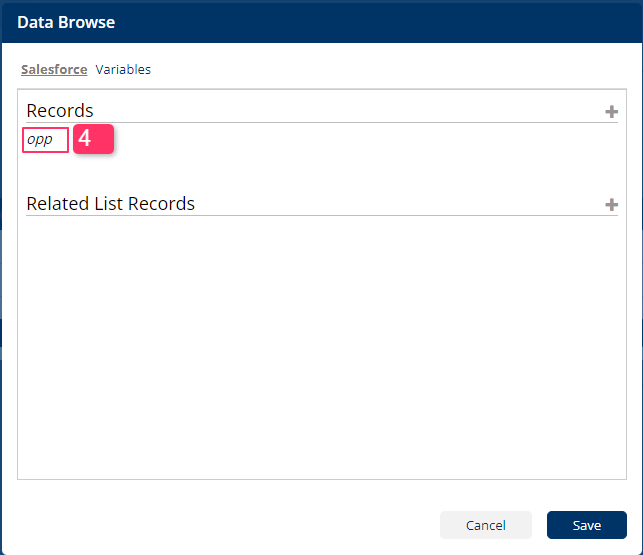
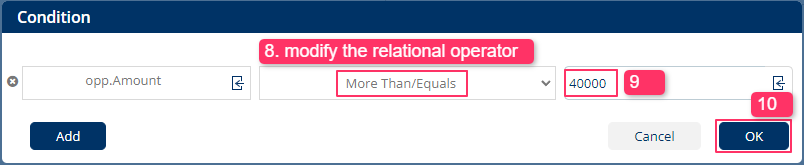
Adding Approval Criteria