Upgrade a Standard Template to Engage
The Standard and Engage templates are primarily different in the background logic that enables their functioning. This page will break down the migration process into simple steps that users can follow.
The Documill Support team is happy to assist in migrating your templates. Just contact support@documill.com!
Export the Basic Template Parts
The first step in the process is to extract the parts from the Standard template that are needed in the Engage template. To do this, open the desired template in the Dynamo Template Builder (http://dae.documill.com).
Within the template builder, start by ensuring that advanced view is selected in the top right corner.
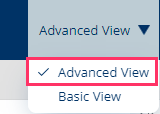
Enabling advanced view should present you with a screen like so:
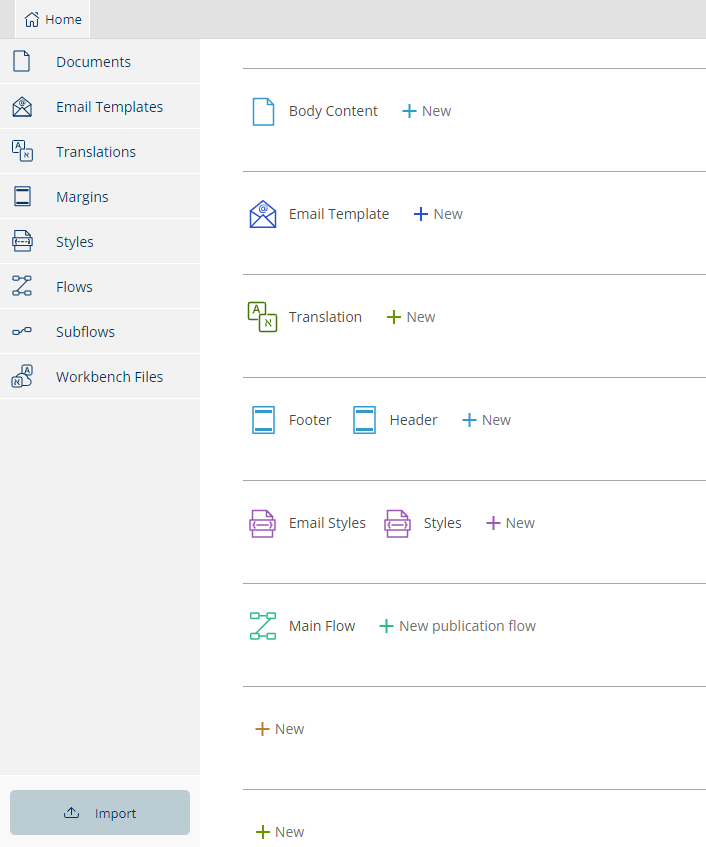
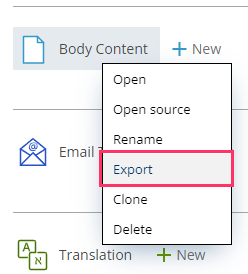
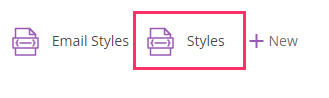
Depending on your template, you might observe multiple parts in each section. The next step is to export the required elements, such as Body Content, footers, headers, Email Template and Styles. This can be accomplished by right-clicking on the desired part and selecting Export. This action will prompt you to download the selected template part. Please note that Main Flows cannot be exported; this will be covered later.
While the Styles can be transferred to the Engage template, some adjustments might be necessary.
Continue exporting all the template parts which are to be included in the new Engage template. It is recommended to save them in a single folder for easier tracking.
Create a New Engage Template
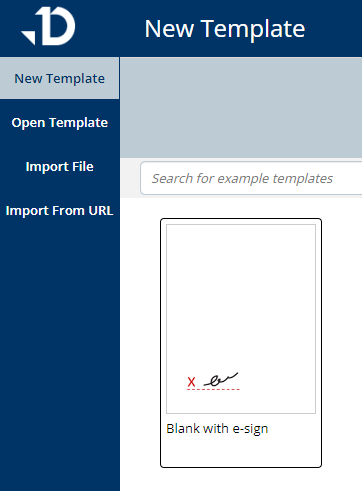
Now that all the necessary template parts have been exported, it is time to create an Engage Template. Return to the home screen of the Template Builder, and on the left-hand side, select "New Template," followed by "Blank with e-sign."
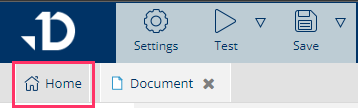
Once a new Engage template is created, click on the “Home” tab.
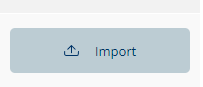
In the next screen, you will have the option to import template parts. Click on the “Import” button in the bottom left corner of the screen. Use this button to import all the parts you have previously exported from your basic template.
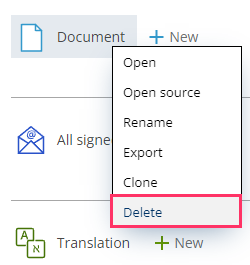
After importing the Body Content, it needs to be renamed to Document. First, delete the pre-existing Document part in the new Engage template.
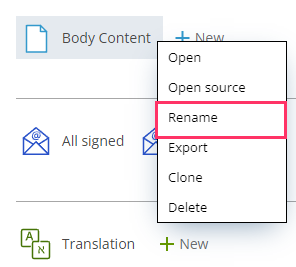
Once it is deleted, import the Body Content which was exported from the Standard template. After importing, rename it to Document.
If your template uses multiple Body Contents, please refer to point 2 from the next chapter.
Modifying the Styles
The Style part that has been transferred from a Standard template will require some modification to work properly. Within the Engage Template, open the Styles.
Scroll to the bottom of the page and add the following code:
#dyn-signature-section {
  font-family: sans-serif;
  font-size: 12pt;
  display: flex;
  flex-direction: row;
  justify-content: left;
  flex-wrap: wrap;
  row-gap: 30px;
}
.dyn-sign-block {
  margin-right: 2cm;
}
.dyn-sign-block div {
  margin-bottom: 6px;
}
.dyn-sign-block .dyn-sign-company {
  font-weight: bold;
}
.dyn-sign-block .dyn-sign-date {
}
.dyn-sign-block .dyn-sign-fullName {
}
.dyn-sign-block .dyn-sign-title {
}
.dyn-sign-block .dyn-sign-signature {
  margin-top: 12px;
  height: 31px;
  min-width: 4cm;
  width: 5cm;
  white-space: nowrap;
  border-bottom: 1px solid gray;
}
.dyn-sign-block .dyn-sign-signature span {
  font-family: Cursive;
  font-style: italic;
  font-size: 1.6em;
}
@media screen {
  .dyn-sign-block .dyn-sign-signature button {
    background-color: rgb(255,140,0);
    font-size: larger;
    border-style: none;
    color: white;
    padding: 3px;
    padding-left: 20px;
    padding-right: 20px;
    border-radius: 40px;
    margin-bottom: 4px;
  }
}
@media print {
  .dyn-sign-block .dyn-sign-signature button {
    display: none;
  }
    .dyn-sign-block {
  break-inside: avoid;
  }
}
.dyn-sign-block .dyn-sign-info {
  font-style: italic;
  font-size: smaller;
}
.dyn-sign-block .dyn-sign-id {
  color: gray;
  font-style: italic;
  font-size: smaller;
}
@media screen and (max-width: 800px) {
  #dyn-signature-section {
    flex-direction: column;
  }
  .dyn-sign-block {
    margin-right: 0;
  }
}
This additional Styles will ensure that the signatures section looks as it should.
Further Required Changes
1. LOGIC
Now that you have imported all the parts from your Standard template into an Engage template, there might be further changes that need to be done. As mentioned previously, the main flow cannot be exported, as that is the core difference between Standard and Engage templates.
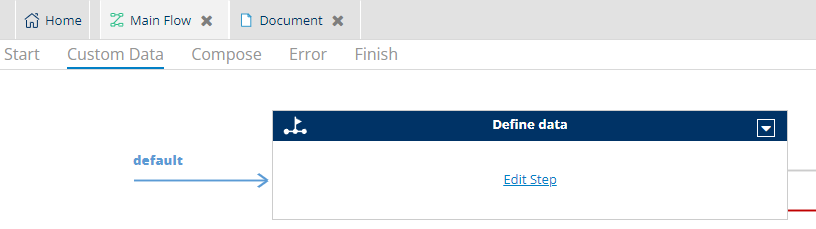
The most important part to replicate from the Main Flow is the Initialize step from the Standard template. In Engage templates, you may notice that the flow is quite different and the Initialize step does not even exist here. While with Standard templates the Initialize step is responsible for retrieving Salesforce data, in Engage templates, this is done in the Define Data step. This step can be found in Main Flow → Custom Data → Define Data.
Any logic that has been implemented in the Standard template needs to be re-done in the Define data step in the new Engage template.
2. Multiple Body Contents
If the Standard template was using multiple Body Contents, selected based on logic, the implementation is different for Engage templates. In order to achieve the same results, follow the next steps:
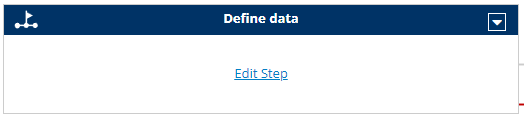
Navigate to the Main Flow and open the Define Data step.
Add a new set command called dynamicallySelectedBody

Use either if or choose command to determine which body content should be used
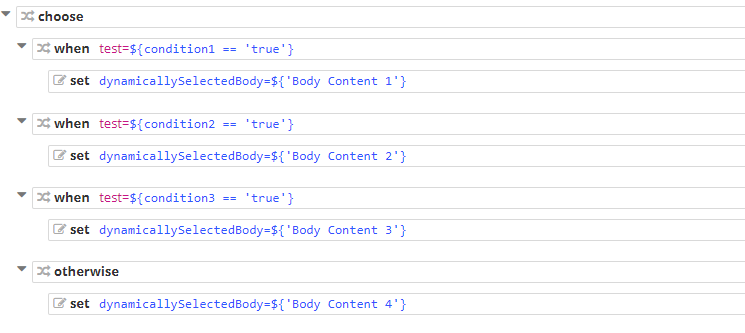
After the logic to select the Body Content to be used, add the following command:

3. Data Formats
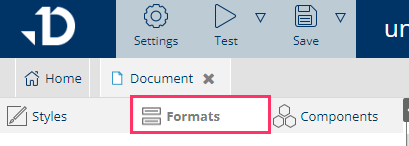
If the default data formats have been changed, or custom ones have been created, they will need to be manually re-created as well. In order to edit data formats in an Engage template, first open the Body Content, in this case, called Document.
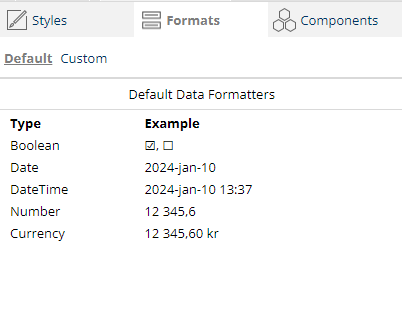
In the top left, select Formats.
Click on a format that needs to be edited and enter the required changes.
Your Engage template is now ready. Visit the other articles if you wish to add Approvals or e-Signing.
Remember to test the new Engage template and ensure the look and feel of the template is the same as before. It is possible that the styles might look a bit different, adjust as necessary.