Adding a new query
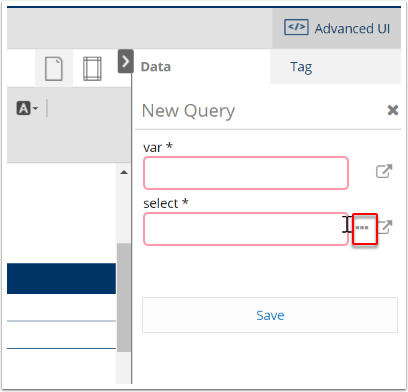
Adding a new query starts from the Data tab on the right pane. In the Queries section of the 'Data Source', click on the plus icon (+) next to the Queries heading. From the New Query box:
-
Enter a name for the variable that holds the query results (var)
-
The select attribute is where you enter the SOQL statement to retrieve the needed data. Open the Query Editor by pressing on the 3 dots icon.
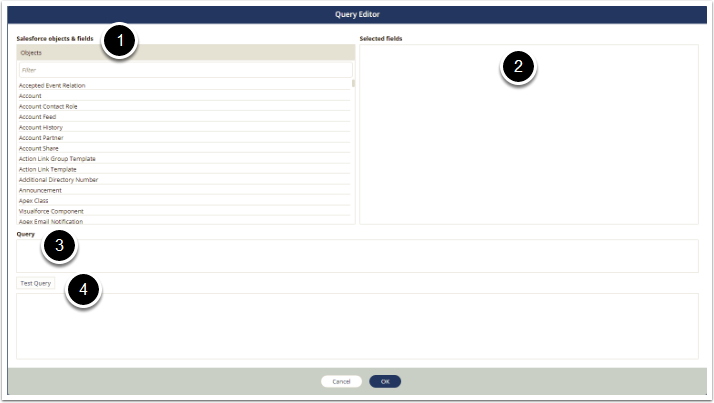
Introducing the Query Editor
The Query Editor contains:
-
Salesforce objects & fields: List of Salesforce Objects, Related Objects and fields
-
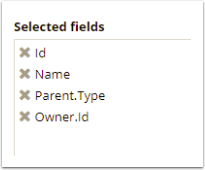
Selected fields: List of fields will be used in the query
-
Query: The SOQL syntax
-
Test Query: The result when you click Test Query button
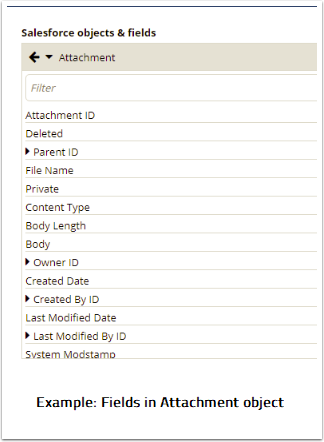
Selecting Salesforce objects and fields
Select the Objects you want to query data in Salesforce objects & fields section to see a list of fields in the object.
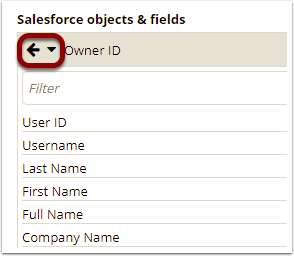
Preferred fields to related objects are included and indicated with an arrow. Select the preferred field to open the related object
Select the arrow next to object's name to navigate to the previous object
When fields are selected, the field API name will be populated to the Selected Fields section
Completing the SOQL syntax and testing query
When fields are selected, the SOQL Syntax is also populated

Complete the SOQL syntax with WHERE, ORDER BY or other query options to gather the data you need. You can use dynamic content taken from the template as the conditions. See examples in Sample Query Library
Click Test Query to revise the result
If you use the dynamic data as the condition, the Test Query will prompt error but it doesn't affect to the final result.
Editing an existing query
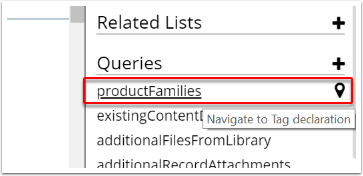
After a query is added, its name (var value) will be shown in the Queries list under Data Source on the right pane. If you would want to edit an existing query (for example to add more fields or conditions), navigate to the query name in the list and click on the location icon.
You will be led to the Advanced UI, where the template logic is declared. The chosen query is highlighted in light blue and can be edited on the right pane.
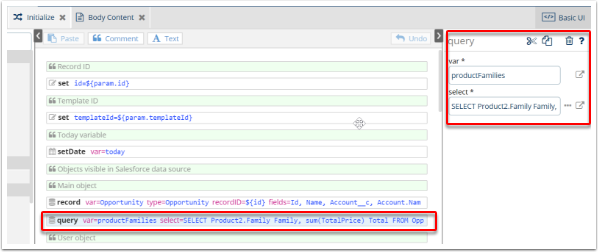
When you have finished editing the query, clicking on '</> Basic UI' button on the top right corner of the screen will take you back to the Basic UI.
