Generating Office templates requires two separate templates, an Office Content template and an Office Output template. The Office Content template holds the document layout, static text and the content commands, while the Office Output template takes care of the data processing.
Start creating an Office Template in 3 easy steps:
Create an Office Output Template
Creating an Office Output Template
The Office Output template can be created by selecting the Office Output master template in the template builder.
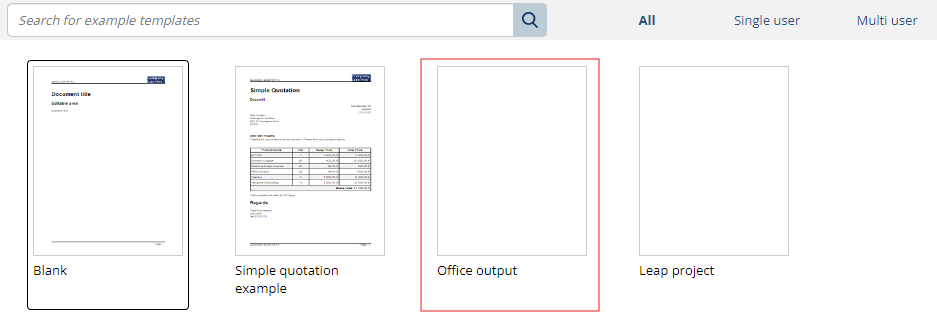
The Office Output template, allows users to set which Content template should be used. The supported formats are PPTX, DOCX and XLSX. The Content template is set via the Settings.
The template can be either loaded from Salesforce, using the corresponding ContentDocument ID, or from SharePoint using the SharePoint integration. The Output template will automatically detect the type of template added in the settings.
Loading the Office Content Template from Salesforce
-
Open the Settings in the Template Builder.

-
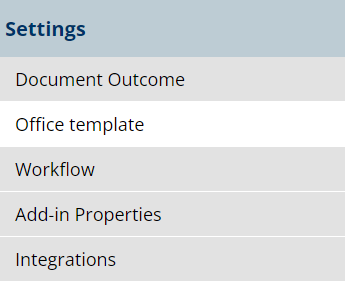
Select the Office Template tab.
-
Enter the Salesforce file ID of the desired Office template, or click on the highlighted icon to browse for the desired Office file from the Salesforce file repository.

Loading the Office Content Template from SharePoint
-
Open the Settings in the Template Builder.

-
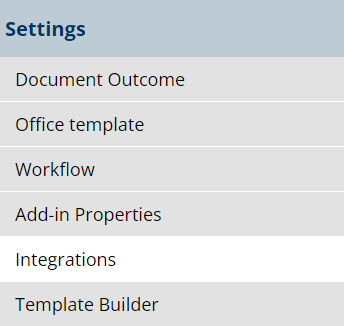
Select the Integrations tab.
-
Enter your SharePoint information and enable Load template from SharePoint.
For more information about the SharePoint integration, click here.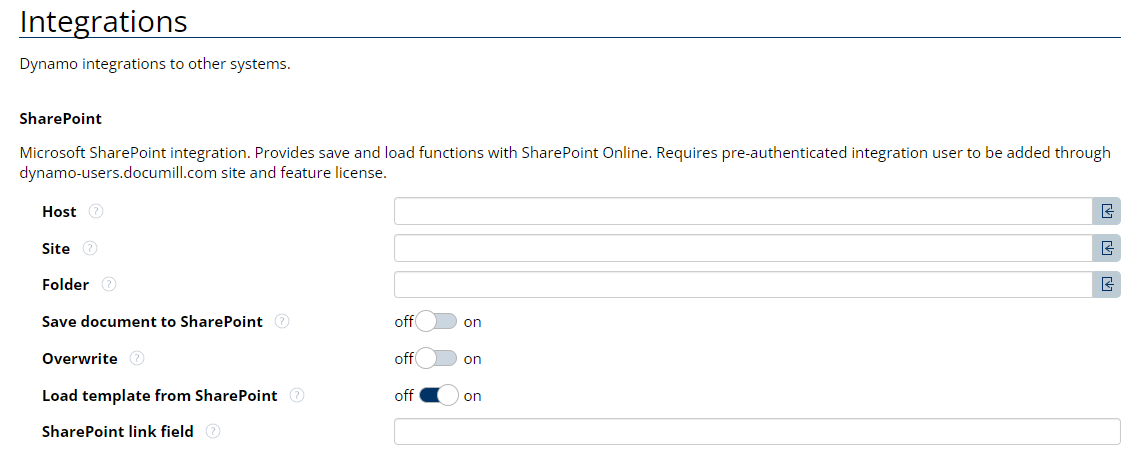
The Office Output template is also responsible for data processing. Any Salesforce data added to the Office Content template, must first be defined in the Office Output template.
To add Salesforce data:
-
Open the Mappings document

-
Navigate to the Data tab and add records, related lists, images, queries or clauses as needed.
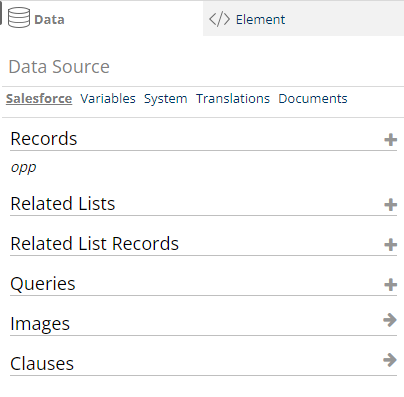
Once the Office Output template is configured, the Office Content Template can be created.
Create an Office Content Template
Creating an Office Content Template
-
Create or open an Office document. Note that Google Docs and online versions of Office documents will not work.
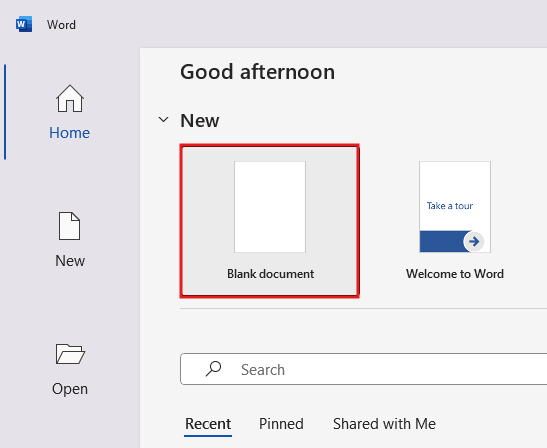
-
Add the Documill Office Add-In
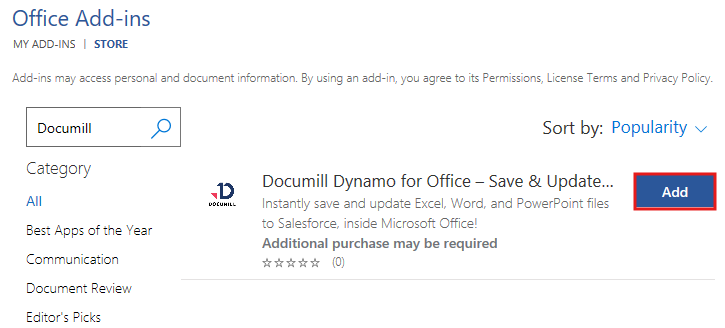
While Dynamo for Office is not required, it is highly suggested to use it.
-
Add content and design your Office Content template
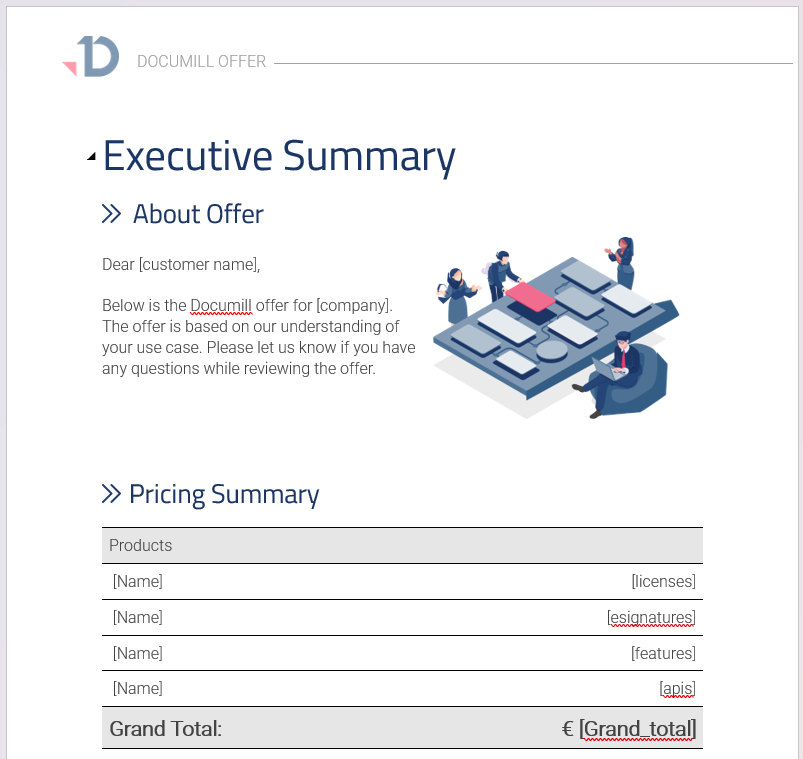
-
Continue to the next section and configure the Office Add-In to add Salesforce data to the document.
Configure the Office Add-In
Office Add-In
In order to access your Salesforce data within the Office Content template, a link between the Office Output template and the Office Content template needs to be created in the Office Add-In. This allows users to retrieve Salesforce data using the Add-In.
-
In the Office Content Template, navigate to Dynamo for Office and select Document Properties. In the dynamoTemplate field, add the content document ID of the Office Output template being used.
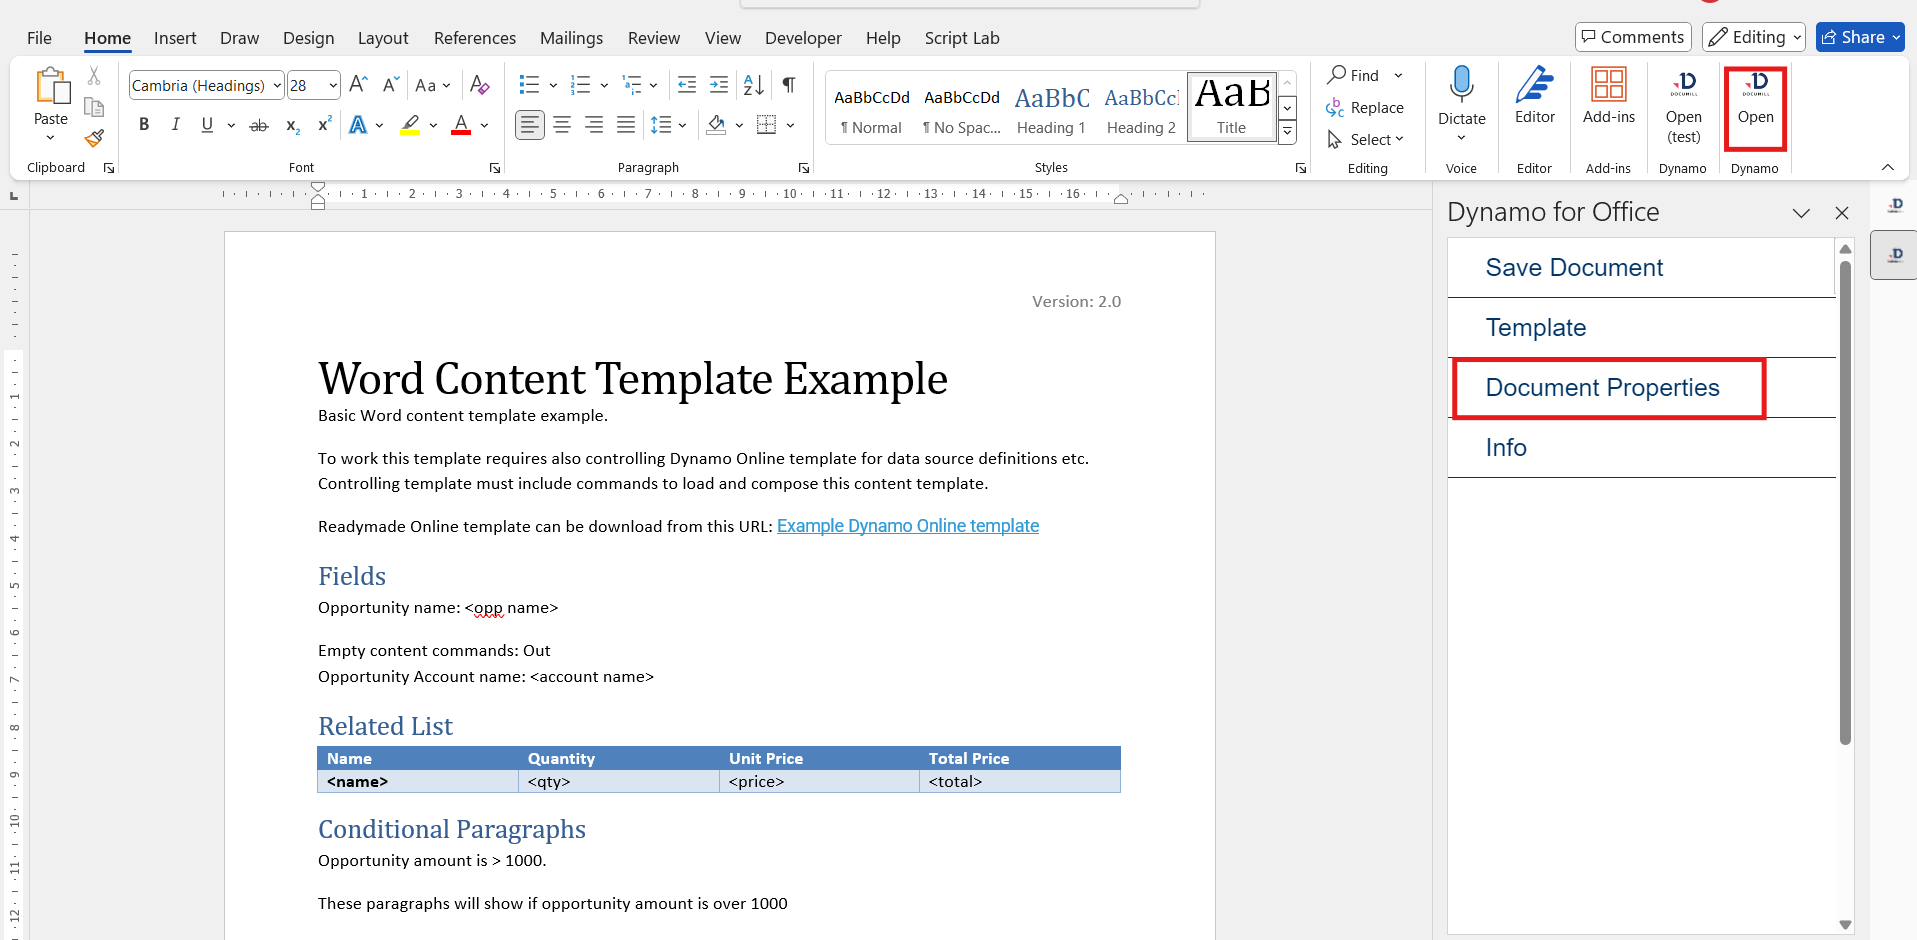
-
Click on Document Properties and add the Salesforce content document ID of the Office Output template into field dynamoTemplate.
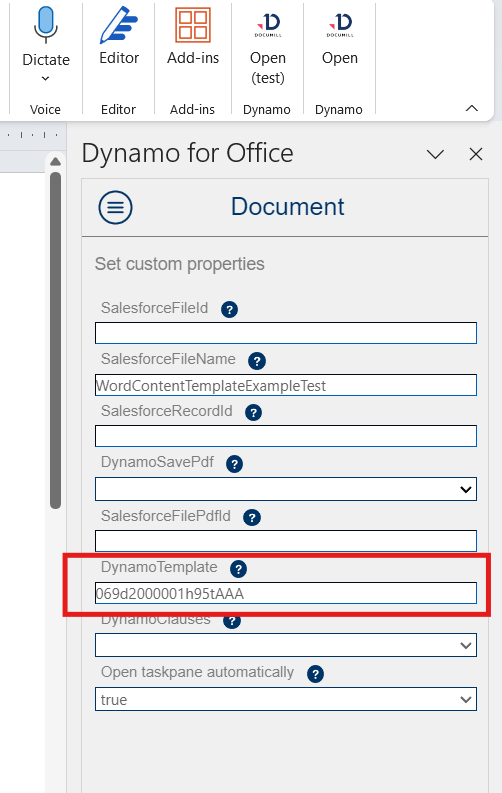
The Office Output template ID can be copied from the Template builder URL when the template is open.
-
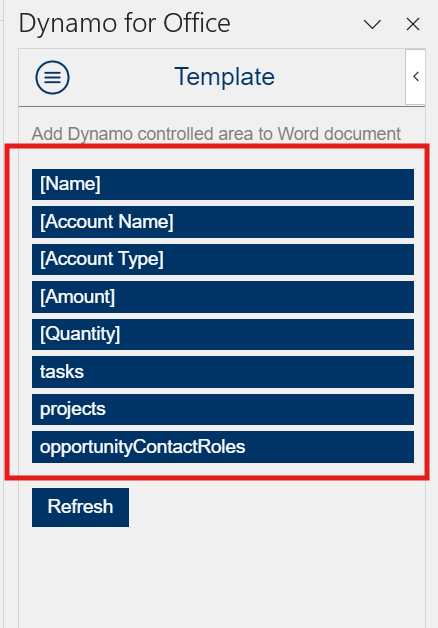
After linking the templates, a new Template tab will become accessible under Dynamo for Office. This tab will showcase the data that is available from the Office Output template.
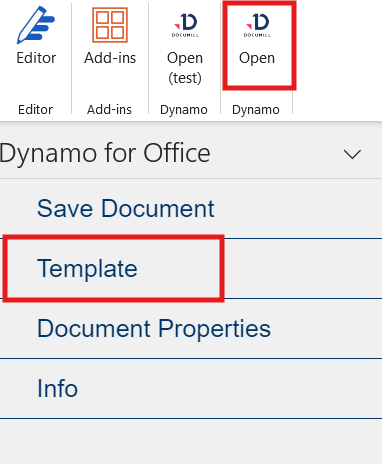
-
The data that has been added to the Office Output template is now accessible from the Add-In and can be added to the Office Content template.
