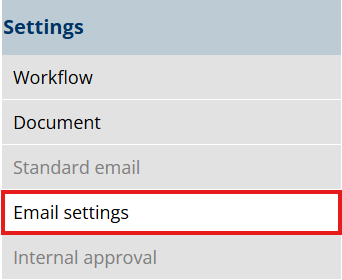
In the Email settings, you can configure whether to use an Organization-Wide Email Address, determine if the email should be saved as an activity in your Salesforce environment, and define the editing options available to end users for signature request emails.
To begin, open your e-signature template and navigate to the Email Settings section within the template's settings.
The available settings are:
Org wide email ID
Defines which Organization Wide Email Address to use as the sender of the Signature Email. The Email can be defined by using its ID or a Query which will retrieve the ID.
The users sending this document for E-signatures will need to have the necessary Salesforce permissions to use the Organization Wide Email Address.
The Org wide email ID can be defined in two ways; hardcoded or dynamic.
Hardcoded
The Org wide Email ID can be retrived from Salesforce following the steps bellow.
-
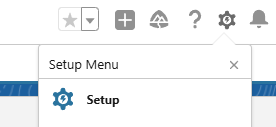
Navigate to the Salesforce Setup.
-
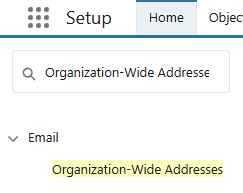
Search for Organization-Wide Addresses.
-
Click Edit next to the Email to be used.

-
In the browser’s URL, extract the ID.

The ID will be the string of characters after “%2F” andf before “%2Fe“. In this example, the Email ID would be: 0D20Y0000008RbM.
-
Add the ID to the template settings.

Dynamic
A dynamic Email ID needs to be first queried into the template. Start by creating a new query in the Documill template.
-
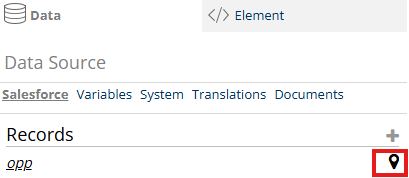
In the document editor, open the Data tab and locate the Queries.
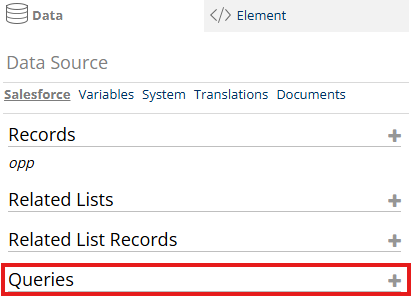
-
Click on the + icon on the right side of the Queries. This will open a new query editor.
-
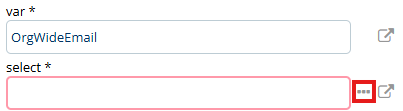
In the var field, enter the name of the query. This will be used to refference the query results in the settings. The name can be anything, for example “OrgWideEmail”. For the select field, click on the 3 dots on the right side.
-
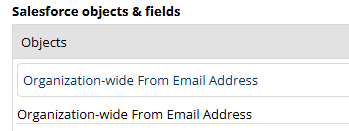
This will open the query editor. Start by searching for “Organization-wide From Email Address” and click on the result.
-
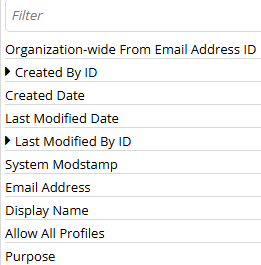
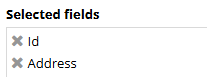
In the list of fields, select the relevant fields such as Email Address ID and the Email Address itself.
-
The selected fields should appear on the right-hand side of the window.
-
The query can be manually edited further to limit the results as well as tested using the “Test Query“ button.
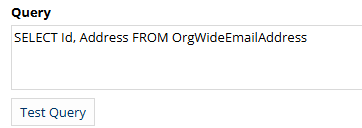
-
Query operators such as LIKE can be used to filter the desired email.

The Query should ALWAYS end with “LIMIT 1“. This ensures that only one Email address is retrieved as expected from the Settings.
Learn more about query operators here: https://developer.salesforce.com/docs/atlas.en-us.soql_sosl.meta/soql_sosl/sforce_api_calls_soql_select_comparisonoperators.htm -
Finish by adding the Query to the Org wide email ID setting.

Email save relation
The Email Save Relation determines which record the sent email should be associated with. If this field is left empty, the email will not be logged as an activity in Salesforce. In most cases, the email is related to the same record used to generate the document. In such cases, you can simply enter "id" as the value.
If the email needs to be related to a Contact, Lead or User, this field should not be used. For those cases, a new command must be added to the template logic. Follow the steps bellow to learn how.
Relating Email to Contact, Lead or User
-
In the Document editor, open the Data tab and navigate to the command declaration.
-
In the search bar, search for the setProperty command.
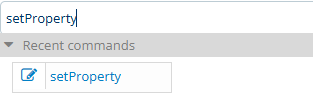
-
Drag the command under the record command in the center of the screen.

-
Click on the newly added command and fill out the attributes in the right-hand screen.
targert: ${dynSettings.emailDelivery.relatedToWhom}
value: ‘${id}’
Enable editor
Specifies whether the user sending the document for e-signing is allowed to edit the email before it is sent. If this option is disabled, the user can preview the email but cannot make any changes to it
Note: The email template must include defined editable areas in order for editing to be possible.
Clause select
Defines if the user is allowed to use Dynamo Clauses during the email editing.
Clause filters
Pre-defined filters for the available Dynamo Clauses presented to the user. The clauses can be filtered based on every field in the Dynamo Clauses object. Example:
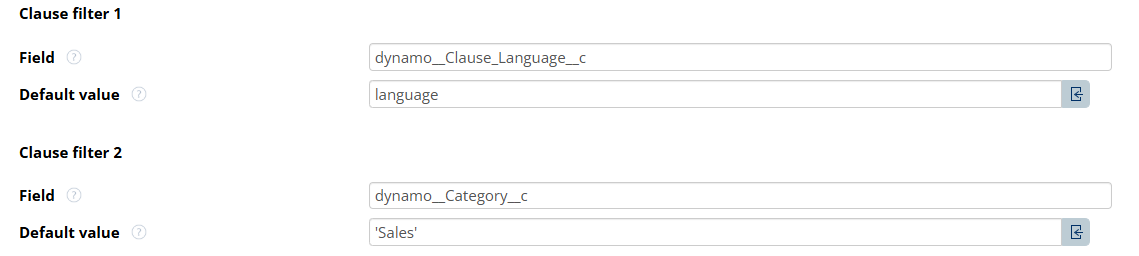
In this case, only the clauses matching the document language and of category Sales will be presented to the user. Multiple filters can be added if needed.
Formatting Buttons
Specifies which formatting buttons are available to the user during email editing. Available options include: basic, font, format, indent, justify, link, pagebreak, pastetext, image, showblocks, table, source, and color.
To enable multiple options, separate each value with a semicolon (;).

Native spellcheck
Enables the browser native spellcheck.
Paste filter
When enabled, any formatting will be cleared when the user copies content from a different source.