You can edit the page margins or attach headers and footers to the final PDF in the Margin Mode. The Margin Mode is accessible from any Body Content part.
In the Document tab, select the Body Content part.
Click the Margin Mode button in the right corner.

In the Margin Mode, you can customize how the PDF pages to be.
Adjust Page Margin
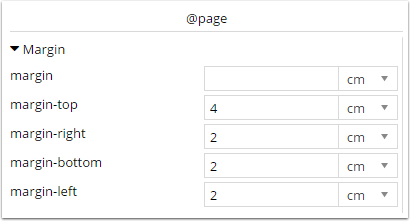
In the left pane, Margin section, give the values for margins:
-
margin: general value to be applied for all the margins. If you have values in this attribute, you don't need to adjust the below margins.
-
margin for each side (top, right, bottom, left): If you adjust margin for each side, the value will override the general margin. The value of margin-top should be big enough to cover all the content of your header. Similarly, margin-bottom is where to position the footer. You can also attach Margin Content to the left and right of the document.
Attach Header and Footer
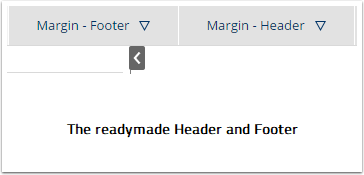
Header and Footer are called Margin Content in Dynamo. By default, Dynamo creates 2 Margin Content parts, named Margin - Header and Margin - Footer, in your document and attach them to the Body Content. The following instructions show you how to edit, create, attach or detach the Header and Footer in your document.
Edit the content of Header and Footer
To edit the content of Header and Footer, click to the Margin - Header or Margin - Footer part
Delete the placeholder text and add the content as you wish

You can map Salesforce data and have dynamic content for Header and Footer like the Body part or insert Page Number and Page Count from the editing toolbar

Attach or detach the Header and Footer
Select the Body Content part that you want to adjust the Header & Footer
Go to Margin Mode

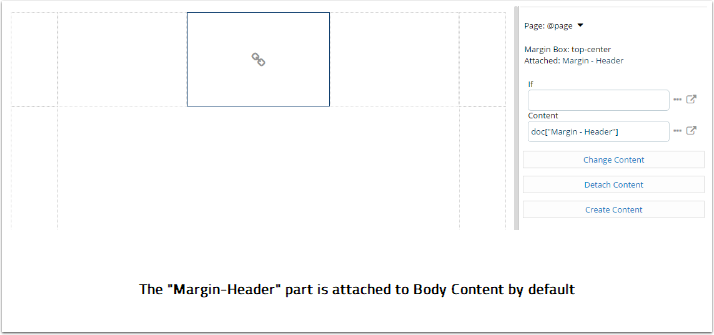
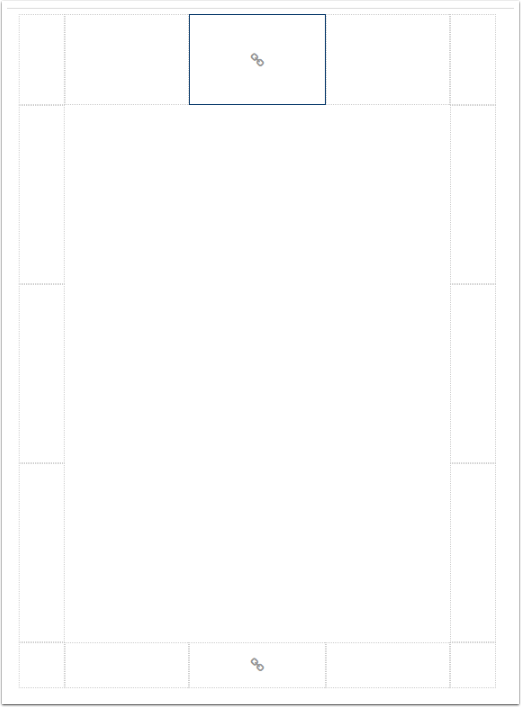
In Margin Mode, you see with different boxes around a page, indicating the location you can attach the Margin Content part. The attachment symbol indicates there is a margin content attached to that position. By default, the center box on top and bottom have the Margin-Header and Margin-Footer attached. So if you edit the content in those 2 parts, the change will be applied automatically to your document.
To edit that, click the box where there is an attachment symbol.
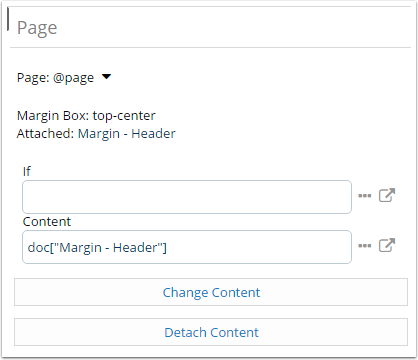
Select Detach Content if you no longer want to have Header or Footer in your document.
Select Change Content to attach another Margin Content part into that area.
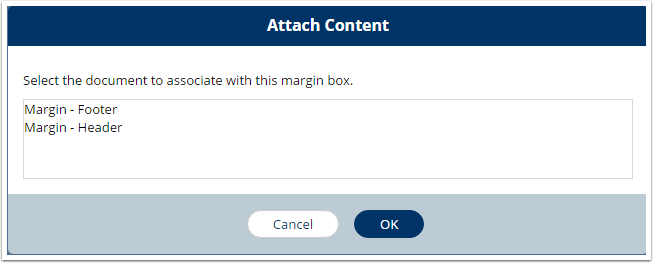
If you click to an empty box, you can attach new content there
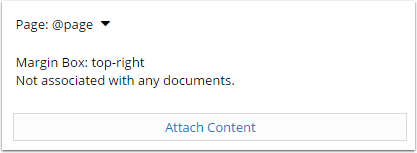
Create content to the side of the page
You can use the Margin Content part and Margin Mode to create content of the left or right side of the document.
1. Create new Margin Content
To create a new Margin Content, in the Document tab, select New Part
Select Margin Content part, give a name for the part
2. Attach the content in Margin Mode
Select the Body part you want to have new side content, go to Margin Mode
Select the box on left or right side of the page, click Attach Content
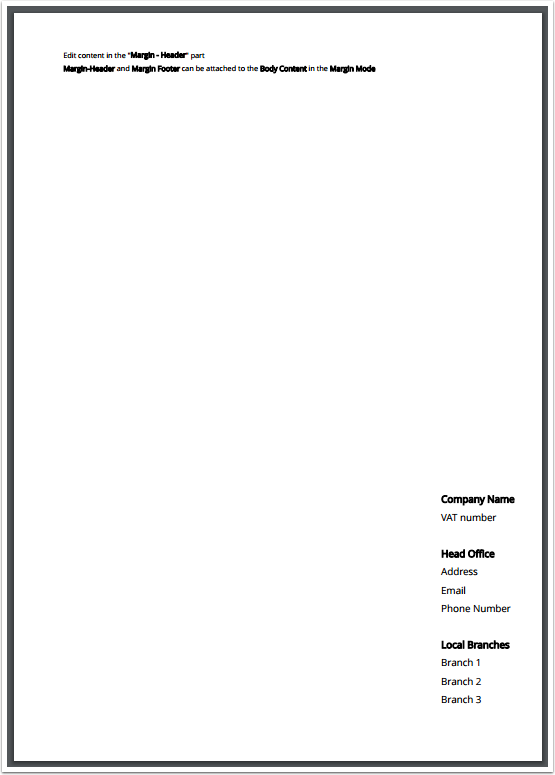
Below is an example where the Margin Content is attached of the right side of the page
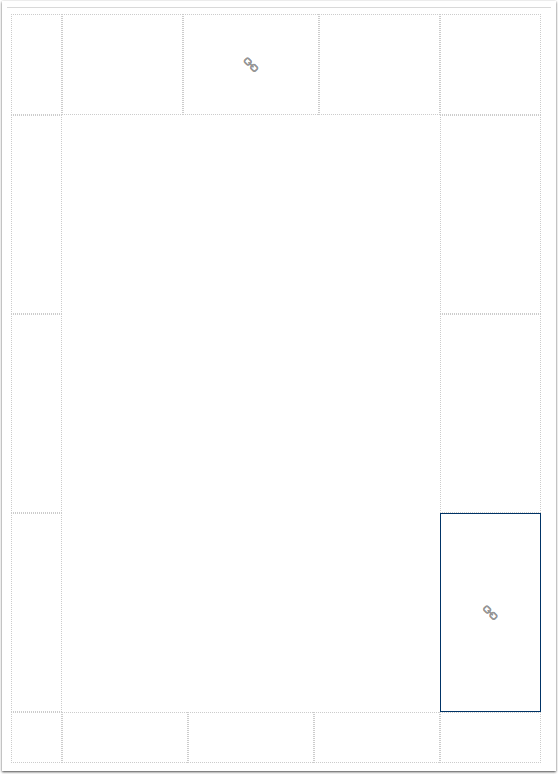
The document outcome will have that structure
Notes:
If you attach more than one Margin Content parts in one side of the page, the content may be overlapped. The most common use case is having one Margin Content attached in the top-center and bottom-center to create Header and Footer.
First Page/Last Page Header and Footer
In Dynamo, you can attach a margin content part (a special header or footer) to the first page or the last page of the document only, leaving the usual Header and Footer to repeat on the remaining pages.
The following steps show you how to attach a different header to the first page of the document:
Step 1: Create a new Margin content part. You can name this, for example, 'First Page Header' to differentiate from the normal Header part. Add the needed content to the newly created margin content part.
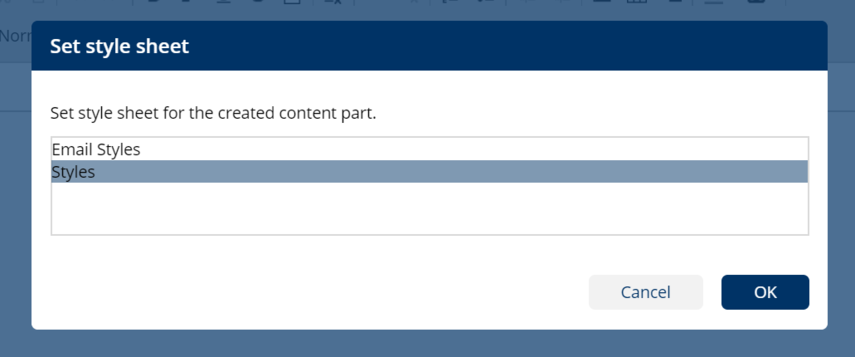
Step 2: Select the correct style sheet. A pop-up will appear and ask you to choose the style sheet for this content part. If your template only has default style sheets, choose 'Styles'
Step 3: Select the Body Content part that you want to attach this new margin content to.
In the Margin mode, navigate to the Page attribute on the right pane, attach the First Page Header part to the first page of the Body Content.

The same steps can be applied when applying the margin content part to the Last page of the Body Content. Instead of choosing the First page from the Page attribute, choose Last page.
