You can update Salesforce fields after certain stage of the document generation process. For example, to mark a checkbox field that a document has been created. or to change status of an opportunity after the offer document is sent out to customer.
This article will show you how to create the logic in an advanced template to handle the work. The example is to update the Opportunity's Stage to "Proposal / Price Quote", after the document output is sent.
Convert your template to Advanced Template
*Make sure you have completed all the Settings required for the template. This will save your time from editing the options in the logic.
In Settings, select Advanced Template

Select Proceed
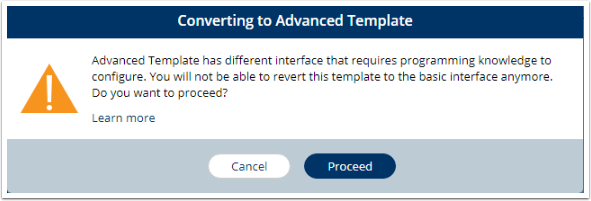
Now you are able to customize the logic of the template further
Select a step to update the field
Click to open the Main
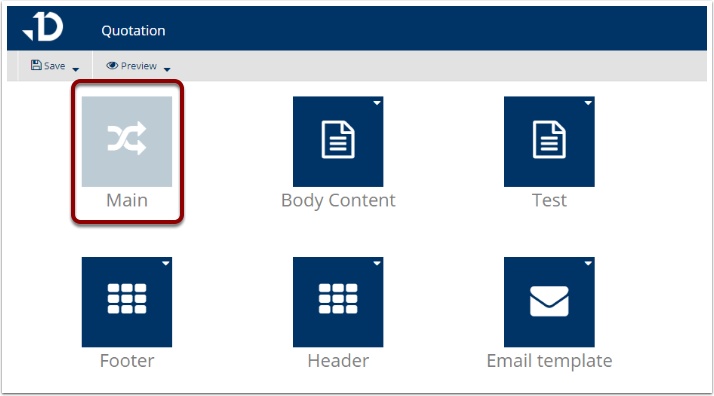
Select the step that you want the updating to happen. For example, to change the Opportunity's Stage after the document is sent, which is the final step of the document generation process, scroll to the end step where there is "Send Options- End"
Click Edit Step in the "Send Options - End"
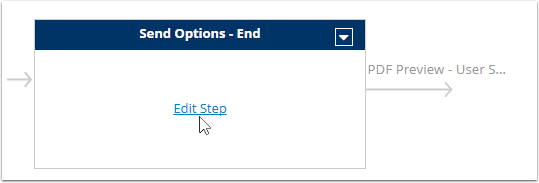
Add tags into logic
In the right pane, click Filter box

Type "update", you will see an update tag under the SFDC Core Calls library
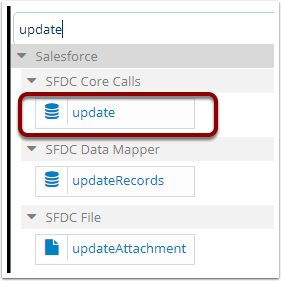
Hover to the icon in the tag, you will be able to drag and drop it to the logic
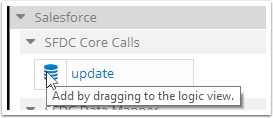
Drag and drop the tag to the logic, in above the "Go to:...". The tag should be on the same level with the "Go to..." and not a child tag of any tag before it.

On the right pane, type in the Object API that includes the Salesforce field to be updated. Usually, it's the main object's API

In Filter box, search for field tag
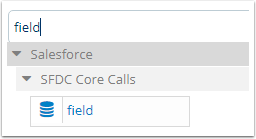
Drag and drop 2 field tags to the logic, as child-tags of the update

In the 1st field tag, add in the attributes:
-
name:
Id -
value:
${the record ID}. For example:${Opportunity.Id}

In the 2nd field tag, add in the attributes:
-
name: field API of the field to be updated. For example: StageName
-
value: the value to be updated. For example:
Proposal/Price Quote

Now when users complete their task and move to this step in the process, the corresponding field will be updated with the value assigned.
Notes:
-
To update the field with an existing value from Picklist, the value must be exactly the same with the one used in Salesforce (case and space sensitive).
-
To update the field with dynamic content, use the Expression Language with the
${}mark. For e.g, to update a "Document Sent" date field with the current date, in the value of the 2ndfieldtag, add${today}

