1. Creating Content and Input Elements
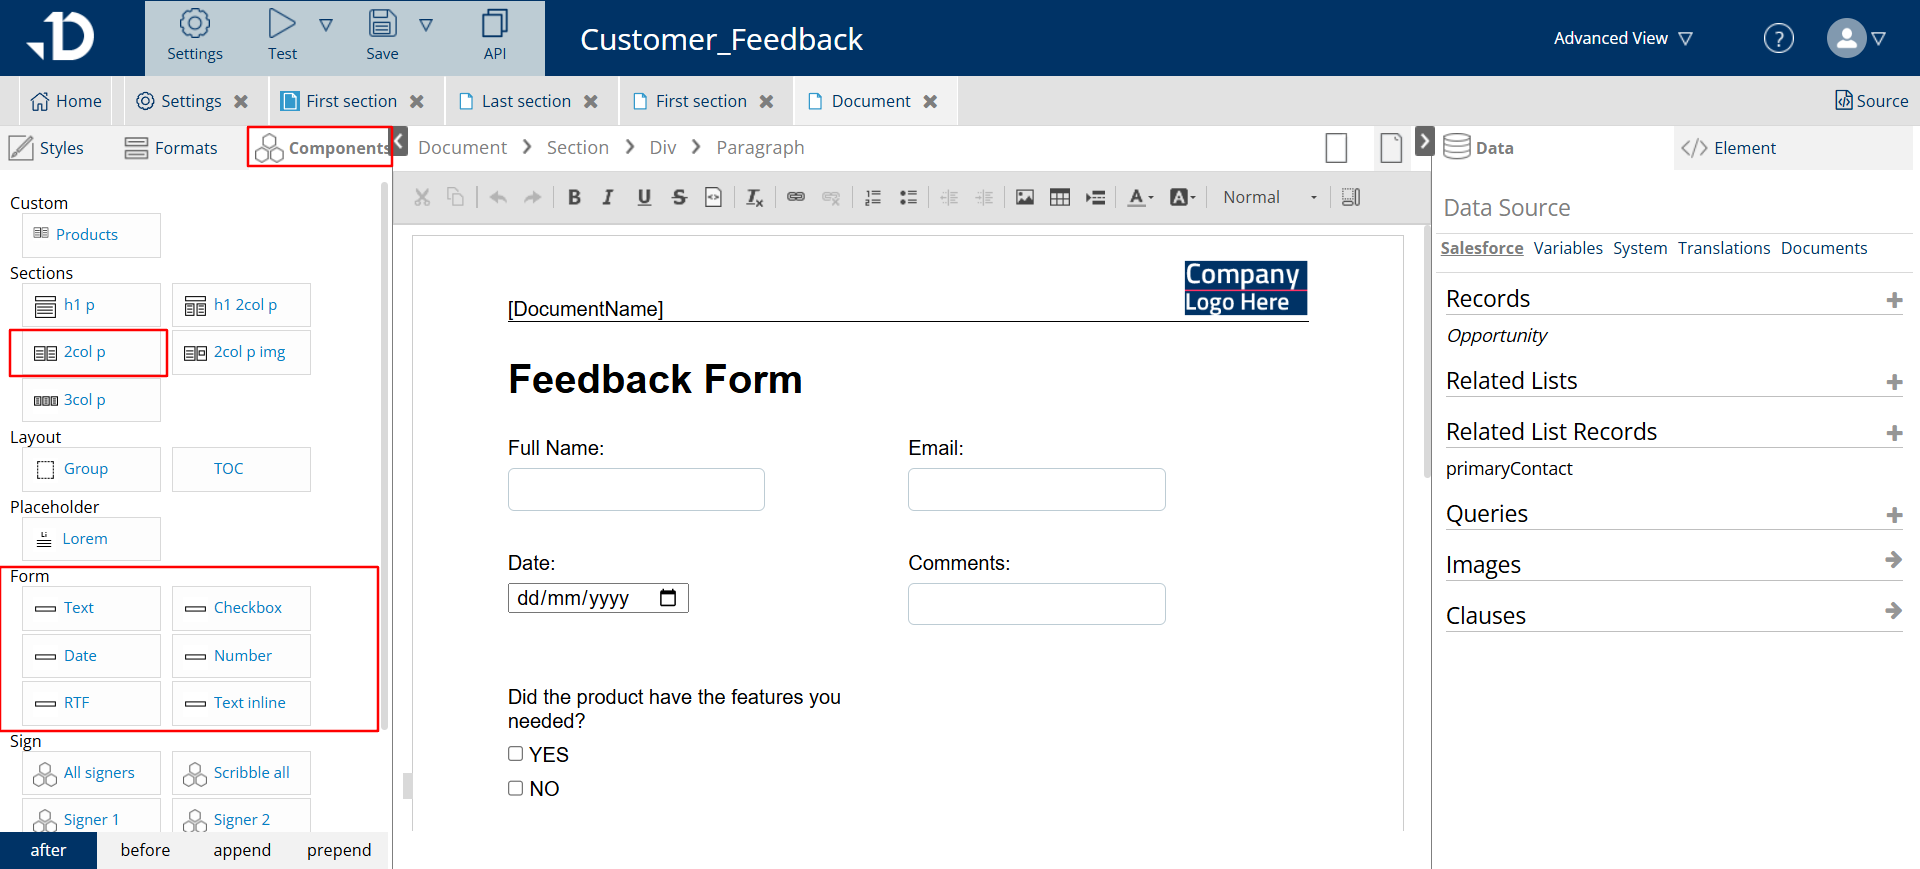
To start creating content in Documill Dynamo, open a document from the Home screen. To collect data in different formats like text, dates, or checkboxes, go to the Components tab on the left. Drag and drop the needed input elements into the main document body to build your content.
2. Setting Bound Values
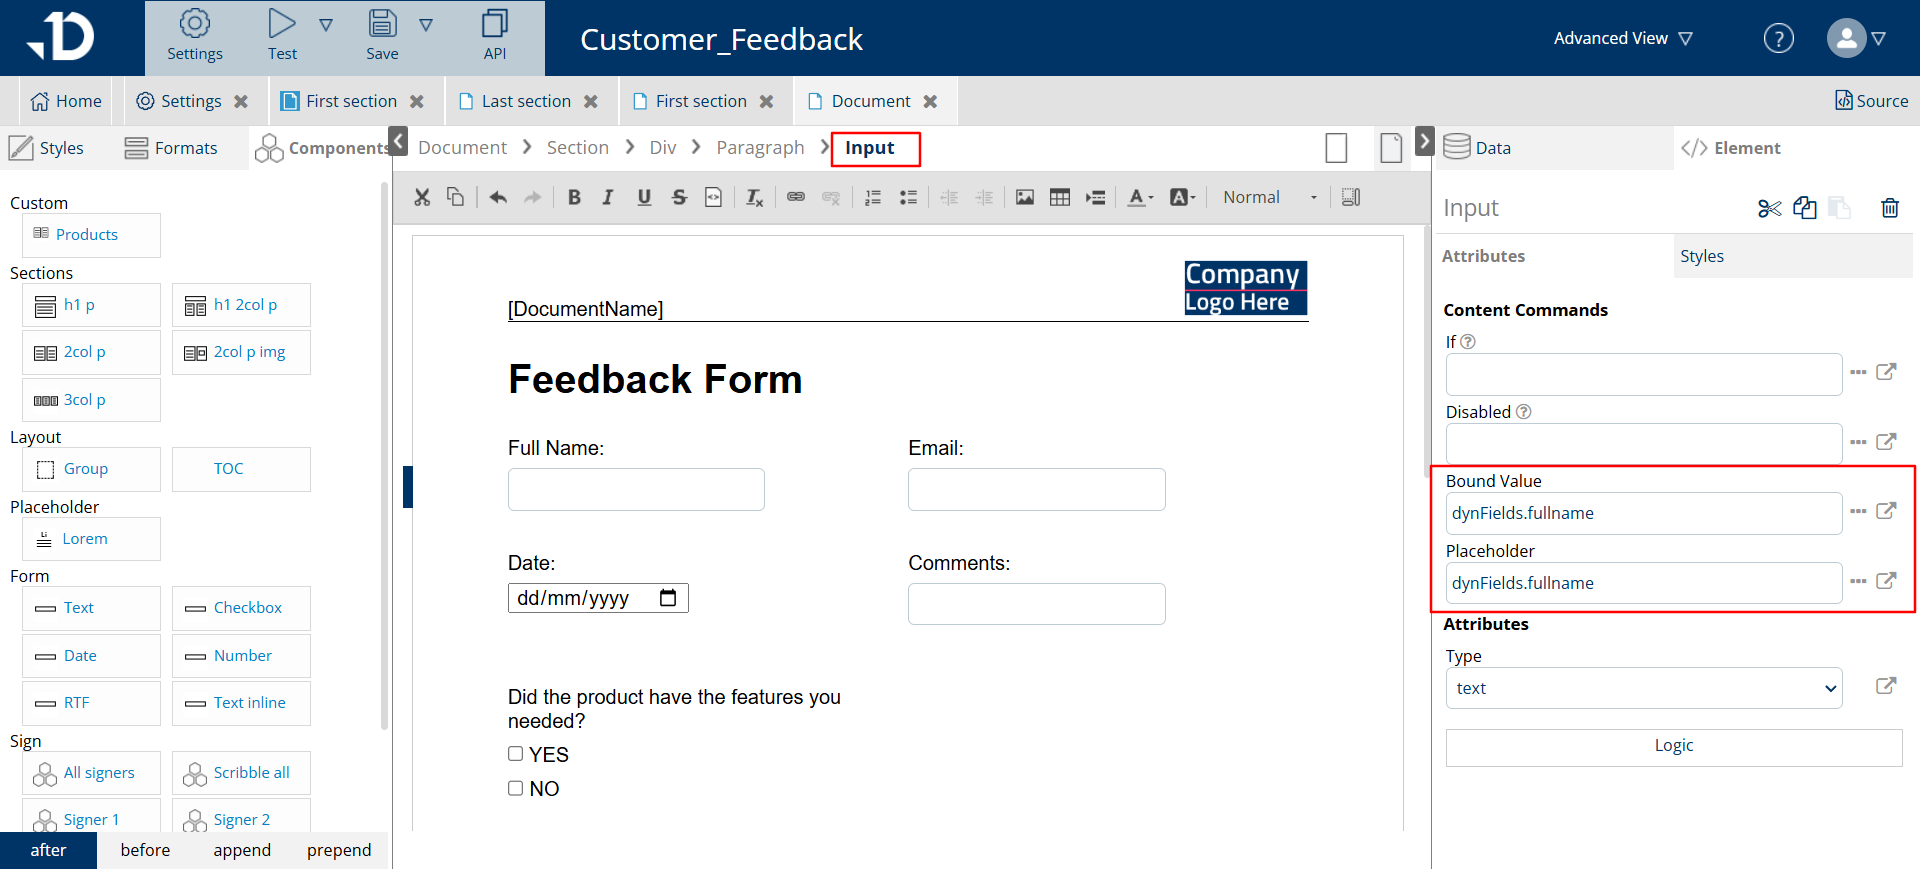
Each input element must be assigned a unique Bound Value, which acts as a variable to capture the data entered by users. This Bound Value can then be referenced throughout the document or within the template workflow for processing or display.
Additionally, you can configure a Placeholder for each input element, providing users with a hint or example of what data should be entered in the field.
Bound Values must be unique and should begin with the prefix dynFields… For example, dynFields.fullname
The following names cannot be used for bound values as they are reserved by the system:
abstract, continue, for, new, switch, assert, default, goto, package, synchronized, boolean, do, if, private, this,break, double, implements, protected, throw,byte, else, import, public, throws, case, enum, instanceof, return, transient, catch, extends, int, short, try, char, final, interface, static, void, class, finally, long, strictfp, volatile, const, float, native, super, while
3. Enabling Responsive view and Allow Input
-
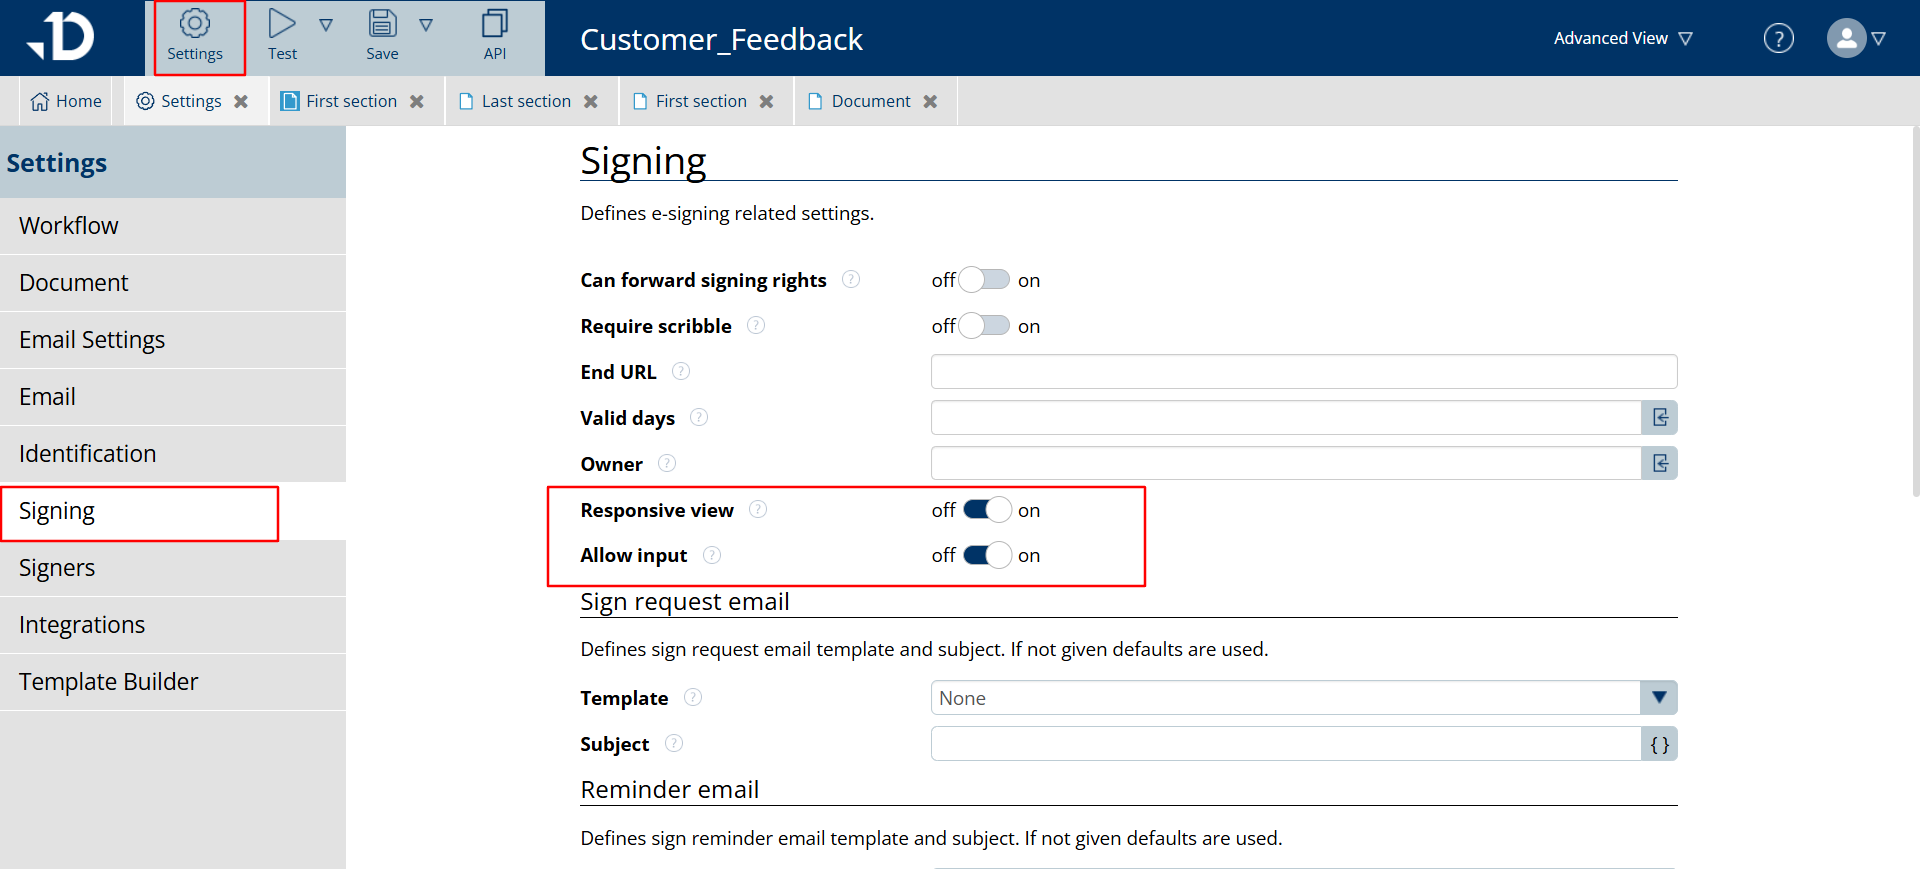
Go to Settings.
-
Navigate to the Signing tab.
-
Toggle Responsive View to ON. Once enabled, the Allow Input option will appear.
-
Toggle Allow Input to ON.
4. Print Emulation
This option in the Document tab adjusts the document layout to match the printed page dimensions.
-
When enabled, this feature displays the document as it would appear on a printed page, which may require horizontal scrolling on smaller screens to view the entire document.
-
When disabled, the document automatically adjusts to fit the screen size, providing a responsive view that eliminates horizontal scrolling. This ensures the entire document is fully visible and accessible on any screen size, offering a better viewing experience during the review process.
|
Print Emulation Enabled tested on mobile screen |
Print Emulation Disabled tested on mobile screen |
|---|---|
|
It displays as it would in print size, which may require horizontal scrolling on smaller screens to view the full layout. 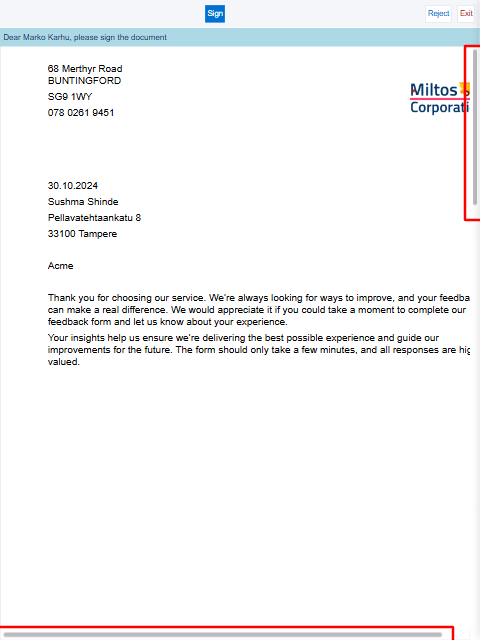
|
When Disabled - The document fits the screen size, eliminating horizontal scrolling 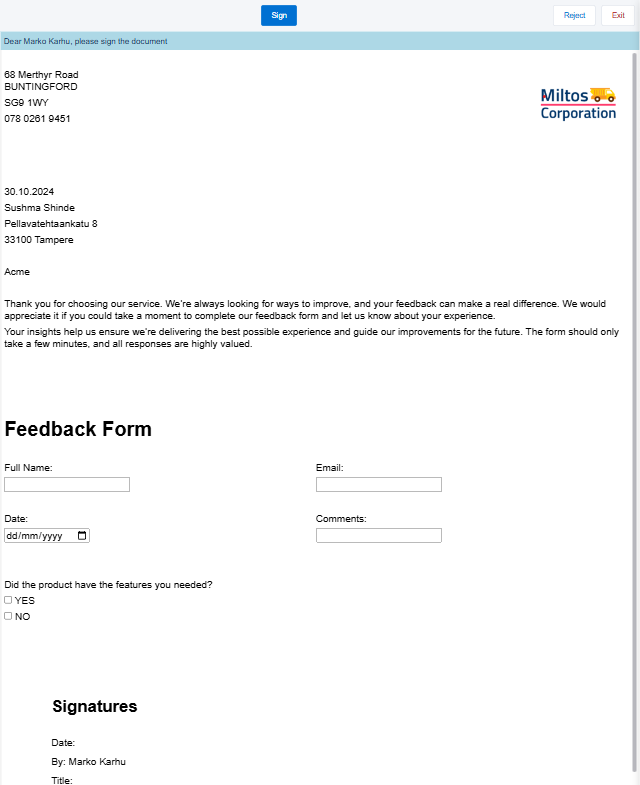
|
6. Write back Data back to Salesforce
To ensure that data saved back to Salesforce after document signing, follow these steps to configure the workflow and add the necessary functions.
-
From the Home tab, access the ShareEnd subflows and select step ‘Share end’.

-
Find the correct When command. For E-signing workflow, the document status signed should be used.
-
Choose update command. In the
typebox, enter the API Name of the Salesforce object you want to update (e.g., Opportunity or Account).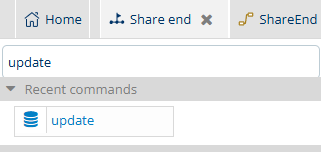
-
Add child field commands. The first field command should contain the record ID of the Salesforce record to update. Add subsequent field commands for each field you intend to update, where
nameshould contain the API Name of the target field in Salesforce andvalueis the configured input form value. For example,dynFields.opportunityName. There can be as many field commands as needed.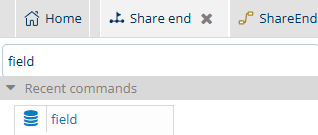
Ensure that the field command is a child command of the update. This is indicated by the indentation.
-
After clicking the Exit button post-document generation, the user's input updates the Description and Name in Salesforce, enabling seamless real-time data transfer.
The Id field must always be part of the update.

