Using Office add-in and Dynamo Template
Introduction
Office documents generated from templates built by Online Template Builder can be combined with the Dynamo Microsoft Office add-in for a seamless user experience. The walkthrough of the standard solution is as below:
End users click on ‘Generate Document’ button in Salesforce record to generate an Office document with data pulled from the Salesforce record, download the document onto their computer to edit
After editing, end user clicks on ‘Save’ button to save the edited document back to Salesforce
Generating Office output documents require additional license "Office output" that is not part of the Dynamo Online standard edition. Please contact support@documill.com to get trial license.
Implementation guide
Make sure that you have already gotten and installed the Microsoft Office Dynamo add-in from Microsoft Store.
For the solution above to work, there needs to be 2 template files:
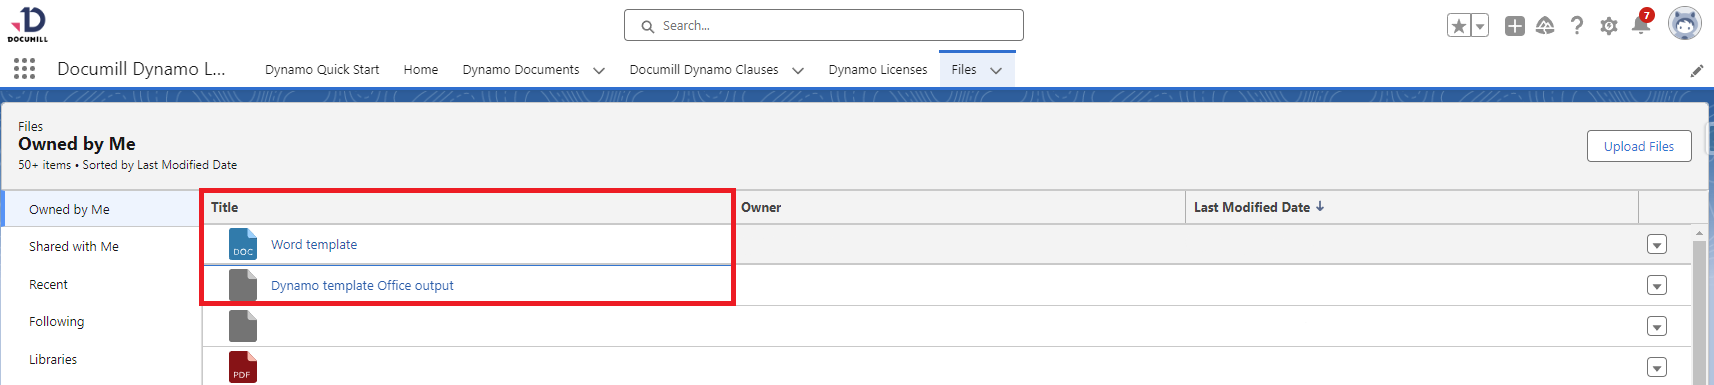
Online template file created from Template Builder tool (file extension .DAP) - this template file will hold the logic and data sources for the solution.
Office content template – holds the layout and base of the generated document
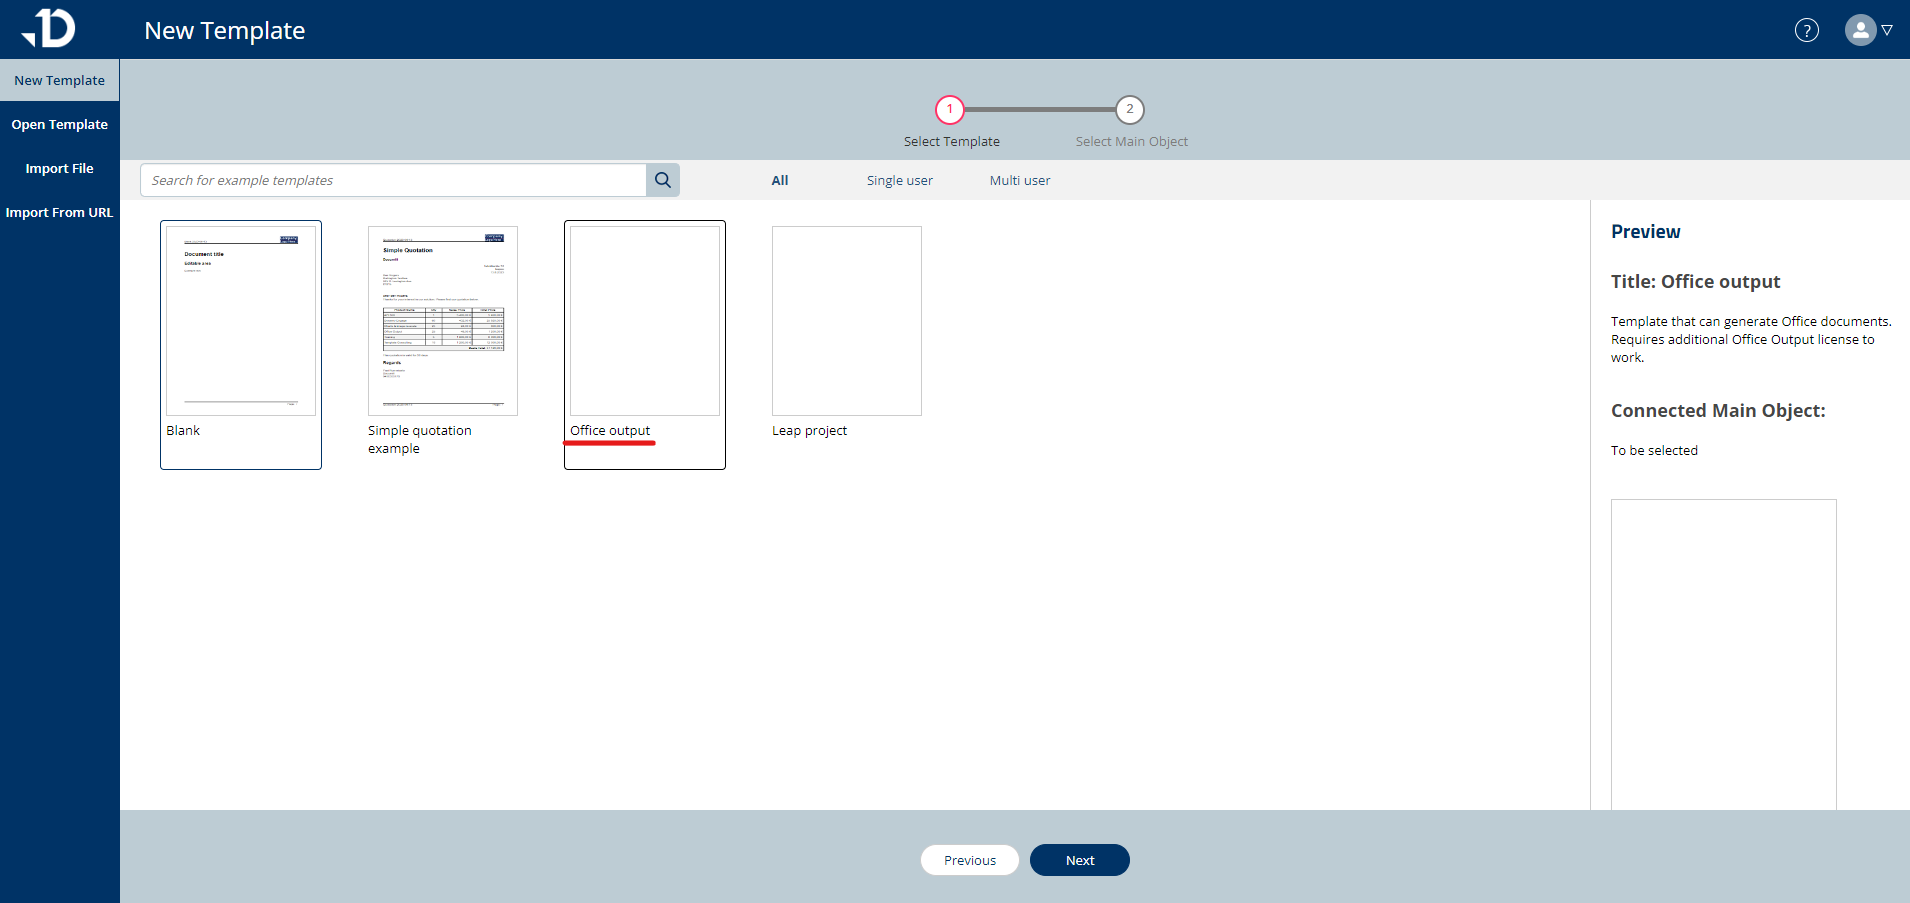
Create a new Online template from Template Builder (https://dae.documill.com ) by going to New Template > Office Output > Choose your main object.
Map needed Salesforce fields to the template data source:
On the right task pane, find ‘Data sources’ tab
The 3-letter word in italic shows the abbreviation of the chosen main record. Click on the main record to see all the fields that you have access to.
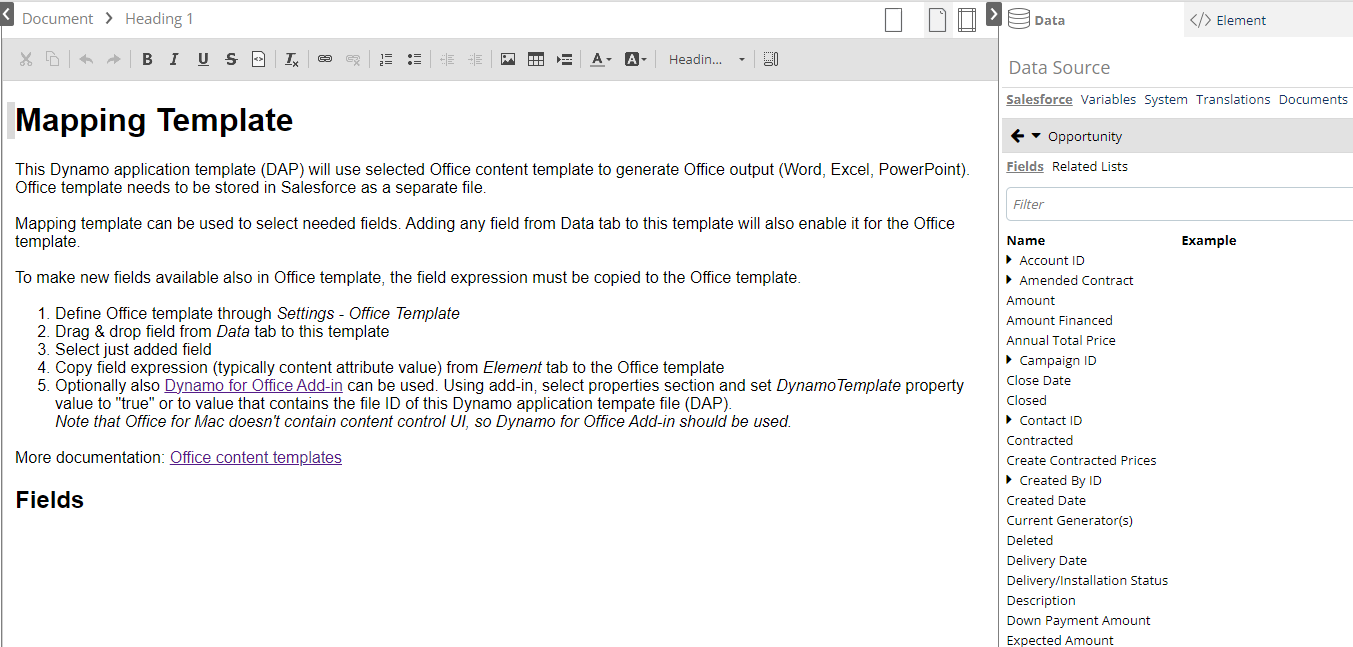
Click on the needed field and drag the field to the middle main working space of the Online template, using ‘Drag and drop’ tool.
Check in the Settings that the Workflow is set to Download.

After you have finished mapping all needed fields to the Online template, save the Online template to Salesforce, and take note of its file ID. You can see this file ID either when checking the template file on Salesforce (ContentDocument ID), or from the URL of the Template Builder after you have saved the template:
After inserting the Dynamo Office add-in from Microsoft Office store, you should see the Dynamo add-in icon in the tool menu. Click on the add-in icon and log in to the same Salesforce environment that you created the Online template earlier.
Click on ’Document Properties’ setting on Dynamo for Office add-in menu. In the ‘Dynamo Template’ attribute, paste in the file ID of the Online Template to connect the Online template with the Word content template.
Click on the round icon on the add-in to go back to add-in menu and go to the newly appearing ‘Template’ setting to see the mapped fields that you have added to the Online template. If you do not see some fields that you have mapped there, please make sure that the Online template has been saved, and press ‘Refresh’ to refresh the connection.
To add the Salesforce fields to the Office template, find the corresponding field from the ‘Template’ setting of Dynamo add-in, clicking on the field name will add the field to the previous cursor position in the document.
After finishing adding all fields to the Word document, go to ‘Save Document’ setting on Dynamo add-in menu and save the Office template to Salesforce.
For more complicated Office content templates (beyond simple outputting of Salesforce fields), please refer to Office Content Templates guide.
After the Office template has been saved to Salesforce, go back to the Online Template in Template Builder and go to Settings tab
Navigate to ‘Office template’ tab in Settings > choose the Office template file that you just uploaded to Salesforce. The file ID of the office file will be fetched.
Other Settings configurations:
Document outcome: default naming convention for the generated document can be defined here.
Add-in properties: toggle ‘ON’ for ‘Save also PDF’ to enable end users to be able to save the edited document after downloading in both Word and PDF forms.
Add-in properties: toggle ‘ON’ for ‘Auto open task pane’ to activate the opening of Dynamo for Office add-in automatically right when the end user opens the generated document.
Salesforce configuration
After the template solution is ready, you can enable Documill Dynamo online solution in Salesforce by either: