Using Salesforce Translation Workbench (Legacy)
A template can produce documents in various language versions. You can create an universal template in English, add the translation source and Dynamo can create different language variations of the document based on the translation source.
Using Salesforce Translation Workbench
Translation Workbench is used to support local languages in your Salesforce. (Learn more from Salesforce documentation: Support users in Multiple Languages)
If your Salesforce has already translated the content, you can utilize it in Dynamo to display the translation in the document. Import Salesforce Translation Workbench files to your template and make them a translation source. Besides, to support multiple language, extra modification is required when mapping Salesforce data into template. Follow the instruction below to setup Translations Control for your template.
1. Export the Translation files from Salesforce
In Salesforce, go to Setup
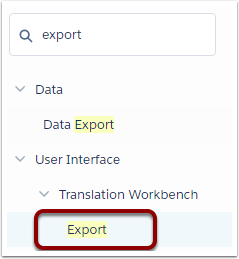
Enter Export in the Quick Find box, then select Export (under the Translation Workbench)
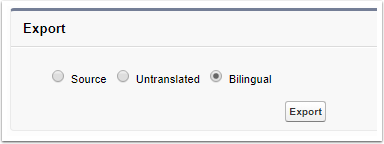
In Export, select Bilingual, click Export
A status message tells you that the export is being processed.

You will receive an email with the link direct to your Translation Files. Depends on your Salesforce organization, there will be multiple Bilingual .zip files. Download all the files to your computer.

2. Import Bilingual files to Dynamo template
In Template Builder, open the template you want to have multiple language control.
Go to Settings -> Translations Control tab.
Select Salesforce Translation Workbench. In the popup windown, select Choose Files
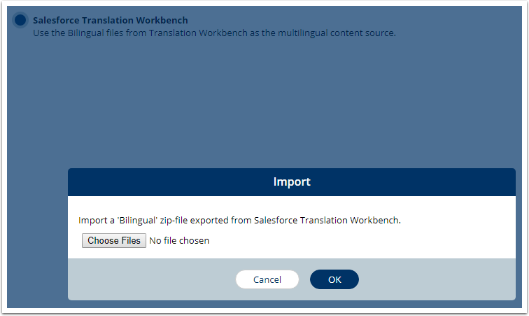
Browse to the Bilingual .zip files you downloaded from Salesforce, select all of them to import. Dynamo will merge all parts together for you.
Click OK
3. Configure language selection
After importing, Dynamo will detect all the languages available in the Bilingual files and list them as the language codes used in your Salesforce. You will need to configure the condition to define the language of the outcome document.
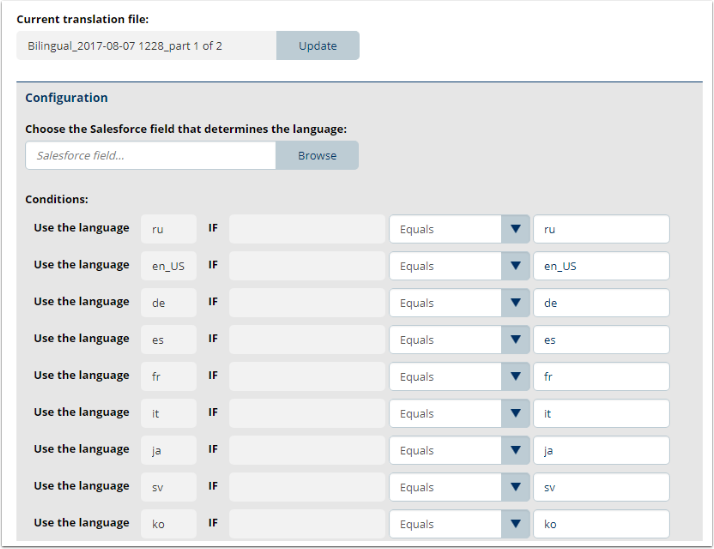
For example, if the language of the document should be based on where your customer locates, you can use Account BillingCountry field as the condition field.
In Choose the Salesforce field that determines the language, click Browse

Select the field, click Save

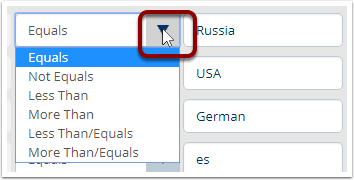
In the Conditions area, fill in the criteria after the IF statement as in the example:
The language code ru will be used in the document if the BillingCountry equals to Russia
The language code en_US will be used in the document if the BillingCountry equals to USA
The language code de will be used in the document if the BillingCountry equals to Germany
The criteria used in the the conditions must be exactly similar to the value in your Salesforce (case sensitive)

Click the small triangle to change the comparison function if needed.
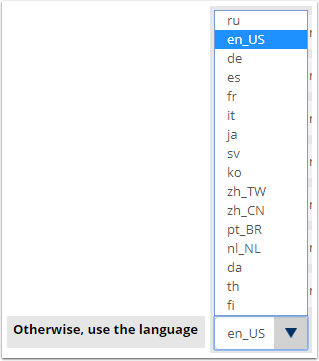
In the last condition, select the language to be use for those records which do not fit in any condition
4. Edit the Content in template
Notes:
At the moment, only Picklist Values and Custom Labels in Salesforce Translation Workbench are supported
Mapping Picklist Values
In Document, select the part that the picklist field is mapped.
Click to the span that contains the picklist field, go to Dynamic Attributes -> Content, add the .label after the Salesforce field name.
Mapping Custom Labels
To map the Custom Labels into the template, in the Dynamic Attributes -> Content, add the same syntax for the Custom Labels as Lightning Component , wrapped inside the markup ${...}
For example:
${Label.c.labelName}for the default namespace${Label.namespace.labelName}if your org has a namespace, or to access a label in a managed package
