At each step of the E-Signing process, email notifications may be sent to the involved parties. While Documill provides a default email template, each can be customized by the user within the Documill template. The emails used during the signing process are:
Sign Request Email
To notify recipients that a document is ready for their signature, providing a direct link to review and sign. This email is used when the document is sent for signature at the beginning of the process.
Reminder Email
To gently remind recipients to sign the document, ensuring the process stays on track. This email is used if the user click on the Send Reminder button.
Completed Email
To inform all the signers that the document has been successfully signed, and the process is complete. This email will be automatically sent out after the last signer has completed the signing process.
Rejected Email
To notify document owners that the document has been rejected, with details on the next steps or required actions
Creating a custom Email template
To create a custom email template, navigate to the home tab within the template builder.
By default, the template will have two Email templates; Email and Email with link. The difference between the two is that the Email with link template will already contain the link to the document, which the recipients will use to access and sign the document. This template should be used when creating custom Sign Request and Reminder emails. The Email template, which does not contain a link to the document should be used for Rejected and Completed custom emails.

The best way to get started is to right-click on the needed email template and creating a clone.
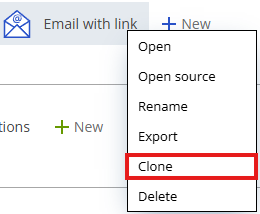
This will create a copy of the email template which can be customized. You can also right-click on the cloned template and rename it to something more intuitive, such as “Custom Request Email”.

Open the newly created email template and begin adding content and styling as needed.
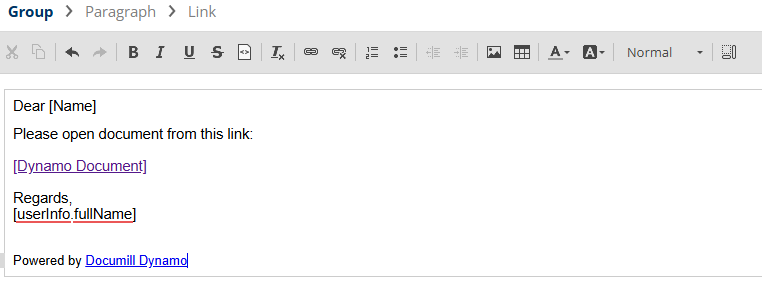
Just like the document templates, the same logic, Salesforce data and styles can be applied.
Ensure that the [Dynamo Document] link is not inside an editable area. The link will not work for the recipient if it was made editable within the email template.
When creating a custom Rejection email, the rejection reason needs to be manually added to the template body. To do so, assign the content dynRejectReason to a paragraph or span.
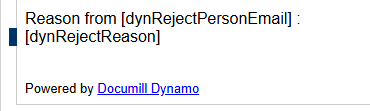
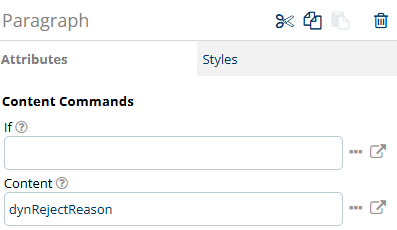
If the user rejects a signature request, they will need to provide a reason. This will ensure that the provided reason is included in the rejection email.
Setting custom email templates and subjects
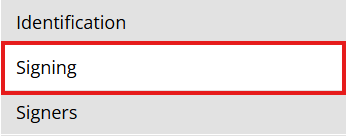
After creating the needed custom email templates, they need to be assigned to each step of the signing process. Navigate to the document settings and open the Signing tab.
Each email option will have two configurable attributes; Custom template and Subject.
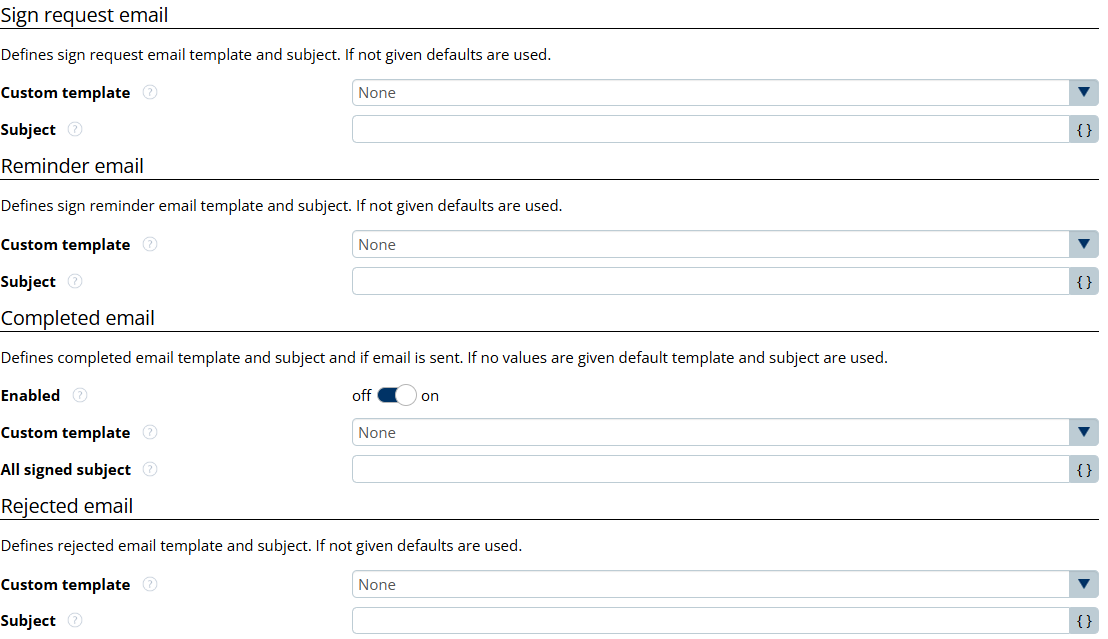
The custom template field will determine which email template to be used for the specific step. From the drop-down, any created email template will be available to select.

After selecting the desired template to use, a custom email subject can also be set.

Note: Ensure that if the subject text is inside quotes. Example: 'Custom Request Subject'.
If the quotes are not added, an error will be triggered when the template is used.
The same process is applied to each email. In addition, the Completed email can be turned off entirely if needed. If disabled, no automated emails will be sent out after the signing has been completed.

Additional Questions
The E-Signing process also allows the use of additional questions. This will be presented to the signers after they have signed the document. This is ideal for collecting additional information from the recipient with the option of writing it back to Salesforce. Learn more about using additional questions here: Collecting Information With Additional Question