Dynamo templates support the translation of text in as many languages as needed. Translations need to be provided in the template by the user.
To translate a text, start by selecting the text to be translated. Translations are bound to elements, for example, Heading 1.
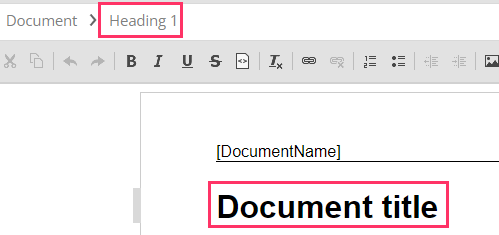
Next, go to the Data tab, and select Translations.
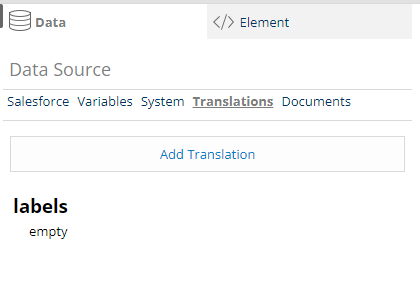
By default, there will be no pre-existing translations, so they need to be added manually.
Click on Add Translation.
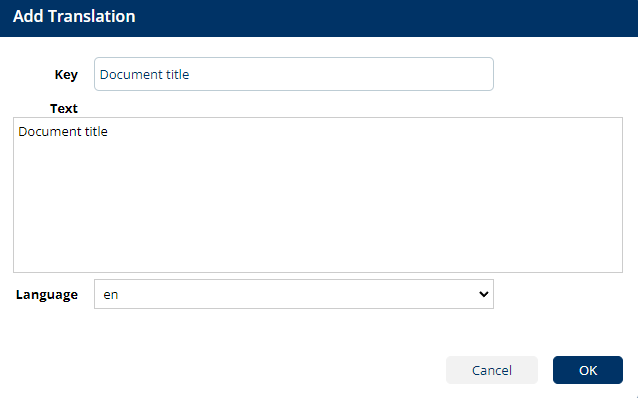
In this screen, add a Key, Text and select a Language.
Key: an identifier for the specific translation that can be used in the document.
Text:the actual text to be used for the translation.
Language:the value that will determine to which language the text corresponds to.
Example of translating the Document title to Finnish.
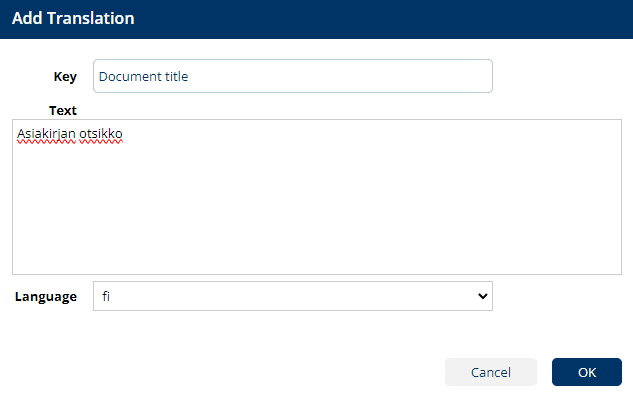
Click OK.
After clicking OK, choose if the translation should be assigned to the selected content, or manually dropped into the document.
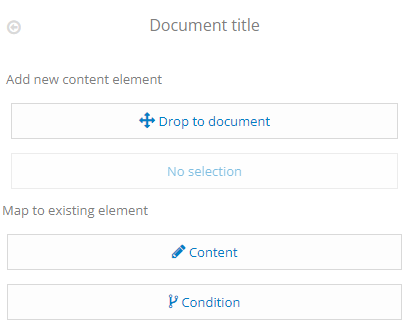
If the newly created translation is dropped into the document, a new placeholder will be automatically created in the document.

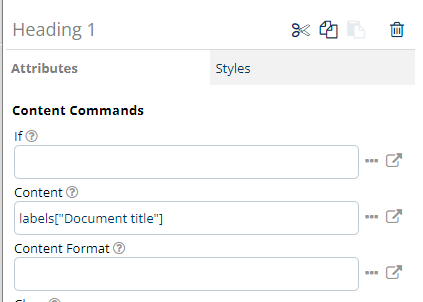
The translation is now applied to the previously selected text. This can be checked by going to Element followed by Attributes. The content of the element has automatically updated to labels[“Document title”]. Labels is the collection containing the translation, and the “Document title” is the key which was used.
In Advanced View, the collection of the available translations can also be viewed from the Home tab.

This also allows the importing of translations via a CVS file by using the Import button.

