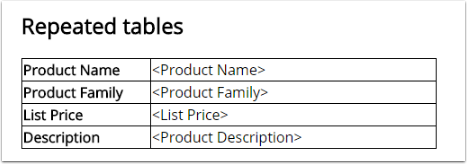
This article will show you how to create different related list tables, using data from Opportunity Product.
Create a basic Product Table

Insert a table into template

Ensure to select First Row in Headers
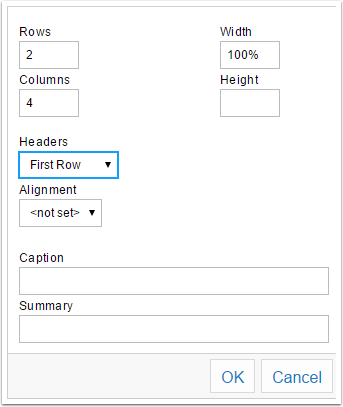
Fill in the label for each column in the Table Header.

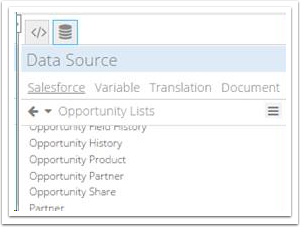
In Data Source, Salesforce, select the Related List
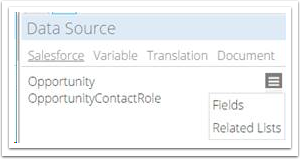
Select Opportunity Product in the list view
Click to the second row in the table. Ensure the grey bar is next to the second row.
In Assign to, select Row

Drag and drop the corresponding fields from the Related List to the table cell.

Create a Table with Footer Row

You can add the product table with total amount using Opportunity Product data in one click by selecting the Product Table button in the Custom Elements
The following instruction show to do that manually, in case you want to create the similar table using different Related List.
To create a table with Footer Row like in the example, first follow the instruction to create a basic Product Table
Right click to the table, insert a row after the 2nd row.
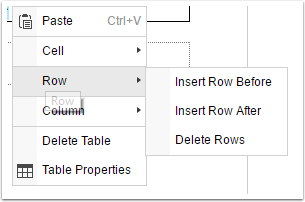
Select all the cell in the last row, right click, select Cell -> Merge Cells
Type text or drag and drop fields to the merged cell

Create repeated Tables
In the template, you only need to create one table for the Related List. For each Related item, a table will be created in the document.
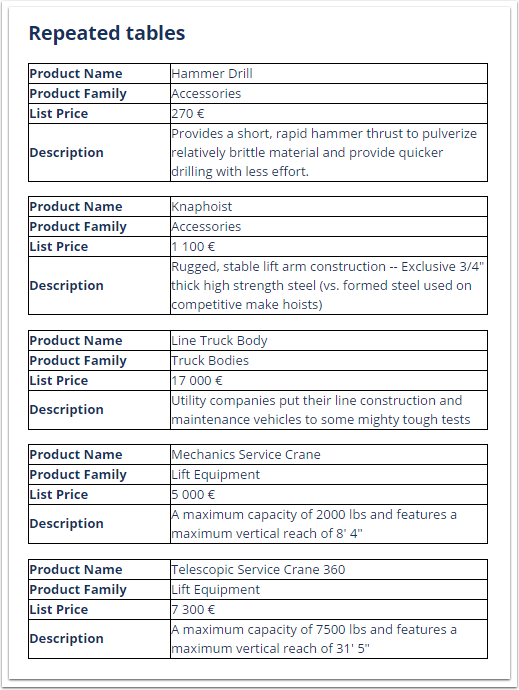
To create repeated tables, you will first create a table.

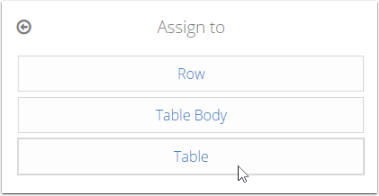
Assign the Related List to the whole table
Drag and drop fields from Related List.
