How to use e-Sign Templates
Feature only available via an Engage license.
Sending a document for signature
When you start the document generation process, you will be redirected to a page with a new document, where depending on your template settings, various options may be available to you. This is an example, but bear in mind that your unique interface may look different.
The signature process can be started by clicking on the Email button.

After clicking on the Email button, the user will have the chance to preview the signing request email and edit the signers if the option is enabled in the settings.
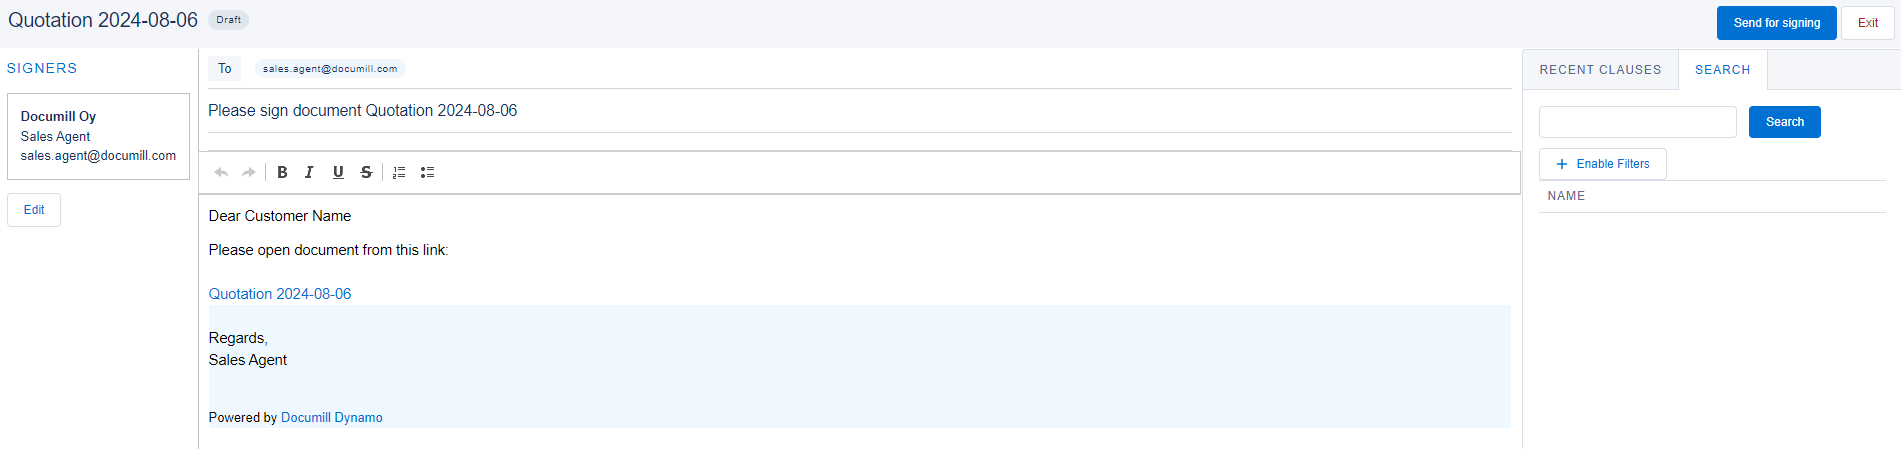
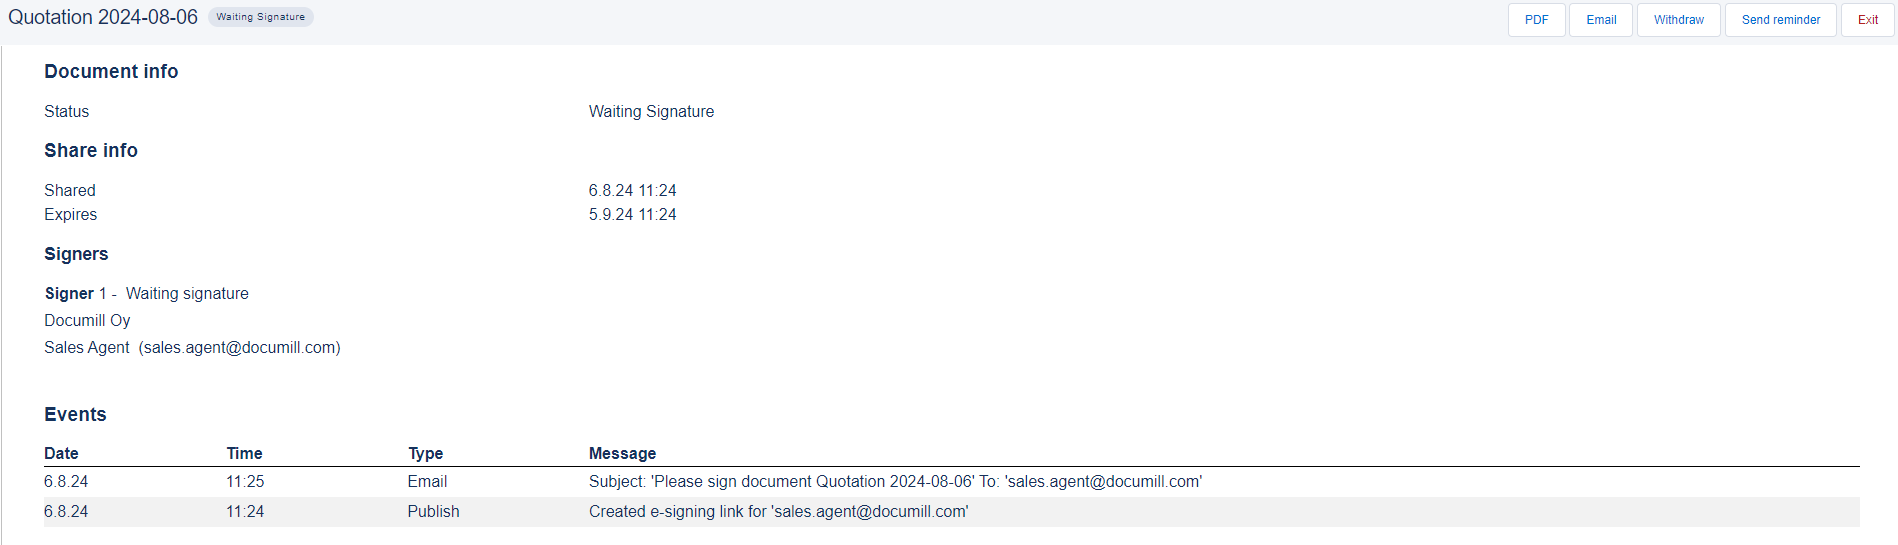
After clicking on Send for Signing, the user will be presented with a detailed status report as well as the options to Withdraw the signature request, send a reminder to the customer or go back to the document itself.
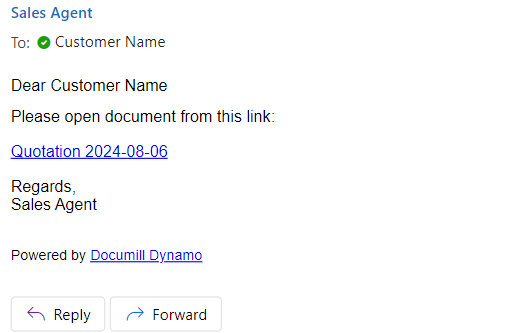
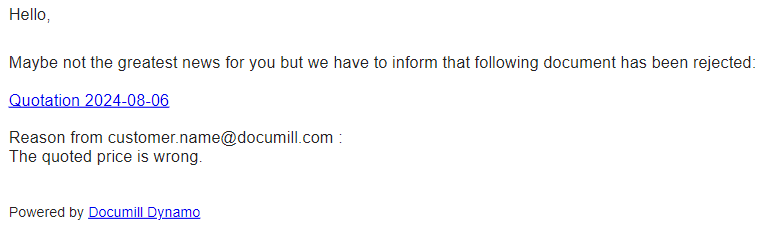
At the same time, the first signer will receive an email with a link to sign the document. It could look something like this:
Signing or Rejecting a document
To sign the documents, you need to receive an invitation email with a unique link. Click on the link, and it will open the document that needs to be signed.
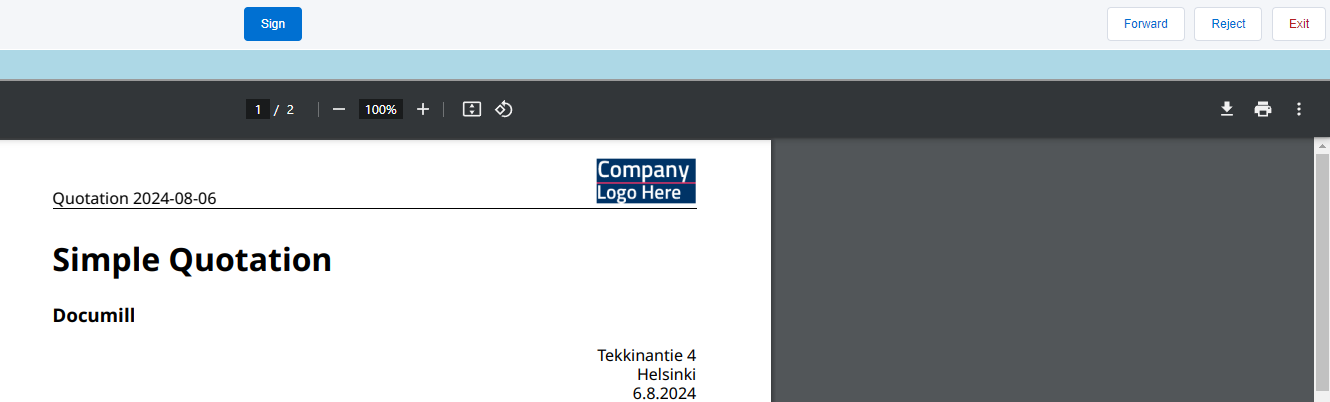
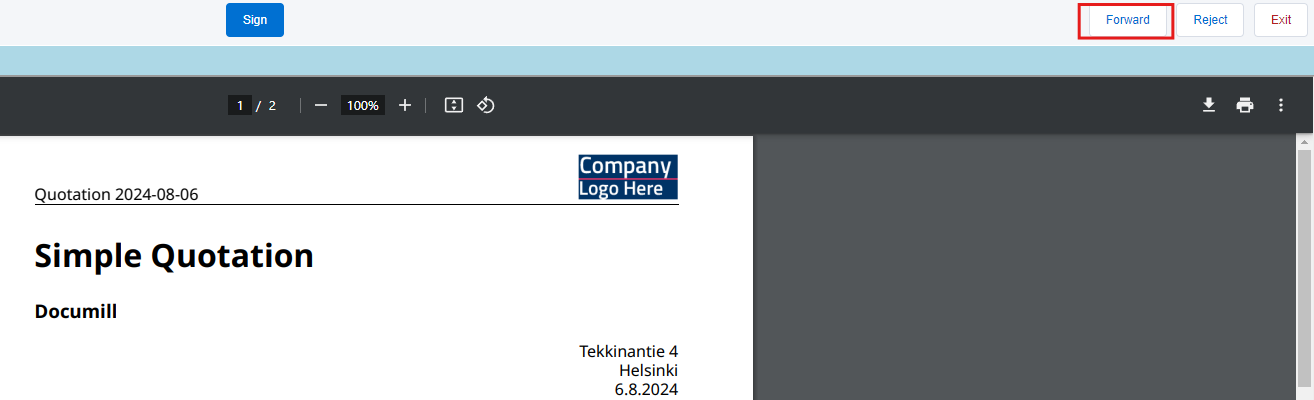
After clicking the link, the document will present to the signer. The signer has the options to either Sign, Reject or Forward the document based on the document settings.
Different methods of signing can be selected by the signer.
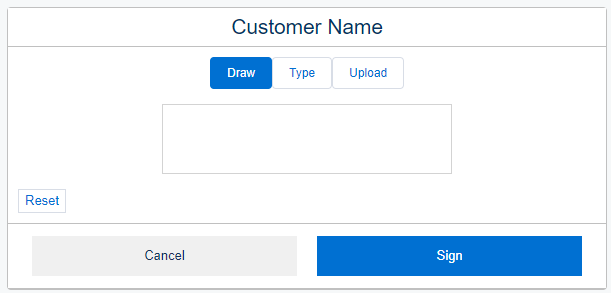
Choose a convenient signature option for you, fill in the information, and click the Sign button.
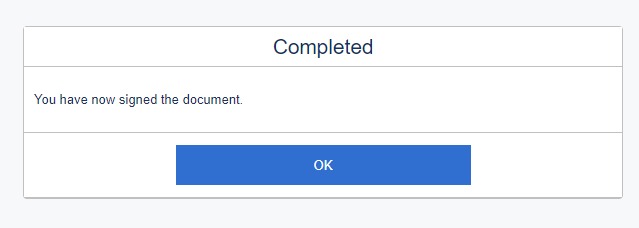
After you sign the document, you will receive a notification confirming that everything has been successful
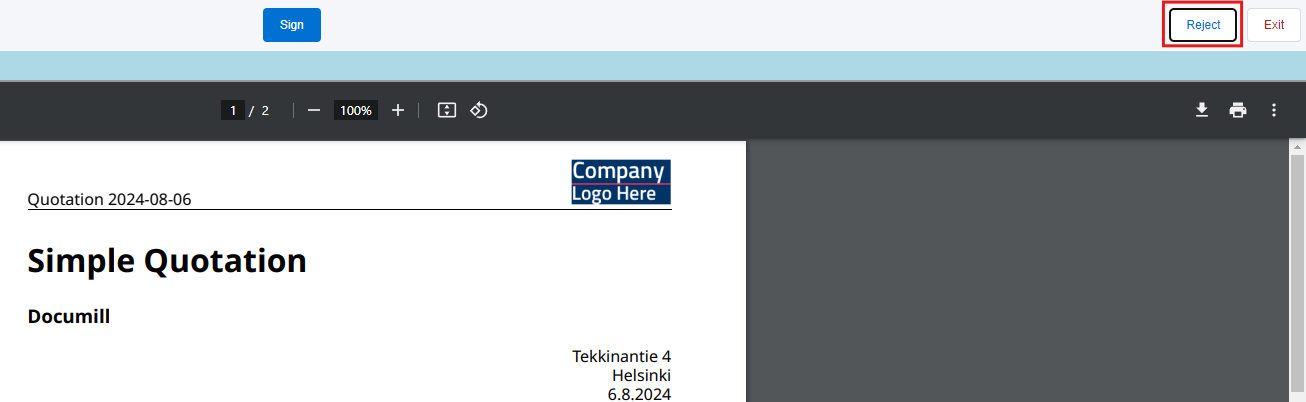
If after reviewing the document you decide not to sign it, you can reject it by clicking the Reject button
You will be prompted to provide a reason why you do not want to sign the document, this field is mandatory.

Explain the reason and click Reject button
After you provide a reason and reject the document, the person who sent you the sign request will receive a notification and will also see the reason why the document was rejected.
You may also be able to delegate document signing to another person (if such a feature has been enabled).
After you press the button, you will be redirected to a page where you will need to enter the contact information of the new signer.
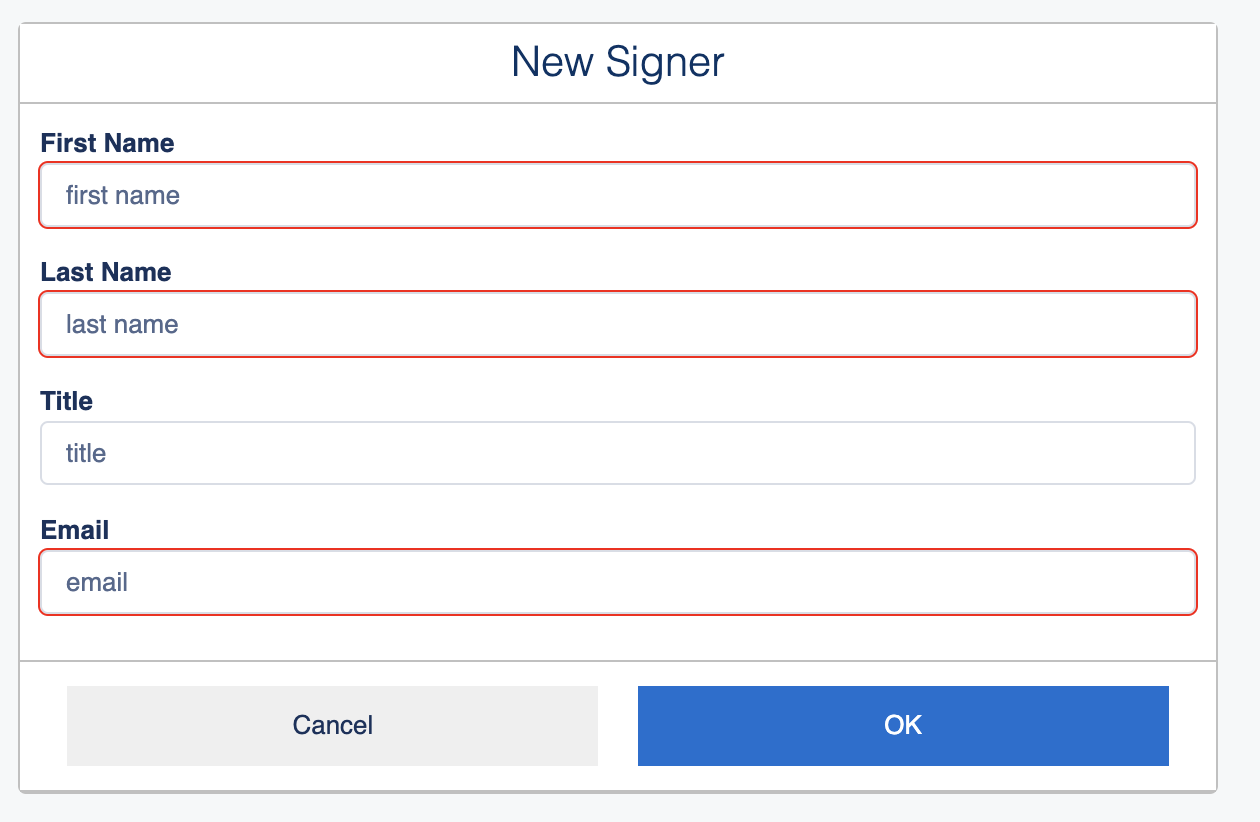
Fill in the required information and press OK
After you fill in all the information, you will receive confirmation that the email has been forwarded, and the new signer will receive an invitation to sign the document
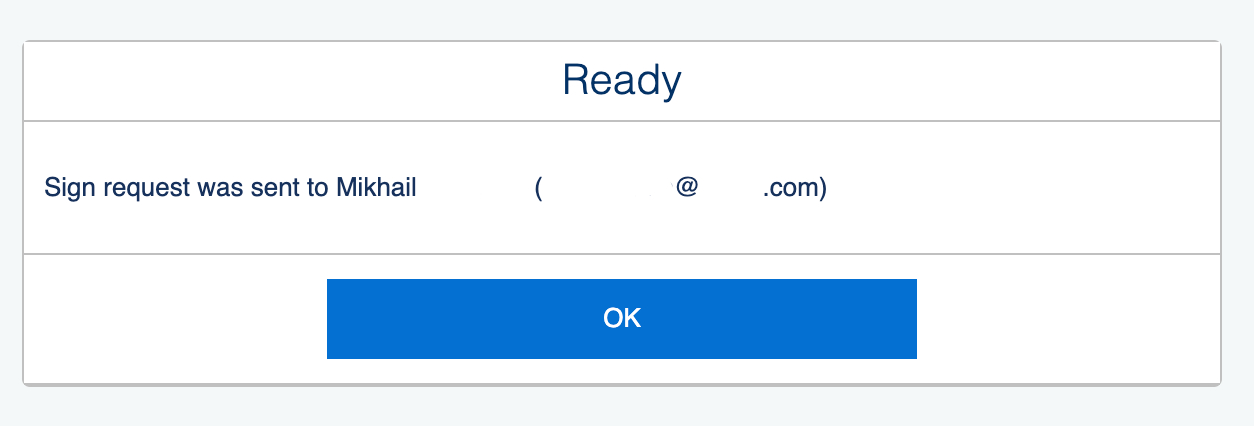
Confirmation screen
Signature reminders
As the person having initiated the signature process, you can send a reminder email to the signatory that the document is awaiting signature.
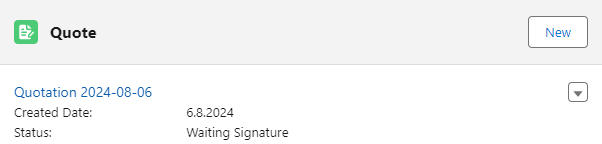
To do so, open the Salesforce record document. Click on the document title in the component. You will be redirected to the document information page.
Click the Send Reminder button, and you will automatically see that the reminder email has been sent.
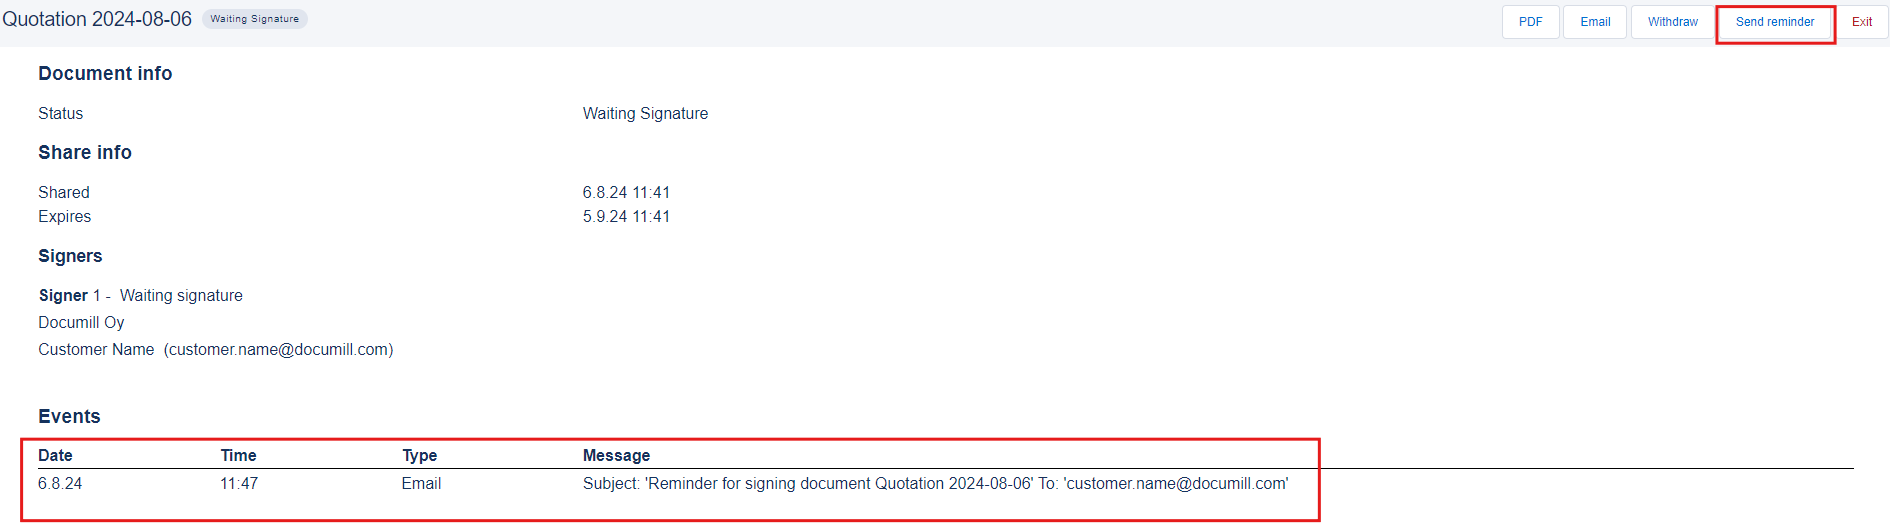
Reminders can be sent only as long as the document has not expired. By default, the documents are valid for 30 days. After the expiration date, the document can no longer be viewed by the customer.

The document expiration date can be customized in the document Settings under the Signing tab.
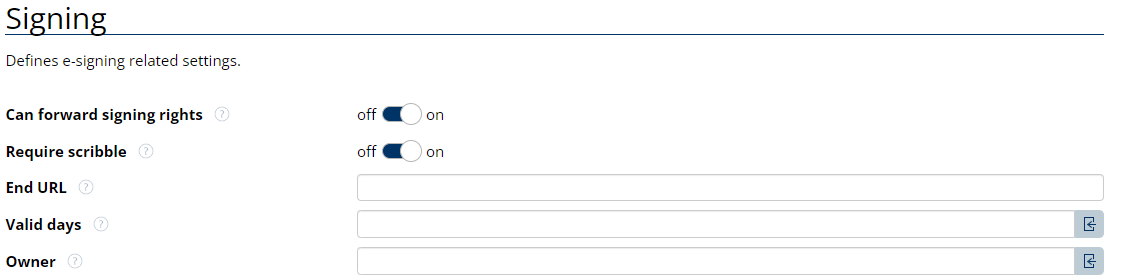
The shared document validity can be set in days using the Valid days' parameter.
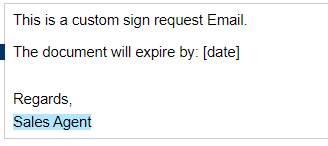
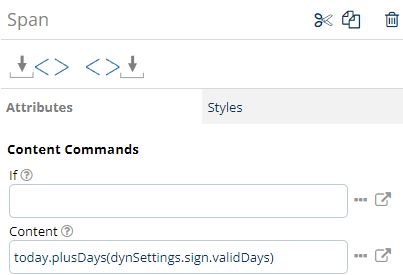
The document validity can also be added to the sign email sent to the customer. The expiration can be added with the following content command to an element within the email template:
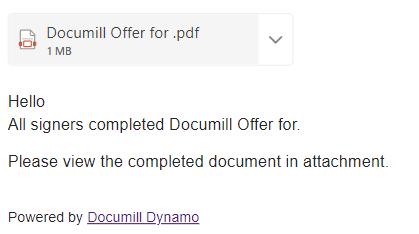
Receiving signed copies
After all participants sign the document, everyone will receive an email with the signed PDF document attached.