How to assign a related list to other elements than a table:
Output
A related list can be displayed in other elements than a table, such as a numbered/bulleted list, in paragraphs or groups like below:

How to create a numbered or bulleted list of Related items
Following these steps to map a Salesforce related list into a list or multi-level list in your template:
-
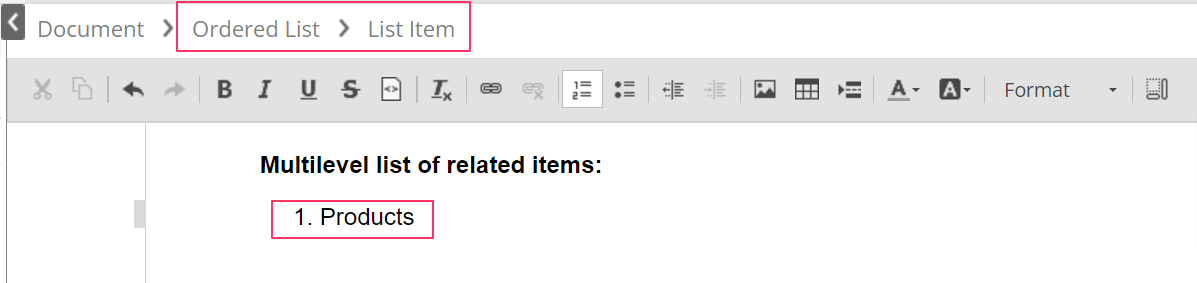
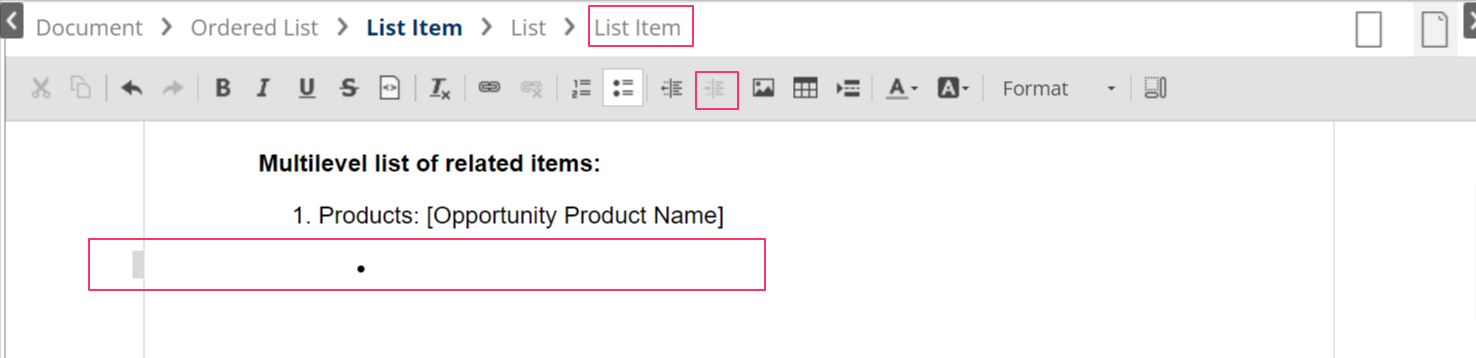
Click the button Insert/Remove Numbered List or Insert/Remove Bulleted List on the editing toolbar.
In the breadcrumbs, elements of a created list will have two elements: parent list (Ordered List/ List) and List Item.

-
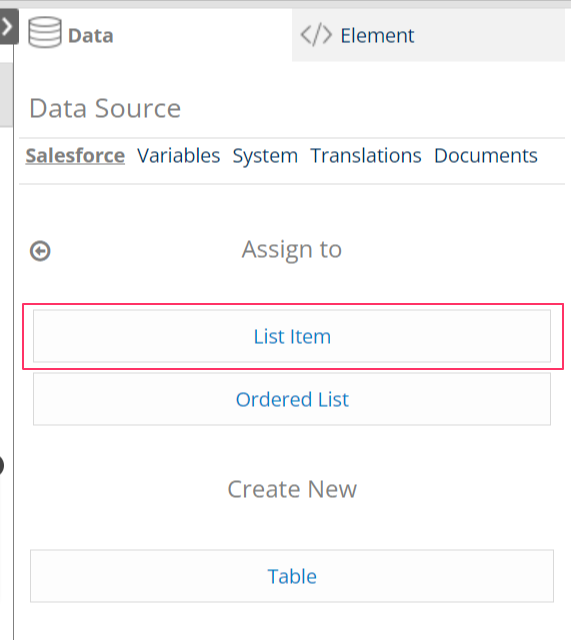
In the Data source panel on the right, select an existing list or add a different related list. Click on the target list and the app will ask to assign the list or create a new table. Choose ‘List Item’
-
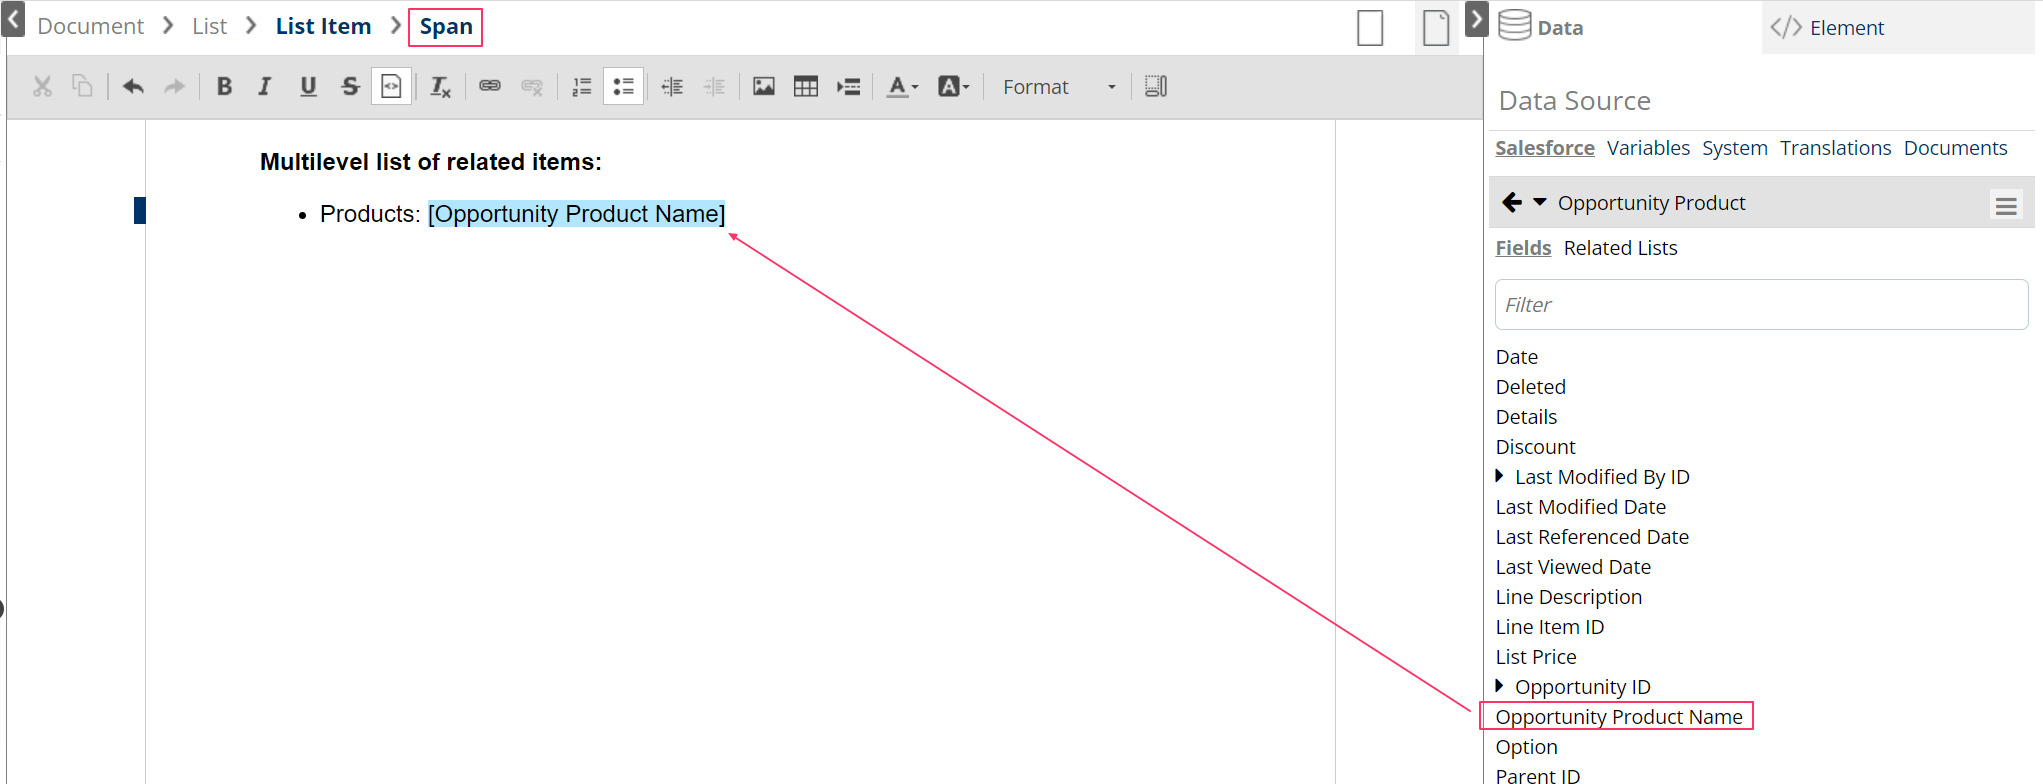
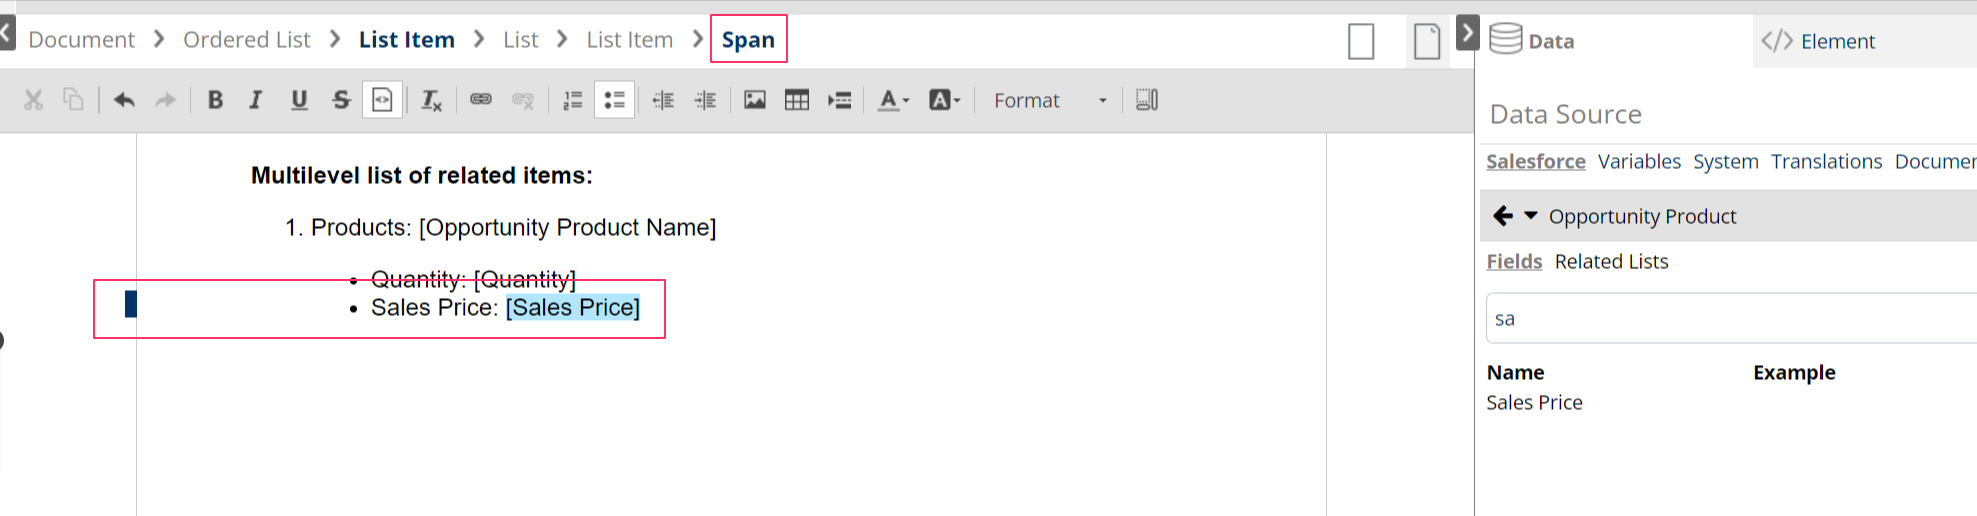
Drag and drop fields from a Related List to the target list items in the template. Check the breadcrumbs to ensure that the new span is created as a child element of List Item
Create multilevel list
-
Press Enter to create a new list item, then click Increase Indent button in the toolbar. The button will then be greyed out. The newly created list item after being indented becomes a child element (see breadcrumbs). The second level can be changed to another list type.
-
Continue to drag and drop fields from the same Related list to the child list. The expected output will be a multilevel list with product names and their corresponding price and quantity.
How to create a paragraph for each Related List item
-
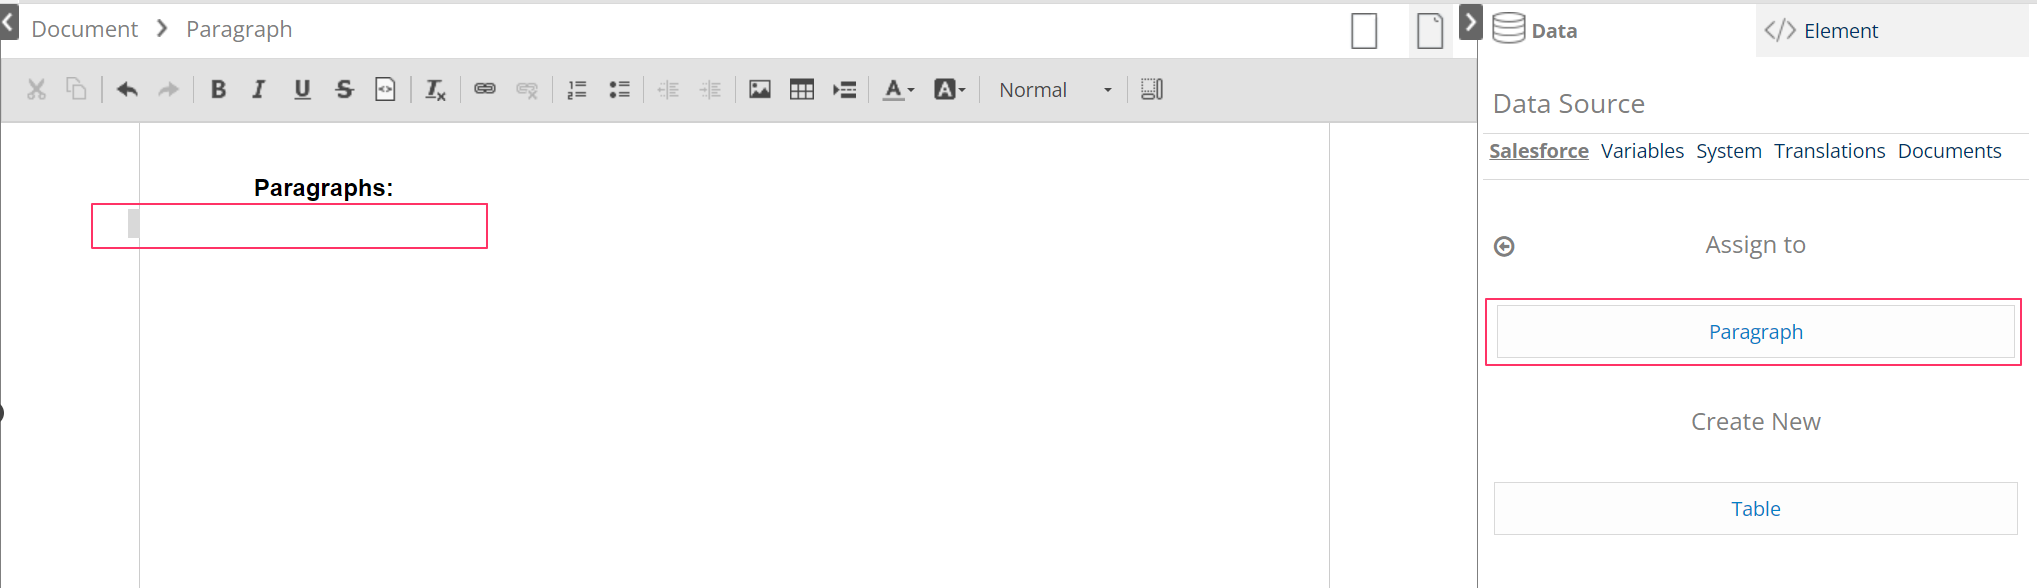
Place the cursor on a free blank space, and the breadcrumb indicates that is in a paragraph
-
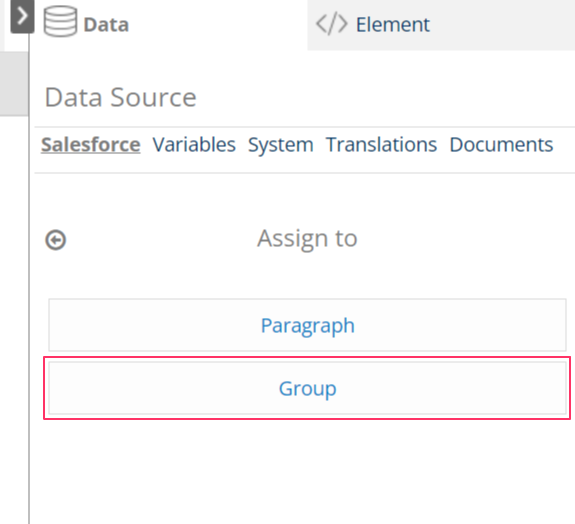
Click on the attached related list from the right panel
-
Choose assign to ‘Paragraph' and start to drag and drop a field into the paragraph
-
Add more fields to the paragraph:
-
When the cursor is inside the span, all spaces and texts are highlighted blue and will not show in the generated file. Thus, make sure that you ‘leave’ the span by Append Space before adding any texts or fields.
-
Leave the dynamic span by placing the cursor onto the field, then clicking Append Space on the Element panel on the right

-
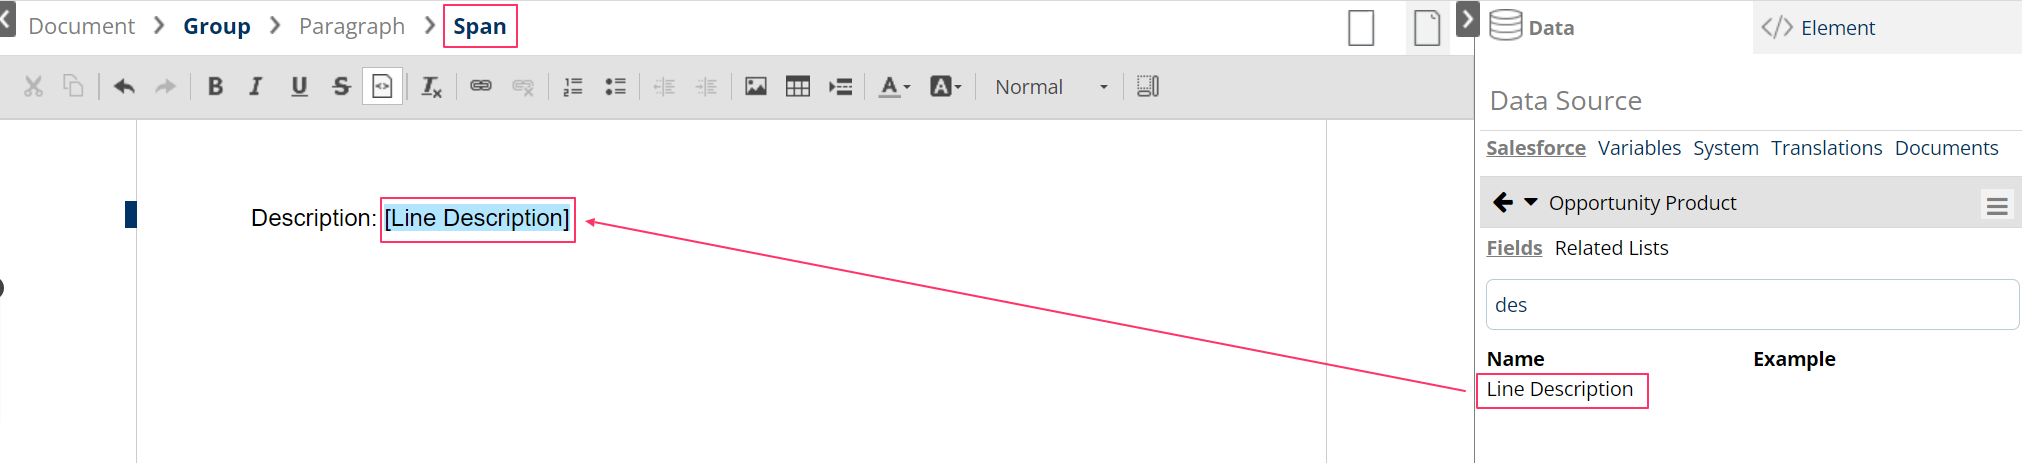
Continue to add texts or map fields to the paragraph as desire.
-
How to create a group for each Related List item
-
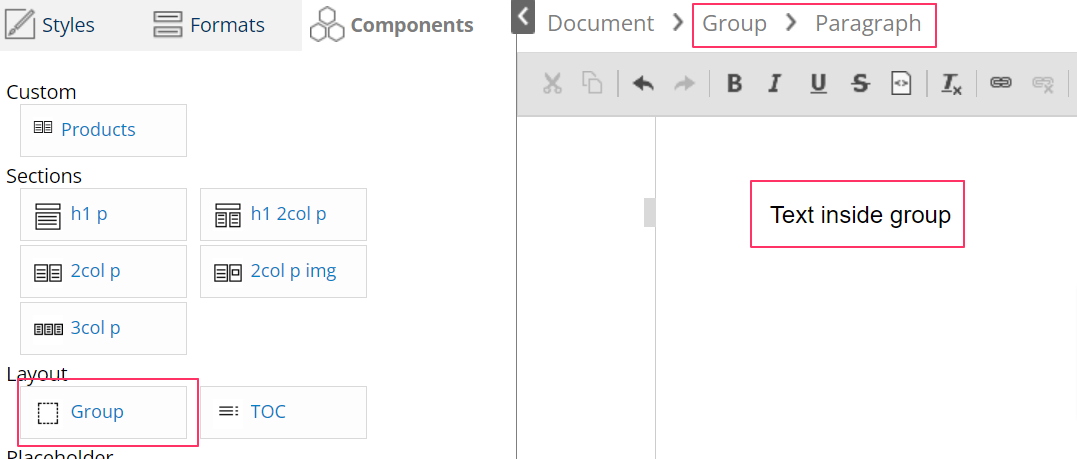
On the left panel of the template builder, choose Components tab > Group in Layout to create a Group element in the template. Inside the group, several paragraphs can be created when press Enter.
-
Assign the related list item to the created Group
-
You can now map fields from a related list by drag and drop fields into paragraphs inside the group.