This documentation only applies to the package version 2.1. If you are using an older version, please update it before proceeding.
Overview
Documill integrates with Salesforce Agentforce to enable AI agents to automatically generate documents as part of automated workflows. Agents can trigger document generation through a Salesforce Flow using an Apex action, API action, or Flow interaction, which then calls the Documill API to produce the output. For scenarios requiring more programmatic control, the Documill API can alternatively be invoked directly via an Apex class.

Prerequisites
-
Install the Documill document generation package from AppExchange.
https://appexchange.salesforce.com/appxListingDetail?listingId=a0N30000009whyxEAA
Detailed instructions can be found here.
-
Install the Agentforce connector package from AppExchange.
https://appexchange.salesforce.com/appxListingDetail?listingId=efb6d55a-fe5b-48cf-b256-e168d8300b58 -
Set-up your Salesforce OAuth 2.0 client credentials flow.
No-code API setup for Salesforce Flows
This step is required to properly communicate with external apps based on Salesforces' security requirements.
-
A Documill API Template
How to create an API template: Create or change an API template
Sample template: Quote Sample.dap
If using the Sample template, download the file above and upload it into your Salesforce instance.
Permissions
To generate documents with Documill, you will need to assign the appropriate Documill permission set to the user who has been declared in step 3 of the pre-requisites.
https://support.documill.com/dynamo/user-permission-sets
Documill uses Salesforce to handle all permissions. Any user generating the document, will need to have at least read permissions on the template file and any objects and records used within the document.
Configure the Flow
The package comes with an overridable Flow. As the Flow requires the Salesforce OAuth 2.0 client credentials flow before being used, it will need some minor modifications before the agent can use it.
From the Salesforce Setup, navigate to “Flows”
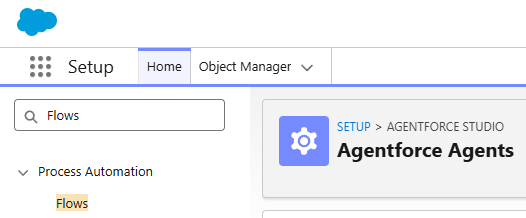
Find the packaged “OpportunityAgentDocument” flow and click on it to edit.
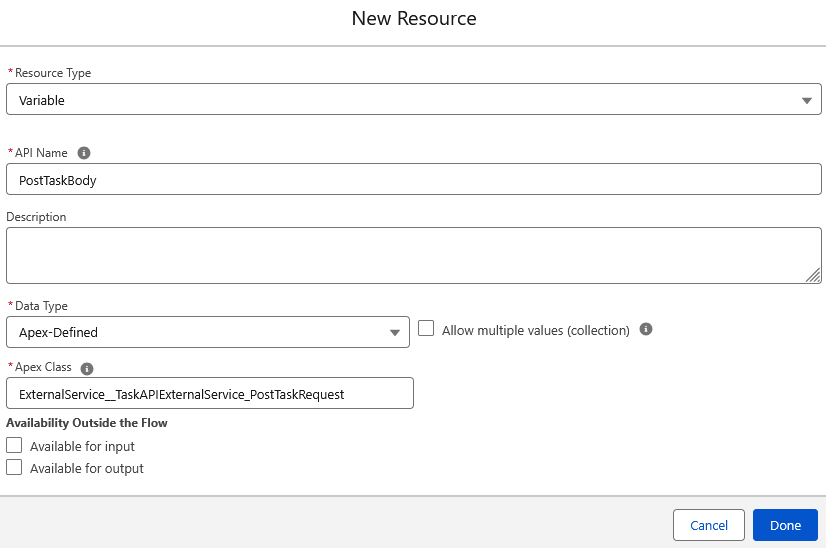
The initial flow, will require 2 more actions before it is complete. First crate a new resources:
-
A new variable to hold the API request parameters
Resource type: Variable
API Name: PostTaskBody
Data Type: Apex-Defined
Apex Class: ExternalService__TaskAPIExternalService_PostTaskRequest
-
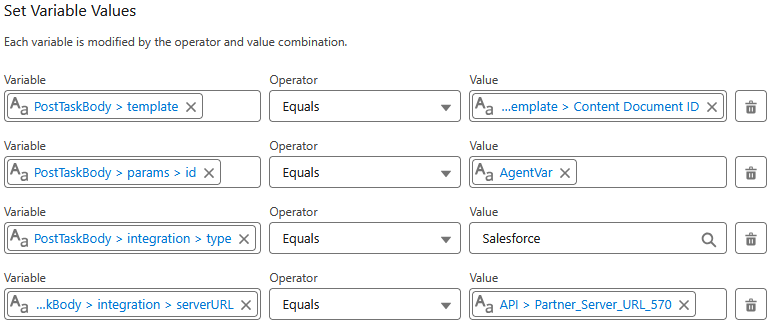
Add an Assignment Action after the Get Records action.

The Get Template action will by default look for the “Sample Quote” template provided above. If your template is named diffrenently, update the Get Records action accordingly.
-
Set the Variable Values as follows:
|
Variable |
Operator |
Value |
|---|---|---|
|
{!PostTaskBody.template} |
Equals |
{!Get_Template.Id} |
|
{!PostTaskBody.params.id} |
Equals |
{!AgentVar} |
|
{!PostTaskBody.integration.z0type} |
Equals |
Salesforce |
|
{!PostTaskBody.integration.serverURL} |
Equals |
{!$Api.Partner_Server_URL_570} |
The final result should look something like this:
-
Finally, add the API Call action itself. In the Add Element, search for “Post Task“ and add it. Give the action a name, such as “Post Task” and assign it the post task body: {!PostTaskBody}

Leave the Client Id and Client Secret as not included in this step.
-
Save the modified flow as a new version. This flow is already connected to the Subagent included in this package.

Setting up the Agent
The Agentforce Connector package comes with a pre-defined subagent. This subagent can simply be added to an existing or new Agent.
If you do not yet have an Agent, now is the time to create one. From the Salesforce setup, open Agentforce Agents.
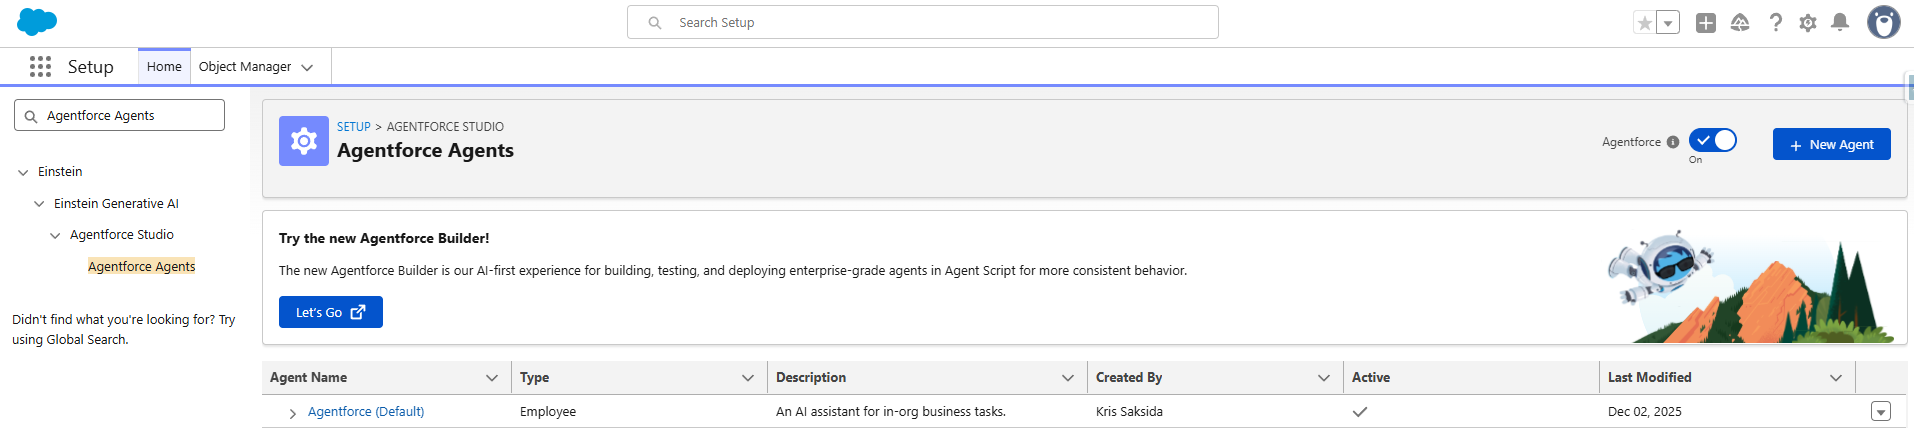
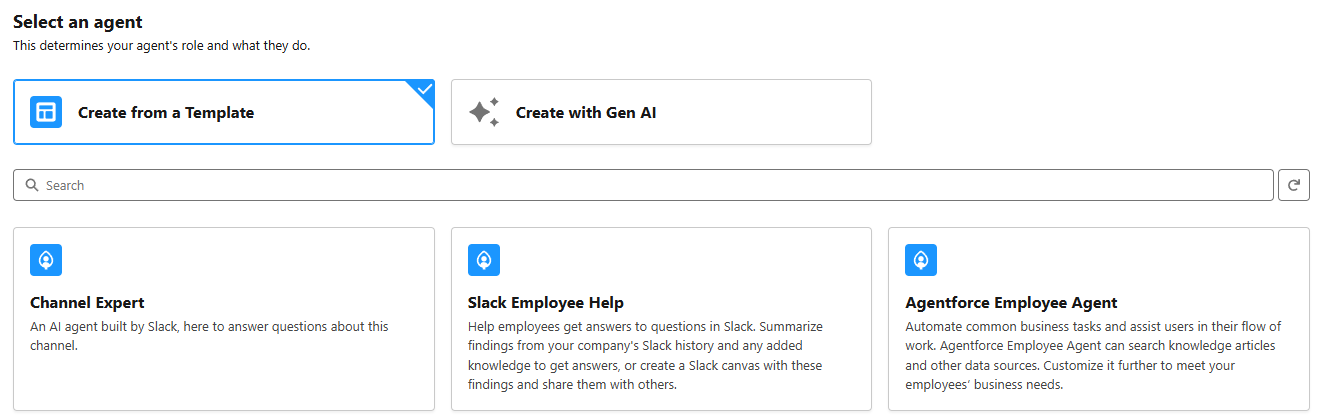
From here, you can either modify an existing agent, or create a brand new one using the “+New Agent” button on the top right.
If creating a new Agent, we suggest using the “Agentforce Employee Agent” as the starting point.
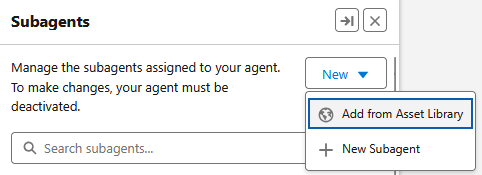
From within the Agentforce Builder, add a new Subagent from Asset Library. The Subagents is connected to the Flow from the previous step and has pre-configured instructions.
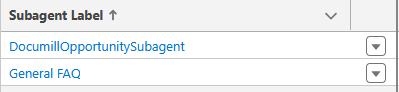
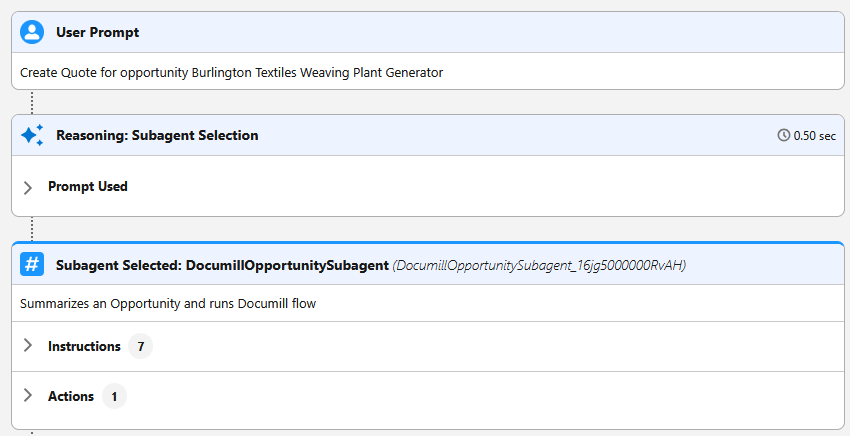
Search for and add the Subagent named “DocumillOpportunitySubagent”.

Once the Subagent is added, click on the newly added subagent.
Add a few example inputs to the Subagent, something that the users may say to the agent.
Example:
“Create Quote for this opportunity 006XXXXXXXX”
“Create a proposal for [name of the opportunity] opportunity”
Click Save and Activate the Agent. If Configuration Issues are detected, click “Ignore & Activate“.
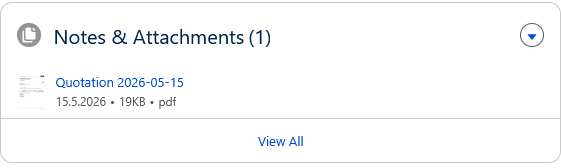
Now, its a good time to test the Agent. Ask the Agent to generate a quote document as an example.
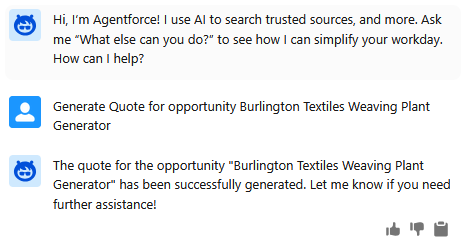
Ensure that the DocumillOpportunitySubagent is correctly triggered.
If the Agent worked correctly, a Quotation should appear under that Opportunity Attachments.