This is a prerequisite for generating documents with the Documill API.
This page descirbes how to use OAuth 2.0 client credentials flow with Dynamo Task API Salesforce integration.
After reading this documentation user should be able to create Salesforce Flow what will call Dynamo API without using any custom code. Executed DAP can call Salesforce APIs.
Client credentials and run-as-user are defined through the Salesforce external client app.
Benefits
-
Centralized and secure solution
-
Using Salesforce best practices
-
Declarative solution (no custom code needed)
-
Secret, scope and permission management done by client (secret rotation etc.)
-
Client secret is stored only in Salesforce
-
API key and credentials aren’t visible in the flow
-
Session ID isn’t passed to external systems
-
Run as user can be defined by the client
-
Easy Salesforce Flow integration
Availability
Dynamo API Client credentials integration is available from the following endpoint.
Production: https://dynamo-api.documill.com
Setup
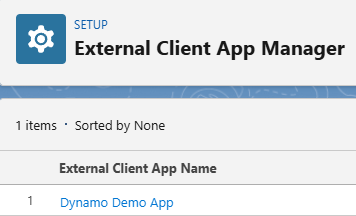
1. Create External Client App
External Client App enables Dynamo to call Salesforce APIs.
-
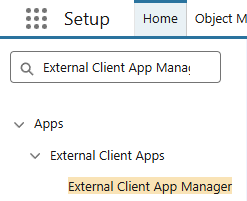
From Salesforce, navigate to:
Setup -> Apps -> External Client Apps -> External Client App Manager
-
In the top right corner, select New External Client App.

-
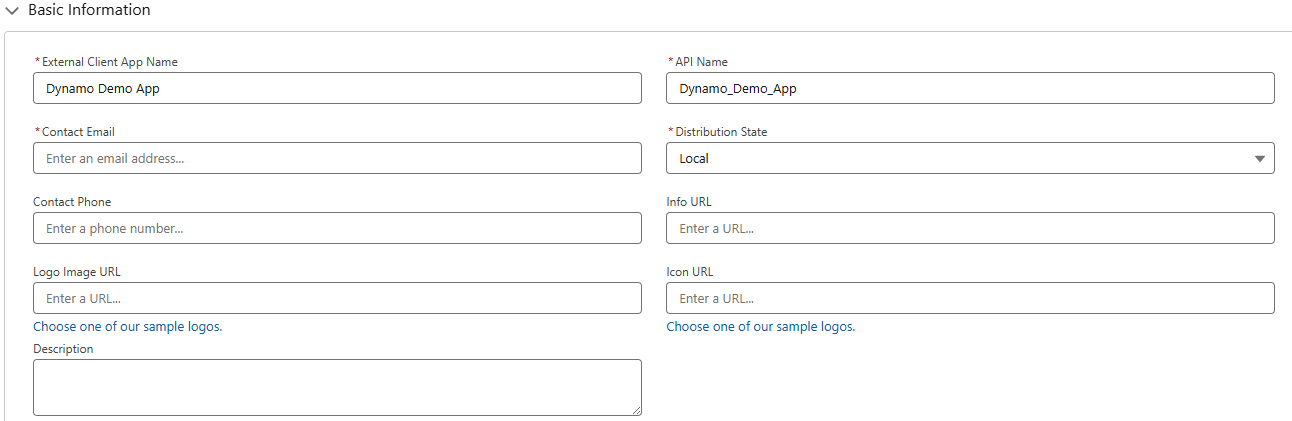
Fill the required basic information including App name, API name, Contact Email and Distribution State
-
Enable OAuth authentication and give Callback URL. This URL is not used as Dynamo receives access token using Client Credentials Flow but it must be set in order to generate Consumer Key and Secret. In the Available OAuth Scopes, select ‘Manage user data via APIs’ from the Available OAuth Scopes list.

-
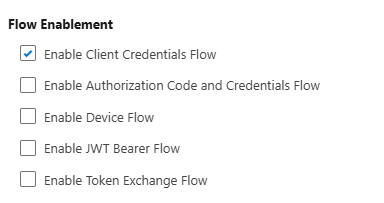
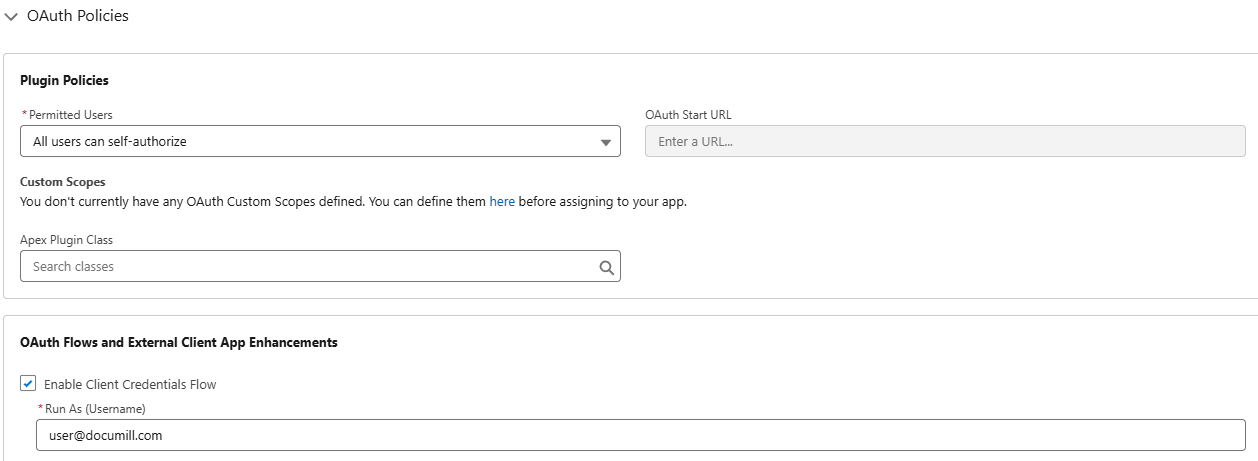
In Flow Enablement section, check ‘Enable Client Credentials Flow’.
-
Click Crate on the bottom of the screen.
-
Click on the newly created External Client App.
-
Click on the Edit button in the Policies tab.

-
In the OAuth Policies section, enable Client Credentials Flow and provide the Username of an active user.
-
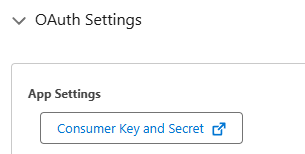
In the created External Client App, open the Settings tab and retrieve the Consumer Key and Secret from the OAuth Settings section. This will be used in the next step of the setup.

-
Click Save.
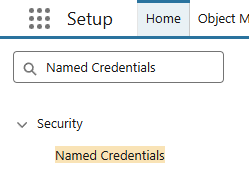
2. Named and External Credential
Salesforce manages credentials securely by handling callout authentication automatically without user needing to pass them manually.
-
To set up these credentials navigate to Setup -> Security -> Named Credentials
-
Select External Credentials and click on New.

-
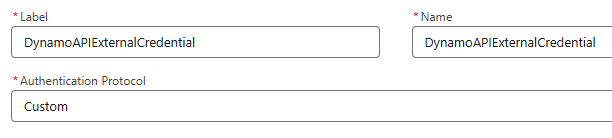
First create new External Credential; give it a label (i.e. DynamoAPIExternalCredential), name and set authentication protocol to ‘Custom’.
-
Scroll down and create a new Principal.

-
Add 3 new Authentication Parameters:
-
ClientSecret = Consumer Secret (Retrieved from Salesforce).
-
ClientID = Consumer Key (Retrieved from Salesforce)
-
ApiKey = API Token (Retrieved from the License Manager or Documill Support)
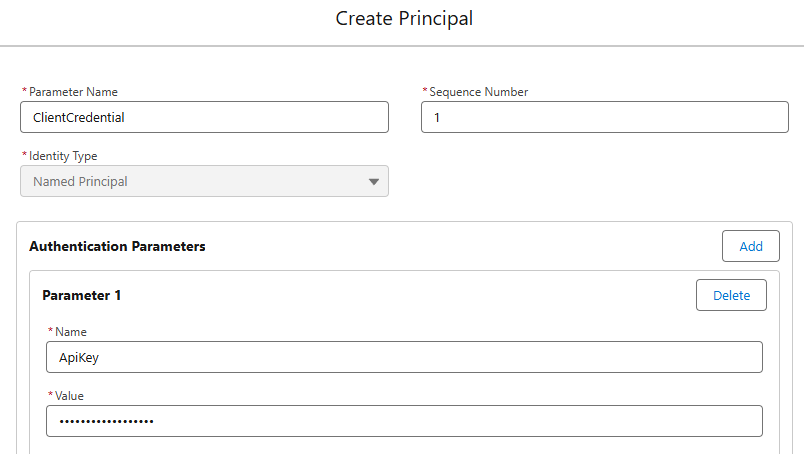
The ClientSecret and ClientID are retrieved in the first step of this article.

-
-
Create custom headers for the External Credential.

To keep header values as secret, expressions are used. Be sure to refer the name of the External Credential and parameter names as they were defined previously:
{!$Credential.<External Credenstial Label>.<Auth Param Name>}
Four headers are needed. Replace <tenantID> with the actual tenant ID (tenant ID = Salesforce org id):
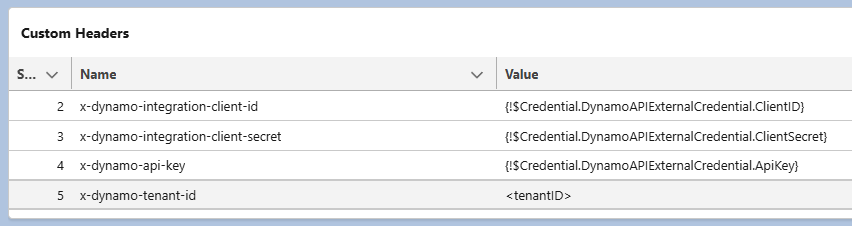
Here is a table of these headers so they can be easily copy pasted and modified.
|
Name |
Value |
|
x-dynamo-api-key |
{!$Credential.DynamoAPIExternalCredential.ApiKey} |
|
x-dynamo-integration-client-id |
{!$Credential.DynamoAPIExternalCredential.ClientID} |
|
x-dynamo-integration-client-secret |
{!$Credential.DynamoAPIExternalCredential.ClientSecret} |
|
x-dynamo-tenant-id |
<tenantID> |
The Tenant ID must be the case-safe Org ID which is not visible in the Company Information section of the setup. To retrieve the full 18 character Org ID, you can contact support@documill.com or follow the instuctions bellow:
Retrieve case-safe Organization ID
-
Open the Developer Console (gear icon → Developer Console, or from Setup → Quick Find "Developer Console").
-
In the Developer Console, go to Debug → Open Execute Anonymous Window.
-
Paste and execute this code:
System.debug(UserInfo.getOrganizationId());
-
After execution, check the Logs tab (double-click the latest log), then look under Debug Only or Execution Log — it will print your full 18-digit Org ID.

-
When External credential is set and saved, a Named Credential is needed. Give it a label (i.e. Dynamo API Named Credential), a name and set URL field to `https://dynamo-api.documill.com`. Make sure that Enabled for Callouts option is set to true. Select the newly created External Credential as Authentication. In Callout Options, check Allow Formulas in HTTP Header. Press Save.

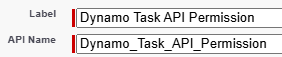
Permission set
Set up permission set for External Credentials. To be able to access the credentials in Flow, one must configure permissions to do so. Navigate to Setup -> Users -> Permission Set and create new.
In the settings, look for ‘External Credential Principal Access’ and open it. Edit Principal Access and add the external credential that was created previously.

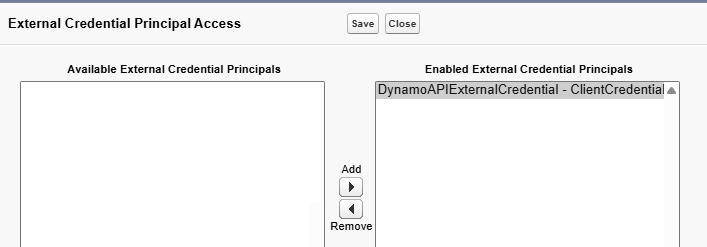
To make sure permission to access credentials is set, navigate back to External Credentials view -> view existing Principal (press Edit on drop-down) and confirm that Principal Access is being listed:

Now that permission set exists, it needs to be assigned to user that triggers the Task API request. Go to Setup -> Users -> Users and open the user settings. Look for Permission Set Assignments and add the Permission Set that was just created.

External service
External Services is used in Flow when making a request to an external API.
Setup -> Integrations -> External Services.
-
Add new External Service
-
Select ‘From API Specification’, press Next
-
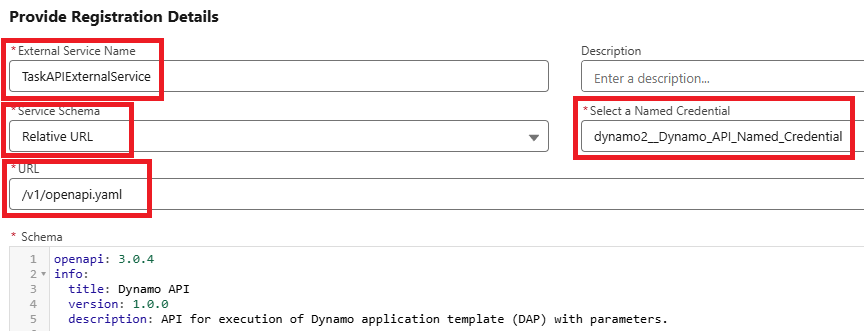
Give your External Service a name. Set Service Schema as ‘Relative URL’ and URL path as '/v1/openapi.yaml'. Set a Named Credential with the one created before. Now Salesforce should automatically retrieve and validate the schema.
-
After successful validation, press Save & Next.
-
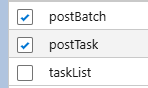
Operations are being listed next. Check ‘postTask’ operation so it can be used in Flow. Press Next.
-
Review and finish.
API Schema follows OpenAPI 3.0 YAML format and maps all needed header values and body properties in the callout. Creation of External Service will ultimately create Dynamic Apex classes that are then used in the Flow. If there is a need to add properties in body, modifying the schema is rather easy.
Task API Use Case
Using flow (Task API)
Setup -> Process Automation -> Flows
-
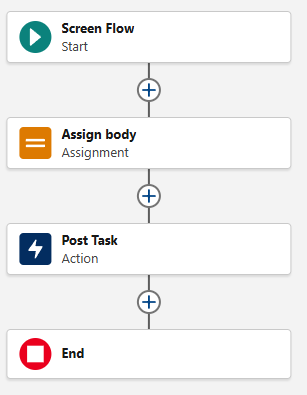
Create new Flow (like Screen Flow)
-
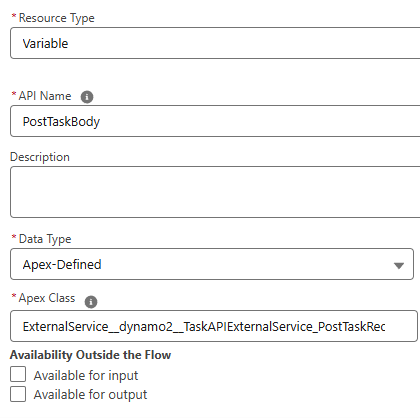
Add new External Services Action element. This element should be the External Service operation ‘Post Task’ that was created previously. Now ‘Body’ should be listed in action’s Input Values. Give it value:
a. New Resource -> Variable
b. API Name -> “PostTaskBody” (could be anything)
c. Data Type -> Apex-Defined
d. Apex Class -> Select Dynamic Apex class that is created by External Services. Usually it is named like this:
ExternalService__<External Service name>PostTaskRequest
or similar.
-
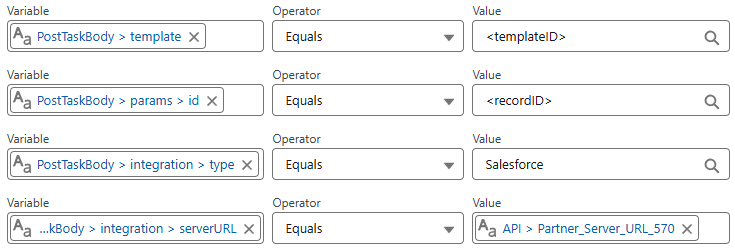
Assign request body by creating ‘Assignment’ element before the action element. Give it a Label and Name. Each of the body property is set separately. Flow Builder should suggest the previously constructed Apex-Defined variable when searching for variables.
When implementing for Experience Cloud, the serverURL above needs to be set as the Lightning url in this format:MyDomainName.my.salesforce.com
Flow should be now set and ready for testing.
Batch API Use Case
Using flow (Batch API)
Setup -> Process Automation -> Flows
-
Create new Flow (like Screen Flow)
-
Add new External Services Action element. This element should be the External Service operation ‘Post Batch’ that was created previously. Now ‘Body’ should be listed in action’s Input Values. Give it value:
-
New Resource -> Variable
-
API Name -> “body” (could be anything)
-
Data Type -> Apex-Defined
-
Apex Class -> Select Dynamic Apex class that is created by External Services. Usually it is named like this:
ExternalService__<External Service name>PostBatchRequest
or similar.
-
-
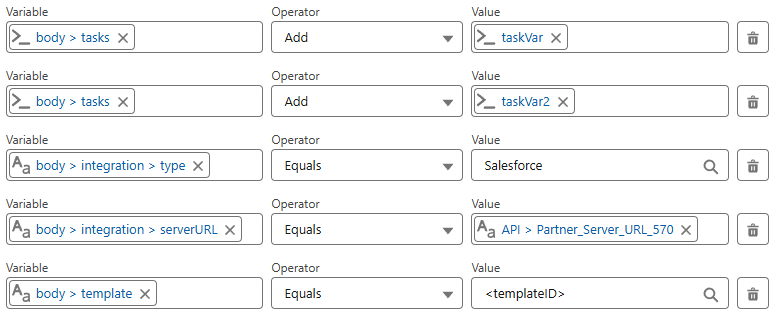
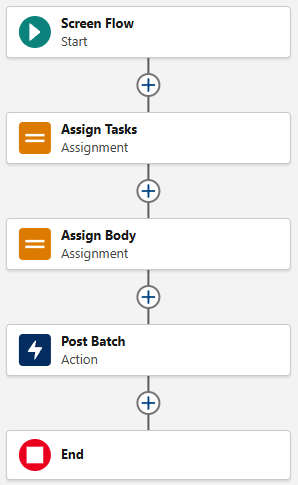
Assign request body by creating ‘Assignment’ element before the action element. Give it a Label and Name. Each of the body property is set separately. Flow Builder should suggest the previously constructed Apex-Defined variable when searching for variables, similar to creation of Flow for Task API. Only exception is made when defining task array objects; each of the task objects must be constructed separately in Flow. To do that:
-
Select Variable as body > tasks
-
Operator as Add
-
Value as New Resource -> Variable -> Give it a name (i.e. taskVar) -> Data Type as Apex-Defined -> Select Apex Class, that is named similar to this
ExternalService__<External Service name>_PostBatchRequest_tasksAdd these task objects as many as needed.
-
When implementing for Experience Cloud, the serverURL above needs to be set as the Lightning url in this format:MyDomainName.my.salesforce.com
-
Before Flow is ready, previously created task objects needs “params” and “id” properties as stated in Post Batch documentation. New Assignment element is needed and placed before the body assignment element. Simply just give field values to task objects (taskVar > params > id) and Flow should be now ready for testing.

Note:
If the batch body content size grows substantially large and complex, consider implementing the integration using an HTTP callout instead of External Services. HTTP callouts provide easier control over request construction, allowing greater flexibility for modifying and managing the request body content.