With SharinPix, uploading and managing images for a Documill template is seamless. This guide explains how to integrate a SharinPix album and use it effectively during the document generation process.
The Documill managed package is a prerequisite for this guide. If you haven't installed the package yet, follow the installation guide.
Complete the setup by following these steps:
Integration Setup Steps
-
Once Documill is set up, set up SharinPix according to this article.
-
If the images are not to be stored on an Account record, go to Setup -> Object Manager -> SharinPix Image.
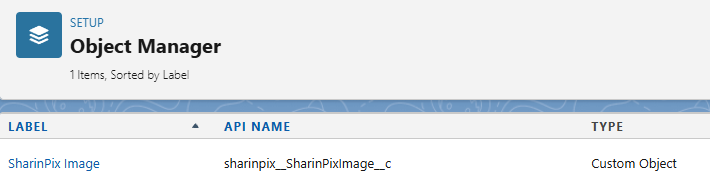
-
Create a new Lookup field. The field will be used as a relationship between the image and your desired object. For example, a Lookup field to the Opportunity Object:

-
In the Salesforce Setup, go to Custom Metadata Types.
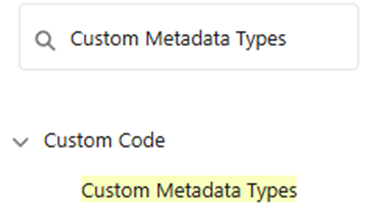
-
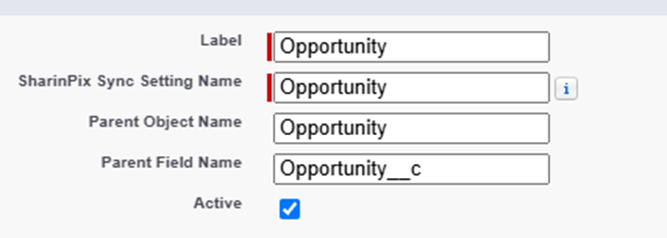
Click Manager Record for the SharinPix Sync Settings.

-
Create a new Sync Setting using the relationship field created in Step 3.
-
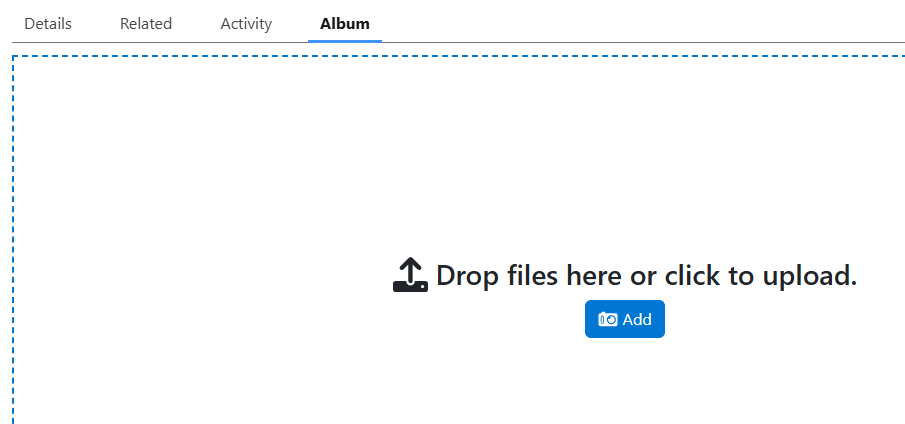
Add the SharinPix Album to the record layout.

-
In the SharinPix LWC, ensure the setting “Enable Image Sync” is enabled.

-
Save and add images to the SharinPix album.
-
If the setup was done correctly, the images added to the SharinPix album should also appear in the SharinPix Images related list.

If the integration is already set up, follow the steps below to learn how to use SharinPix Album images in a Documill Template.
Template Setup
When an image is added to the SharinPix Album component, URLs in various sizes will be automatically generated for the image, as well as a SortPosition value do identify the image order within the Album, this will be used in the template as well.
-
Design your Documill template. A real estate brochure will be used as an example.
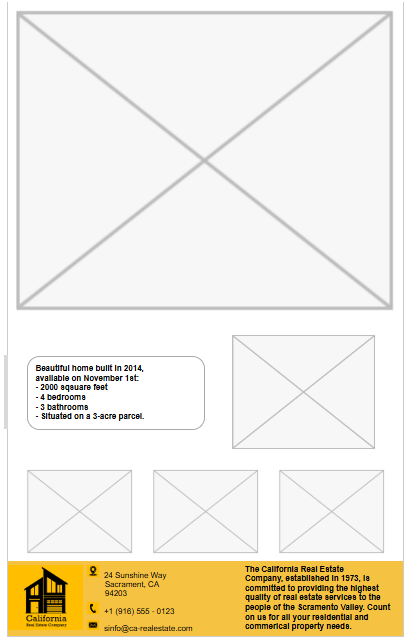
-
Place the image placeholders within the template. This will be later populated with images in the SharinPix Album.
-
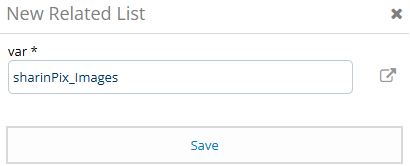
Once the template design is completed, the SharinPix image can be queried. In the template Data tab, add a new Related List data source.
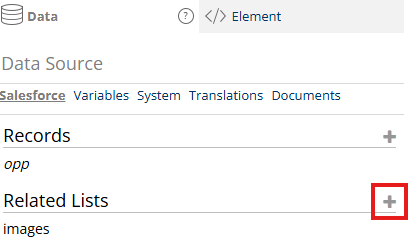
-
Click on your main record, in this case the Opportunity.
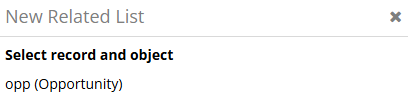
-
Search for the SharinPix Image related list and select it.
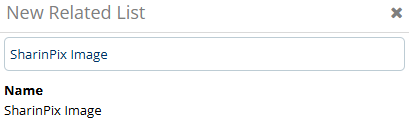
-
Give it a name and click Save.
-
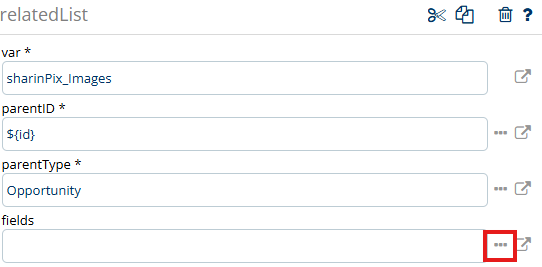
Click on the highlighted icon to open the Related List and do further configuration.

-
Start by adding the needed fields to the related list.
-
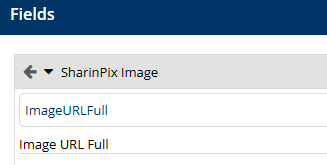
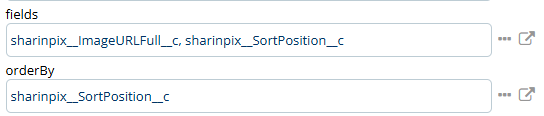
Add field such as Image URL Full and Sort Position.
-
Ensure that the sorting is applied by adding the Sort Position field as the orderBy attribute.
-
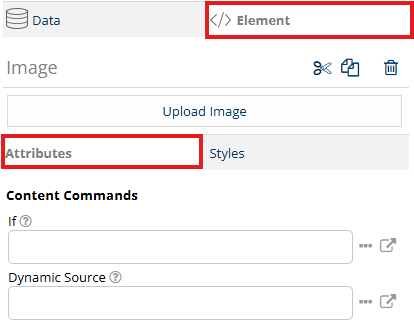
The Related List will now retrieve the URLs for each image in the associated SharinPix Album, which can be added to the image placeholders in the template. Navigate back to the template, select the desired image placeholder, and open the Element tab, then the Attributes tab.
-
The Dynamic Source specifies which image URL to use. By utilizing the Sort Order field in the SharinPix Image, you can select the exact image from the album to display in each image placeholder. Add the Dynamic Source as follows:

The Dynamic Source structure is as follows:
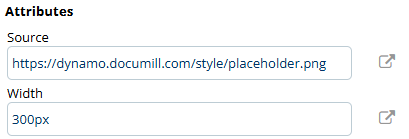
Related list name - position in the album (0 for the first image) - field containing the image URL.For example, to use the first image, the source would be the ImageURLFull field at position 0. To display the second image in the SharinPix album, the Dynamic Source would be: sharinpix__Images[1].sharinpix__ImageURLFull__c.
-
If needed, you can enforce the image size by setting a specific width. The height will automatically adjust to maintain the image's aspect ratio.
Additional Resources
SharinPix Documentation:
https://docs.sharinpix.com/m/documentation
Documill Documentation:
https://support.documill.com/dynamo/